- Sass - Home
- Sass - Overview
- Sass - Installation
- Sass - Syntax
- Using Sass
- Sass - CSS Extensions
- Sass - Comments
- Sass - Script
- Sass - @-Rules and Directives
- Control Directives & Expressions
- Sass - Mixin Directives
- Sass - Function Directives
- Sass - Output Style
- Extending Sass
- Sass - Interview Questions
- Sass - Quick Guide
- Sass - Cheatsheet
- Sass - Useful Resources
- Sass - Discussion
Sass - Extend Directives
Description
The @extend directive is used to share rules and relationships between selectors. It can extend all another class styles in one class and can also apply its own specific styles. Following are the types of extend −
| Types & Description | Syntax | Compiled code |
|---|---|---|
Extending Complex Selectors It can extend the selector which consist only a single element or class selector. |
h2 {
   font-size: 40px;
}

.container{
   @extend h2
}
|
h2, .container {
   font-size: 40px;
}
|
Multiple Extends More than one selector can be extended by a single selector. |
.style {
   font-size: 25px;
   font-style: italic;
}

h2 {
   color: #61C8E1;
}

.container {
   @extend .style;
   @extend h2
}
|
.style, .container {
   font-size: 25px;
   font-style: italic;
}

h2, .container {
   color: #61C8E1;
}
|
Chaining Extends The first selector extended by second selector and the second selector is extended by third selector therefore this is known as chaining extends. |
.style {
   font-size: 25px;
   font-style: italic;
}

h2 {
   color: #61C8E1;
   @extend .style
}

.container {
   @extend h2
}
|
.style, h2, .container {
   font-size: 25px;
   font-style: italic;
}

h2, .container {
   color: #61C8E1;
}
|
Selector Sequences The nested selector can use @extend by themselves. Merging Selector Sequences It merges two sequences i.e. one sequence extend another sequence that is present in other sequence. |
.style {
   font-size: 25px;
   font-style: italic;
   color: #61C8E1;
}

h2 .container {
   @extend .style
}
.container .style a {
   font-weight: bold;
}

#id .example {
   @extend a;
}
|
.style, h2 .container {
   font-size: 25px;
   font-style: italic;
   color: #61C8E1;
}
.container .style a, .container .style #id
.example, #id .container .style .example {
   font-weight: bold;
}
|
@extend - Only Selectors It percent character(%) can be used anywhere a id or class, it prevents its own ruleset from being rendered to CSS. |
.style a%extreme {
   font-size: 25px;
   font-style: italic;
   color: #61C8E1;
}

.container {
   @extend %extreme;
}
|
.style a.container {
   font-size: 25px;
   font-style: italic;
   color: #61C8E1;
}
|
The !optional Flag The !optional flag is used to allow the @extend for not to create any new selector. |
h2.important {
   @extend .style !optional;
}
|
A blank compile page gets display. |
@extend in Directives If @extend is used inside the @media then it can extend the selectors only that are present within the same directive blocks. |
@media print {
   .style {
      font-size: 25px;
      font-style: italic;
   }

   .container {
      @extend .style;
      color: #61C8E1;
   }
}
|
@media print {
   .style, .container {
      font-size: 25px;
      font-style: italic;
   }

   .container {
      color: #61C8E1;
   }
}
|
Example
The following example demonstrates the use of @extend in the SCSS file −
extend.htm
<!doctype html>
   <head>
      <title>Extend Example</title>
      <link rel = "stylesheet" href = "extend.css" type = "text/css" />
   </head>

   <body class = "container">
      <h2>Example using Extend</h2>
      <p class = "style">Lorem Ipsum is simply dummy text of the printing and typesetting industry.</p>
   </body>
</html>
Next, create file extend.scss.
extend.scss
.style{
   font-size: 30px;
   font-style: italic;
}

h2{
   color: #787878;
   @extend .style

}

.container{
   @extend h2
}
You can tell SASS to watch the file and update the CSS whenever SASS file changes, by using the following command −
sass --watch C:\ruby\lib\sass\extend.scss:extend.css
Next, execute the above command; it will create the extend.css file automatically with the following code −
extend.css
.style, h2, .container {
   font-size: 30px;
   font-style: italic;
}

h2, .container {
   color: #787878;
}
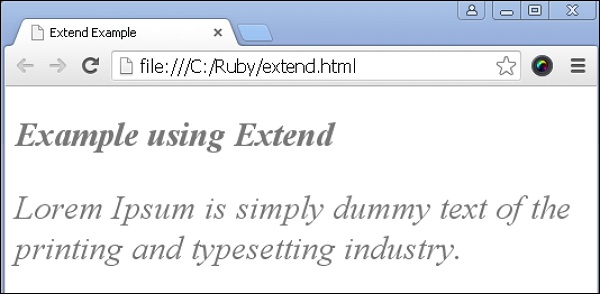
Output
Let us carry out the following steps to see how the above given code works −
Save the above given html code in extend.html file.
Open this HTML file in a browser, an output is displayed as shown below.