 Data Structure
 Networking
 RDBMS
RDBMS Operating System
 Java
Java MS Excel
 iOS
iOS HTML
HTML CSS
CSS Android
 Python
 C Programming
 C++
C++ C#
C# MongoDB
 MySQL
MySQL Javascript
 PHP
PHP
- Selected Reading
- UPSC IAS Exams Notes
- Developer's Best Practices
- Questions and Answers
- Effective Resume Writing
- HR Interview Questions
- Computer Glossary
- Who is Who
Timer1 based PWM in Arduino Uno
In an earlier article, we have seen how PWM can be set on Arduino Uno using the analogWrite() function. Pins 3,5,6,9,10 and 11 of Arduino Uno can support PWM. The frequency of the square wave is 490 Hz (about 2 ms time period) on all pins except 5 and 6, on which it is 980 Hz (about 1s time period). With analogWrite() you get control over the duty cycle, but not on the frequency of the generated square wave.
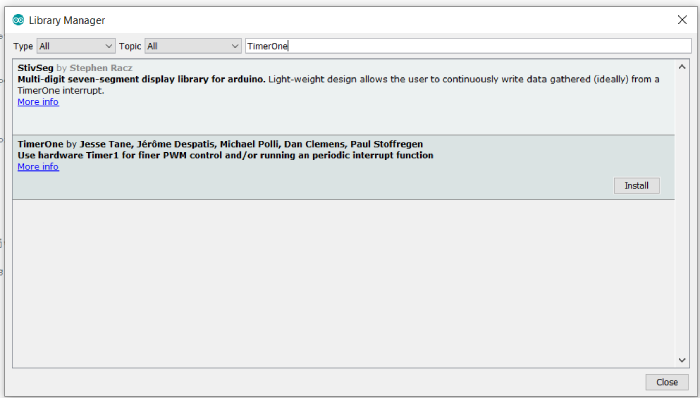
In this article, we will look at another way of setting PWM in Arduino Uno, specific to Timer1. The advantage of this method is that it allows us to control the frequency of the PWM signal as well, along with the duty cycle. This is based on the TimerOne library that we have seen in the past, in the article concerning Timer Interrupts in Arduino. Go to Tools → Library Manager, and download the TimerOne library.

Syntax
The syntax for PWM is −
Timer1.pwm(pin, duty);
Where pin is the pin number on which you wish to set the PWM. Only pins 9 and 10 allow Timer1 based PWM.
Duty is the duty cycle (from 0 to 1023). 0 represents a duty cycle of 0%, while 1023 represents 100%.
If you wish to change the duty cycle mid-execution, you can use −
Timer1.setPwmDuty(pin, duty);
And to disable PWM, you can use −
Timer1.disablePwm(pin);
You may be wondering where did we set the frequency of the PWM. We do that in the setup, using the Timer.initialize() function.
Timer1.initialize(microseconds);
Where the argument is the microsecond interval of the wave. Thus, if you want a frequency of 100kHz, you set the microseconds time as 10.
Timer1.initialize(10);
Example
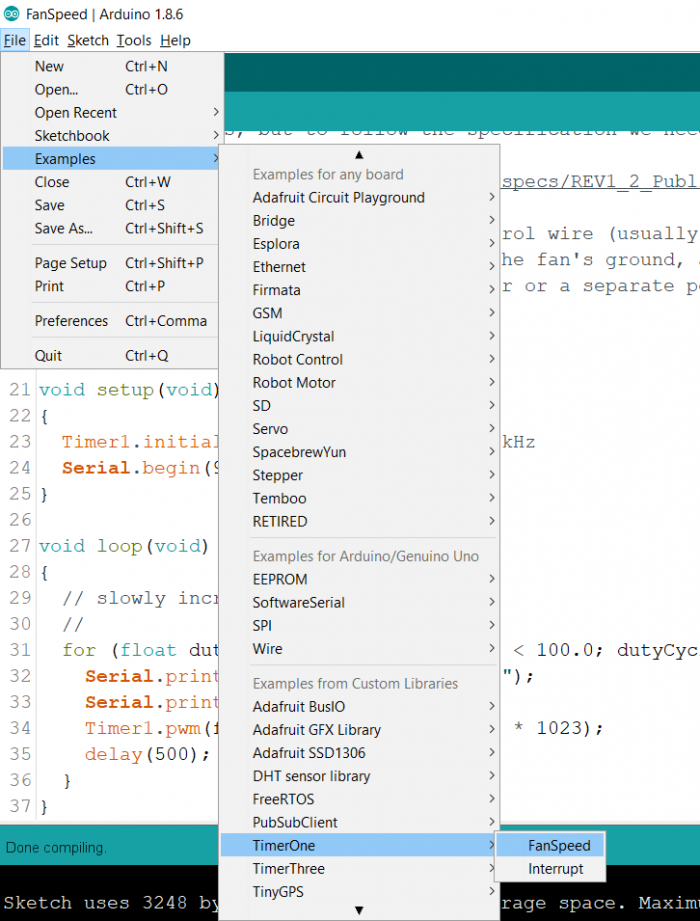
We will look at the example that comes with the TimerOne library. Go to File → Examples → TimerOne → FanSpeed

Over here, the speed of the fan, connected to pin 4 (you need to change it to pin 9 or 10 for Arduino Uno), is changed using PWM.
We include the library and begin with specifying the fan pin.
#include −TimerOne.h>
const int fanPin = 9;
In the setup, we initialize the Timer1 library at 40 microseconds interval (or 25 kHz frequency), and we also initialize Serial.
void setup(void)
{
   Timer1.initialize(40); // 40 us = 25 kHz
   Serial.begin(9600);
}
In the loop, we increase the duty cycle from 30% to 100%, in steps of 1% in a for loop.
void loop(void)
{
   // slowly increase the PWM fan speed
   //
   for (float dutyCycle = 30.0; dutyCycle < 100.0; dutyCycle++) {
      Serial.print("PWM Fan, Duty Cycle = ");
      Serial.println(dutyCycle);
      Timer1.pwm(fanPin, (dutyCycle / 100) * 1023);
      delay(500);
   }
}
