
Article Categories
- All Categories
-
 Data Structure
-
 Networking
-
 RDBMS
RDBMS
-
 Operating System
-
 Java
Java
-
 MS Excel
-
 iOS
iOS
-
 HTML
HTML
-
 CSS
CSS
-
 Android
-
 Python
-
 C Programming
-
 C++
C++
-
 C#
C#
-
 MongoDB
-
 MySQL
MySQL
-
 Javascript
-
 PHP
PHP
-
 Economics & Finance
Selected Reading
Take screenshot of the options in dropdown in selenium c#.
We can take screenshots of the options in dropdown with Selenium Webdriver. A screenshot is generally captured for the failure test cases. This is achieved with the help of ITakesScreenshot interface.
We shall take the help of GetScreenshot method to grab the screenshot. Finally, the SaveAsFile method is used where we pass the parameters – the path of the file and format of the image.
Syntax
((ITakesScreenshot)d).
GetScreenshot().SaveAsFile("Screenshot.png",ScreenshotImageFormat.Png);
For implementation we shall be using the NUnit framework.
Example
using NUnit.Framework;
using OpenQA.Selenium;
using OpenQA.Selenium.Firefox;
using System;
namespace NUnitTestProject1{
   public class Tests{
      String u ="https://www.tutorialspoint.com/selenium/selenium_automation_practice.htm";
      IWebDriver d;
      [SetUp]
      public void Setup(){
         //creating object of FirefoxDriver
         d = new FirefoxDriver();
      }
      [Test]
      public void Test1(){
         d.Navigate()
         .GoToUrl(u);
         d.Manage().Window.Maximize();
         //identify dropdown
         IWebElement l = d.FindElement(By.Name("continents"));
         //scroll to dropdown
         ((IJavaScriptExecutor)d)
         .ExecuteScript("arguments[0].scrollIntoView(true);", l);
         l.Click();
         //capture screenshot along file name
         ((ITakesScreenshot)d)
         .GetScreenshot().SaveAsFile("Screenshot.png", ScreenshotImageFormat.Png);
      }
      [TearDown]
      public void close_Browser(){
         d.Quit();
      }
   }
}
Output
Right−click on the project in Solution Explorer. Then click on Open Folder in File Explorer.
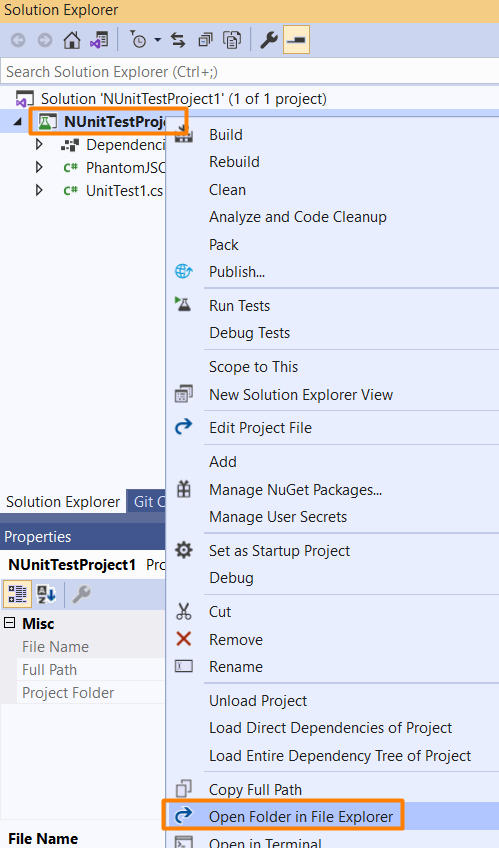
Then move to folder bin−>Debug, the file named Screenshot.png should be available.


Updated on: 2021-01-30T12:35:45+05:30
3K+ Views

Advertisements