- Stable Diffusion - Home
- Stable Diffusion - Overview
- Stable Diffusion - Getting Started
- Stable Diffusion - Architecture
- Stable Diffusion - Model Versions
- Stable Diffusion - XL
- Stable Diffusion 3 - Latest Model
- Stable Assistant
- Stable Fast 3D
- Stable Diffusion Vs Other Models
Stable Diffusion Useful Resources
Getting Started with Stable Diffusion
Getting started with Stable Diffusion is easy. You can use the Stable diffusion model online through DreamStudio web interface. You can also set it up locally. Hugging Face also provides an online platform to access the stable diffusion models.
You can choose online platforms like DreamStudio or Hugging Face for an easy start without hardware setup. Setting up locally is a good idea if you want more control over the functionalities.
Access Stable Diffusion using DreamStudio
If you wish to start using the Stable Diffusion model immediately, you can use it online using the DreamStudio tool, which is a web interface designed by Stability AI to help users access the latest models released in image editing and generating, video generation and 3D modeling.
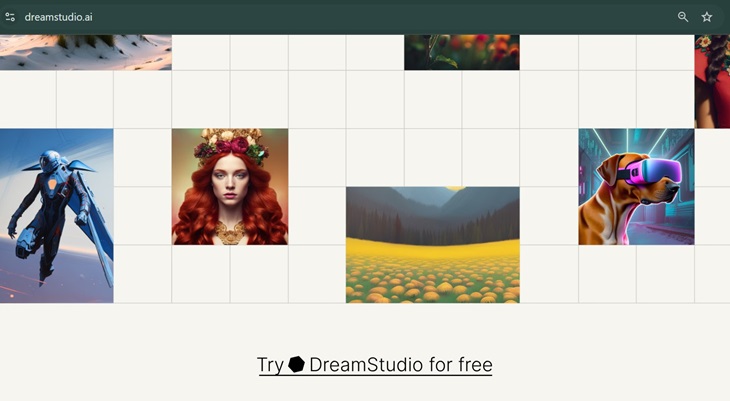
To get started, click here to open the interface online. Once the console is opened, you will find "Try DreamStudio for free," which you have to click to start generating.

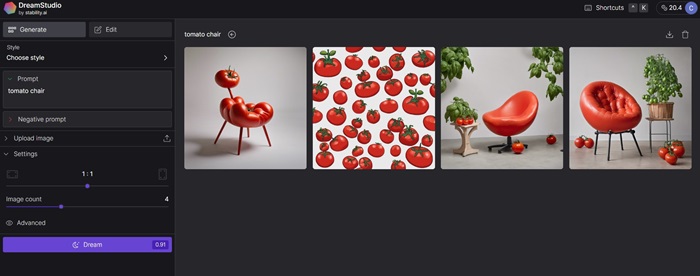
On the left of the screen, you will find a designated column to enter the prompt and generate images. DreamStudio would generate four images simultaneously in 15 seconds giving you options to choose an image that is closely aligning with your prompt. Additionally, the model learns what type of images are mostly preferred.

New users receive 100 free credits to try DreamStudio which is enough to generate around 500 images. Additional credits can be purchased based on your convenience.
Run Stable Diffusion Locally
The latest model that users can access locally is Stable Diffusion XL 1.0. Further is the detailed process of running SDXL locally with ComfyUI.
System Requirements
The most important features you have to check before setting up Stable Diffusion locally are −
- PC with Windows/Linux Installed
- Graphical Processing Unit - Nvidia
Setting up Stable Diffusion Locally
Setting up and running Stable Diffusion locally on your computer will let you explore and experiment with different inputs and will also allow you to fine-tune the model.
Step 1: Install Python and Git
To run Stable Diffusion, you require Python 3.10.6 than can be downloaded from the official website. Next, you must install code repository management Git.
Step 2: Create A Hugging Face and GitHub Account
This helps you download Stable Diffusion WebUI from Github.
Step 3: Clone Stable Diffusion Web UI
Open Git Bash and use the command cd to navigate to the desired folder where you want the clone of Stable Diffusion Web UI. Run the following command to close the repository −
git clone https://github.com/AUTOMATIC1111/stable-diffusion-webui
If the command is executed successfully, you will find a folder named stable-diffusion-webui in your chosen folder.
Step 4: Download the Latest Model of Stable Diffusion
You can download the latest model through HuggingFace.
Step 5: Setup
On the Command Prompt, use cd to navigate to the folder you earlier cloned. Once you are in the folder run the following command −
webui-user.bat
Step 6: Run Stable Diffusion Locally
After running the amount command, all the required dependencies, a URL will appear in the prompt, which you have to copy and paste in your web browser to access Stable Diffusion.