- Sass - Home
- Sass - Overview
- Sass - Installation
- Sass - Syntax
- Using Sass
- Sass - CSS Extensions
- Sass - Comments
- Sass - Script
- Sass - @-Rules and Directives
- Control Directives & Expressions
- Sass - Mixin Directives
- Sass - Function Directives
- Sass - Output Style
- Extending Sass
- Sass - Interview Questions
- Sass - Quick Guide
- Sass - Cheatsheet
- Sass - Useful Resources
- Sass - Discussion
Selected Reading
Sass - Including a Mixin
Description
The @include directive is used to include the mixin in the document. The name of mixin is taken and optional arguments are passed into it. The styles defined by the mixin can be included into the current rule.
Example
The following example demonstrates the use of including a mixin in the SCSS file −
sample.htm
<html>
   <head>
      <title> Mixin example of sass</title>
      <link rel = "stylesheet" type = "text/css" href = "sample.css"/>
   </head>

   <body>
      <div class = "cont">
         <h2>Example using include</h2>
         <h3>Different Colors</h3>
         <ul>
            <li>Red</li>
            <li>Green</li>
            <li>Blue</li>
         </ul>
      </div>
   </body>
</html>
Next, create file sample.scss.
sample.scss
@mixin style {
   .cont{
      background-color: #77C1EF;
      color: #ffffff;
   }

   h3 {
      color: #ffffff;
   }
}
@include style;
You can tell SASS to watch the file and update the CSS whenever SASS file changes, by using the following command −
sass --watch C:\ruby\lib\sass\sample.scss:sample.css
Next, execute the above command; it will create the sample.css file automatically with the following code −
sample.css
.cont {
   background-color: #77C1EF;
   color: #ffffff;
}

h3 {
   color: #ffffff;
}
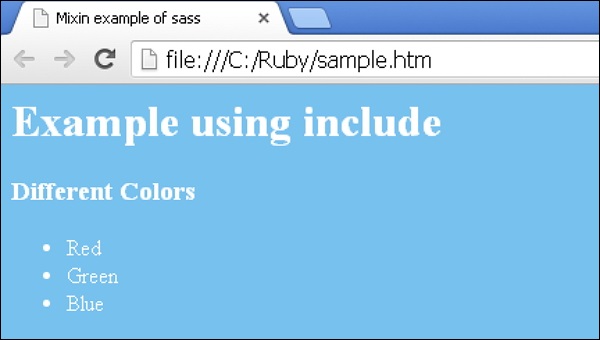
Output
Let us carry out the following steps to see how the above given code works −
Save the above given html code in sample.htm file.
Open this HTML file in a browser, an output is displayed as shown below.
sass_mixin_directives.htm

Advertisements