- Sass - Home
- Sass - Overview
- Sass - Installation
- Sass - Syntax
- Using Sass
- Sass - CSS Extensions
- Sass - Comments
- Sass - Script
- Sass - @-Rules and Directives
- Control Directives & Expressions
- Sass - Mixin Directives
- Sass - Function Directives
- Sass - Output Style
- Extending Sass
- Sass - Interview Questions
- Sass - Quick Guide
- Sass - Cheatsheet
- Sass - Useful Resources
- Sass - Discussion
Sass - @each Directive
Description
In @each, a variable is defined which contains the value of each item in a list.
Syntax
@each $var in <list or map>
The syntax is briefly explained below −
$var − It represents the name of the variable. @each rule sets $var to each item in the list and outputs the styles using the value of $var.
<list or map> − These are SassScript expressions, which will return a list or a map.
Example
The following example demonstrates the the use of @each directive −
<html>
   <head>
      <title>Control Directives & Expressions</title>
      <link rel = "stylesheet" type = "text/css" href = "style.css"/>
   </head>

   <body>
      <p class = "p_red">This is line one.</p>
      <p class = "p_green">This is line two.</p>
      <p class = "p_yellow">This is line three.</p>
      <p class = "p_blue">This is line four.</p>
   </body>
</html>
Next, create file style.scss.
style.scss
@each $color in red, green, yellow, blue {
   .p_#{$color} {
      background-color: #{$color};
   }
}
You can tell SASS to watch the file and update the CSS whenever SASS file changes, by using the following command −
sass --watch C:\ruby\lib\sass\style.scss:style.css
Next, execute the above command; it will create the style.css file automatically with the following code −
style.css
.p_red {
   background-color: red;
}

.p_green {
   background-color: green;
}

.p_yellow {
   background-color: yellow;
}

.p_blue {
   background-color: blue;
}
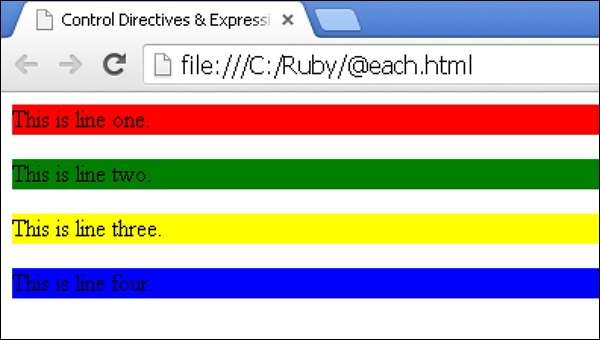
Output
Let us carry out the following steps to see how the above given code works −
Save the above given html code in @each.html file.
Open this HTML file in a browser, an output is displayed as shown below.