- Pytorch Lightning Resources
- Pytorch Lightning - Quick Guide
- Pytorch Lightning - Useful Resources
- Pytorch Lightning - Discussion
PyTorch Lightning - Environment Setup
How to Install PyTorch Lightning
PyTorch Lightning simplifies the deep learning workflow, making it easier to build and train models. By following the installation steps for various platforms and tools, you can quickly set up PyTorch Lightning and start utilizing the capabilities of PyTorch Lightning to enhance your machine learning projects.
Here, we have some popular tools to run the code of Pytorch Lightning.
Below are the instructions for installing PyTorch Lightning on various platforms and tools.
Google Colab
Google Colab is a free, web-based platform that provides GPU acceleration, ideal for running PyTorch Lightning.
Following are the basic steps to install PyTorch Lightning on Google Colab −
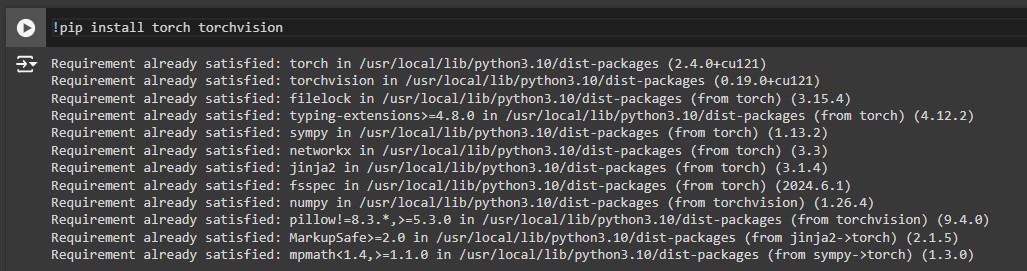
Step 1: Install PyTorch
Run the following command −
!pip install torch torchvision
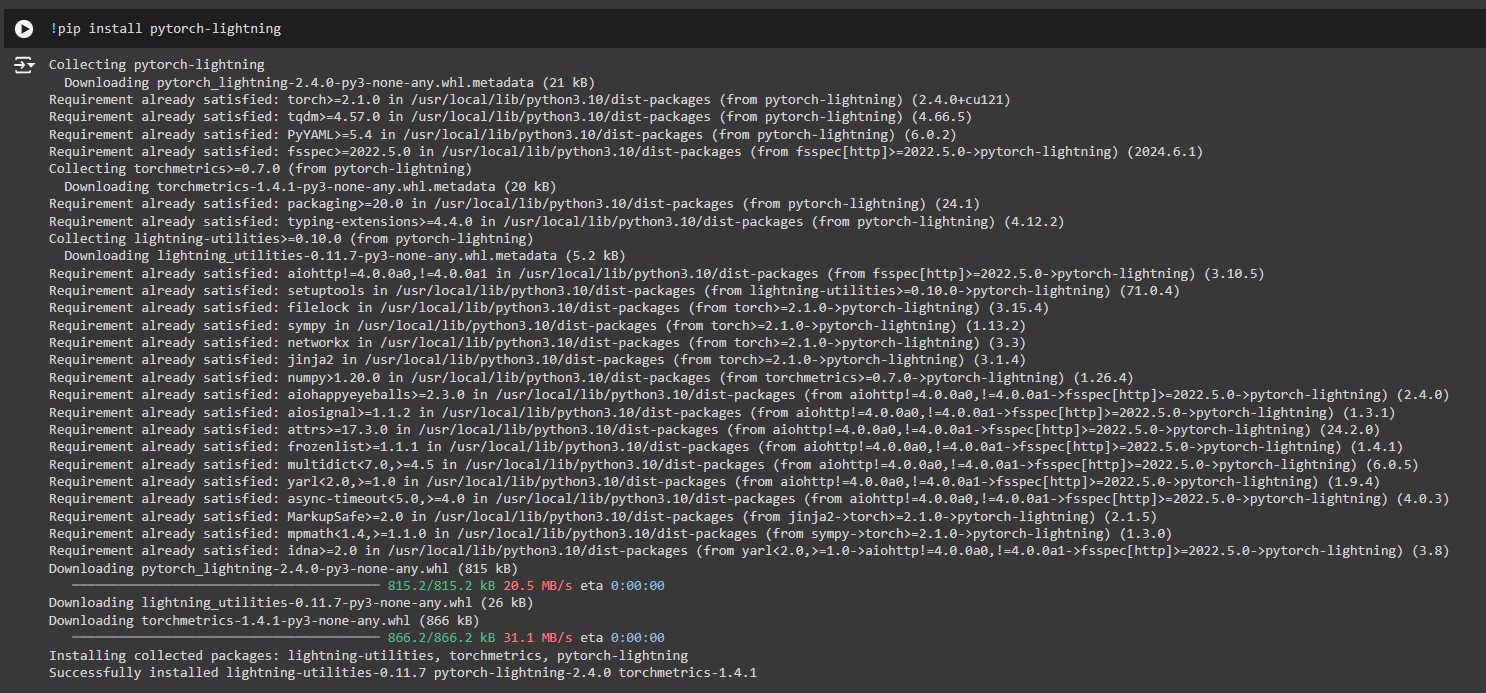
Step 2: Install PyTorch Lightning
Run the following command −
!pip install pytorch-lightning
Step 3: Verify the installation
Import PyTorch Lightning and print the version.
Import pytorch_lightning as pl
print(pl.__version__)

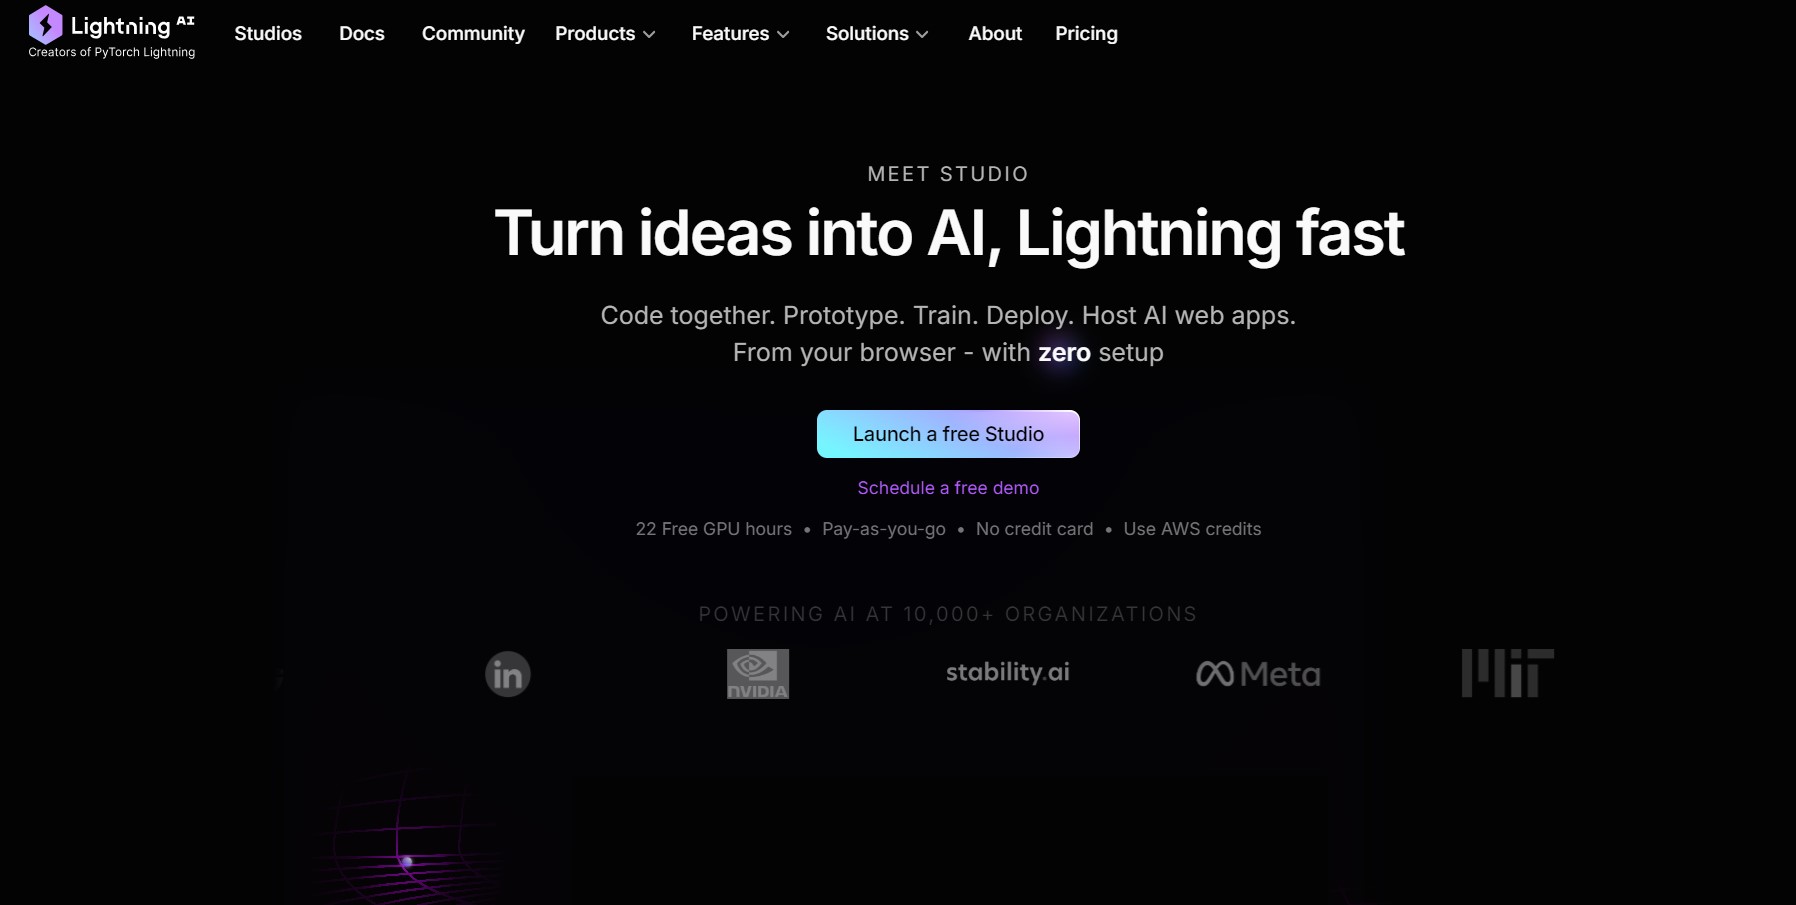
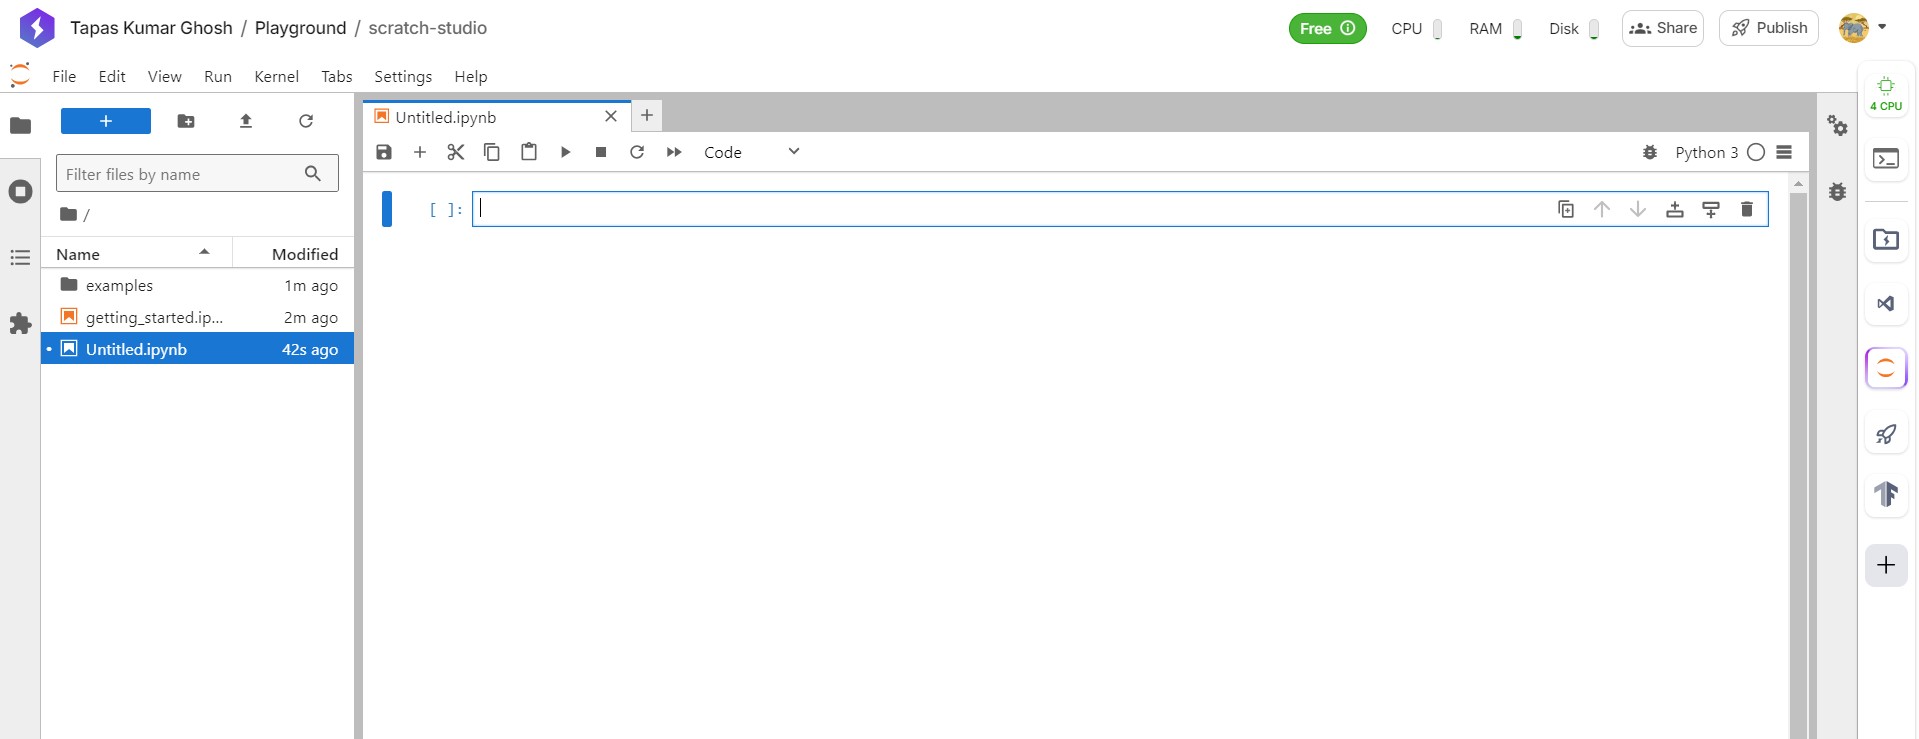
PyTorch Lightning Studio
PyTorch Lightning Studio is an open-source platform designed to enhance the management and monitoring of machine learning experiments. It provides a user-friendly interface for managing your PyTorch Lightning projects, tracking experiments, and collaborating with team members.
This platform is particularly useful for researchers and developers who need an organized environment for managing complex experiments and workflows.
Here are the steps to get started with PyTorch Lightning Studio −
Step 1: Navigate to PyTorch Lightning Studio
Start navigating to the option of "stdios" and then press "Quick Start". While registering the account on pytorch lightning, it takes one day to verify your details, which you can access.

Step 2: Launch the Studio
Click on "Launch a studio free".
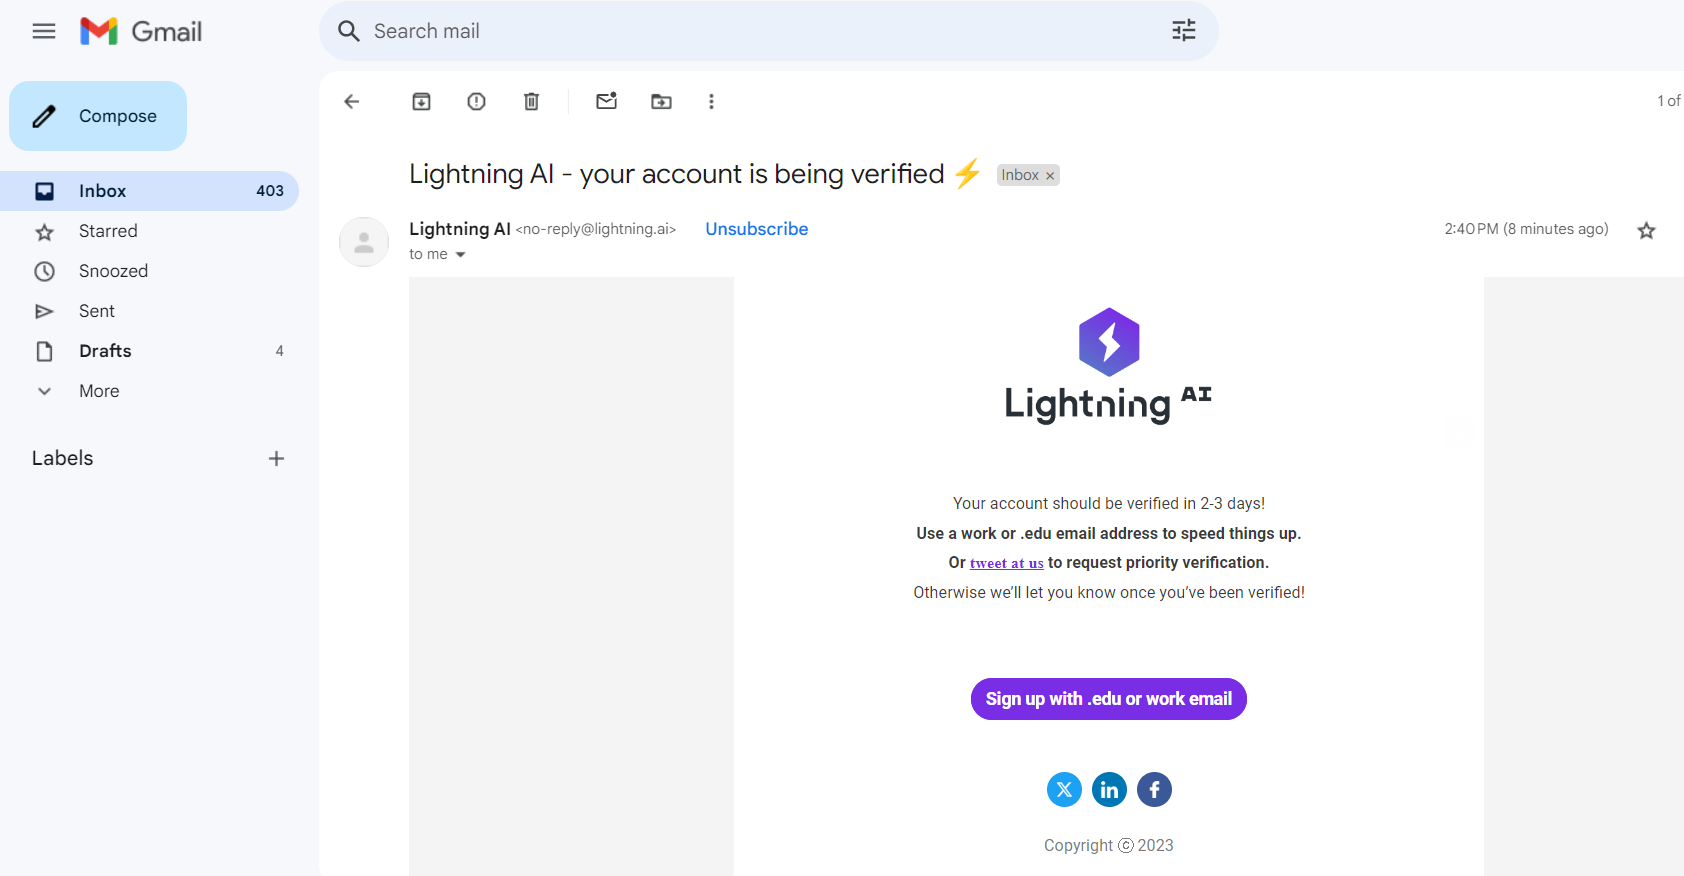
Step 3: Check Your Email
Verify your details and launch the PyTorch Studio.
Step 4: Start Using PyTorch Lightning
Follow the on-screen instructions to get started.

Step 5: Choose Your Platform
Select the platform you are comfortable with.

Step 6: Verify Your Mobile Number
Enter your mobile number for verification.

Step 7: Submit OTP
Enter the OTP sent by PyTorch.

Step 8: Complete Verification
Finish the verification process.

Step 9: Run PyTorch Lightning
You are now ready to use PyTorch Lightning for your projects.
Jupyter Notebook
Jupyter Notebook is a popular platform which runs the code of all Python libraries. When used with PyTorch Lightning, Jupyter Notebook provides tools for fast prototyping, development, training, and testing of deep learning models.
To install PyTorch Lightning in a Jupyter Notebook environment, follow these steps −
Step 1: Open Anaconda Prompt
Search for "Anaconda Prompt" in the Windows search bar and activate your environment.
conda activate myenv

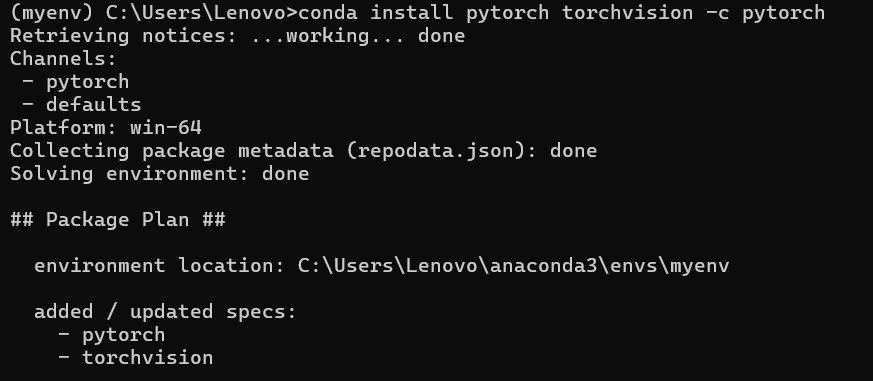
Step 2: Install PyTorch
Run the command.
conda install pytorch torchvision -c pytorch
Step 3: Install PyTorch Lightning
Run the command.
pip install pytorch-lightning

PyCharm
PyCharm is a popular IDE for Python development and can be used to deploy deep learning models with PyTorch Lightning.
Below is the instruction that guide to you install the PyTorch lightning on PyCharm Environment −
Step 1: Open PyCharm Settings
Go to "File" -> "Settings."

Step 2: Select Python Interpreter
Click on the Python interpreter option and press the "+" symbol.

Step 3: Search for PyTorch
Look for PyTorch in the search bar and select it.

Step 4: Install PyTorch Lightning
Search for "pytorch-lightning" and install the package.

Step 5: Verify Installation
The package is now installed, and you can start using PyTorch Lightning in your projects.

