- phpMyAdmin - Home
- phpMyAdmin - Overview
- phpMyAdmin - Environment Setup
- phpMyAdmin - Features
- phpMyAdmin - Pros & Cons
- phpMyAdmin vs MySQL Workbench
- phpMyAdmin Sections
- phpMyAdmin - Databases
- phpMyAdmin - SQL
- phpMyAdmin - Status
- phpMyAdmin - User Accounts
- phpMyAdmin - Export
- phpMyAdmin - Import
- phpMyAdmin - Settings
- phpMyAdmin - Binary Logs
- phpMyAdmin - Replication
- phpMyAdmin - Variables
- phpMyAdmin - Charsets
- phpMyAdmin - Engines
- phpMyAdmin - Plugins
- phpMyAdmin Useful Resources
- phpMyAdmin - Quick Guide
- phpMyAdmin - Useful Resources
- phpMyAdmin - Discussion
phpMyAdmin - Databases
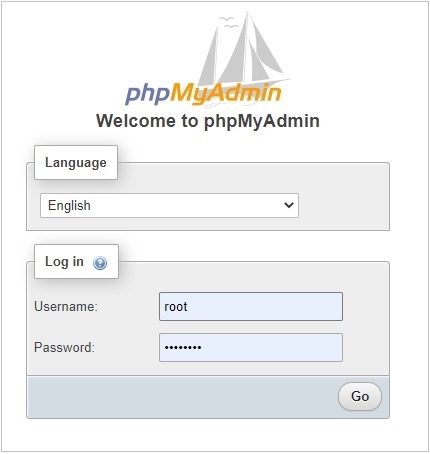
Start the Apache Server and open /localhost/phpmyadmin phpmyadmin in web browser to open the phpMyAdmin interface.
As we have configured a database MySQL during Environment Setup, we've root user with password as root@123. Once phpMyAdmin opens up, you need to enter same credential to login to database.
Dashboard
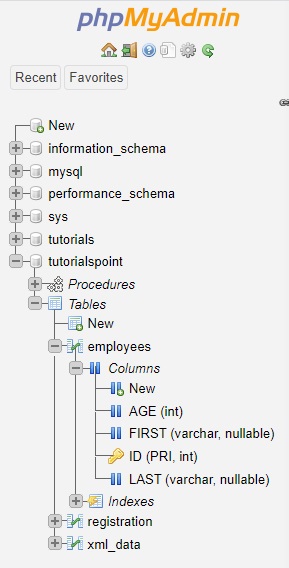
Once logged in, you can see the following sections on the phpMyAdmin page loaded. The left section shows the databases available, it shows system as well user created databases.
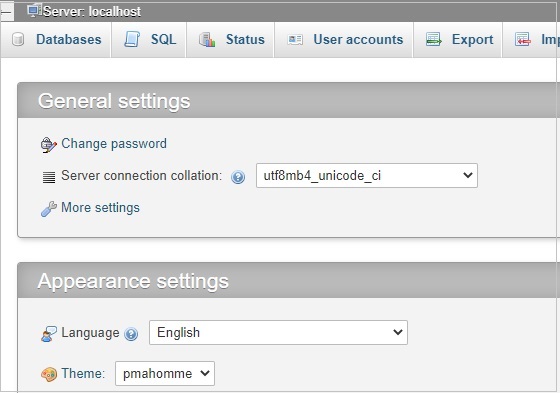
On the right side, dashboard shows a tabbed interface to do all the database administration operations as shown below.
Databases
Click on Database Tab, to see the list of databases with more details. We can create database, iterate databases and do other operations here.
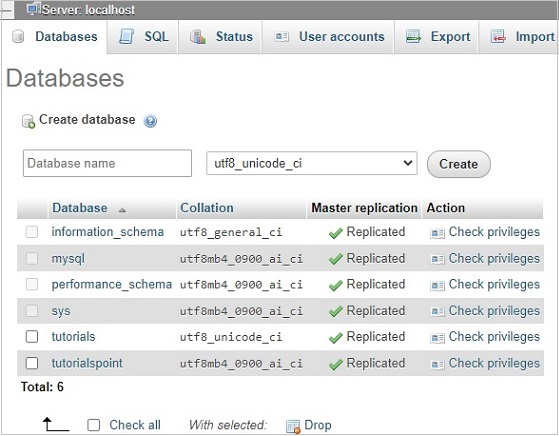
Click on any listed database to see the list of tables with more details. Tabs changes as per the context. Now tabs will shows as per the database.
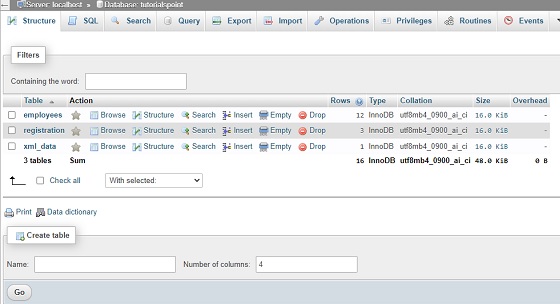
Tables
Now in the schema browser, click on any table, right side section will load the table details as shown with updated tabbed interface to do various operations on that table as shown below −

Double clicking on any cell, makes it editable, where you can edit and save data. Pressing esc key, will not save data. Once you move out of editing cell, it will show the update query and status of operation as shown below −
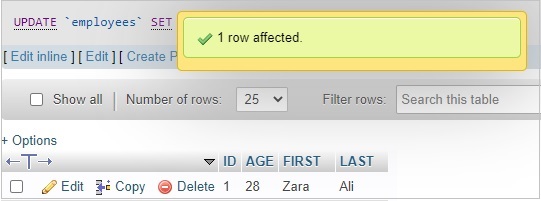
You can verify the update statement as well as show below −
UPDATE `employees` SET `AGE` = '28' WHERE `employees`.`ID` = 1;
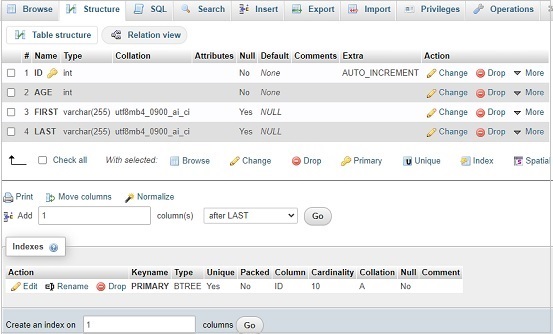
Now click on Structure tab, it will show the table structural details as shown below −