- OpenNLP - Home
- OpenNLP - Overview
- OpenNLP - Environment
- OpenNLP - Referenced API
- OpenNLP - Sentence Detection
- OpenNLP - Tokenization
- Named Entity Recognition
- OpenNLP - Finding Parts of Speech
- OpenNLP - Parsing the Sentences
- OpenNLP - Chunking Sentences
- OpenNLP - Command Line Interface
OpenNLP - Environment
In this chapter, we will discuss how you can setup OpenNLP environment in your system. Lets start with the installation process.
Installing OpenNLP
Following are the steps to download Apache OpenNLP library in your system.
Step 1 − Open the homepage of Apache OpenNLP by clicking the following link − https://opennlp.apache.org/.
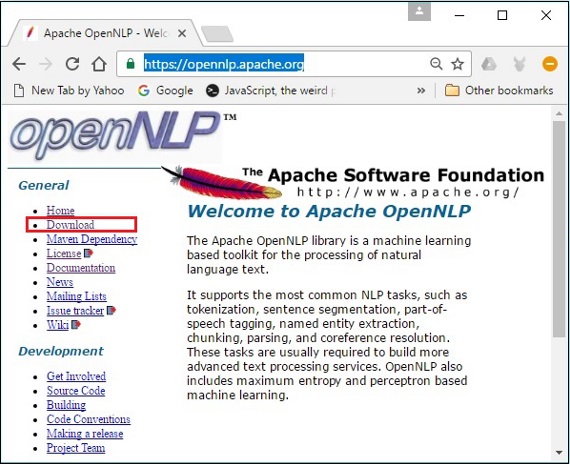
Step 2 − Now, click on the Downloads link. On clicking, you will be directed to a page where you can find various mirrors which will redirect you to the Apache Software Foundation Distribution directory.
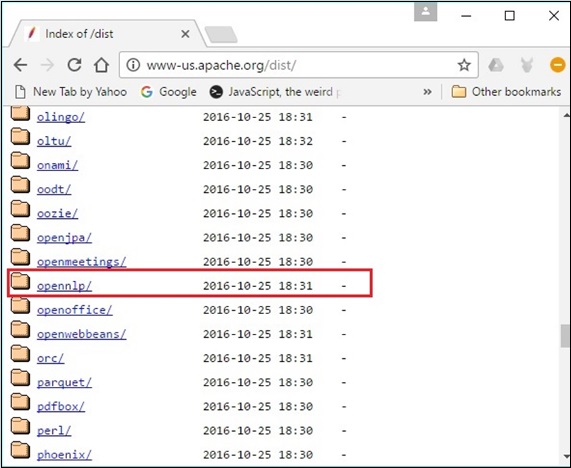
Step 3 − In this page you can find links to download various Apache distributions. Browse through them and find the OpenNLP distribution and click it.
Step 4 − On clicking, you will be redirected to the directory where you can see the index of the OpenNLP distribution, as shown below.
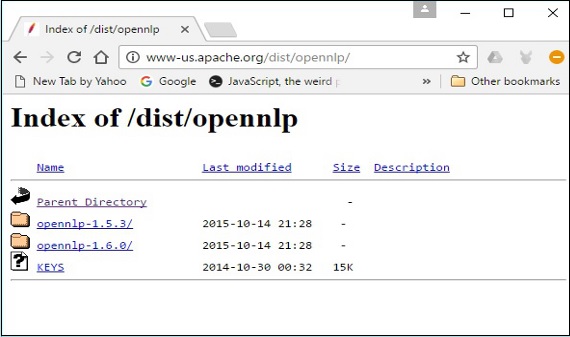
Click on the latest version from the available distributions.
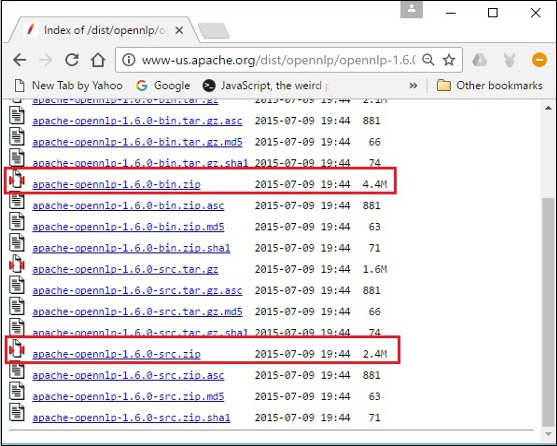
Step 5 − Each distribution provides Source and Binary files of OpenNLP library in various formats. Download the source and binary files, apache-opennlp-1.6.0-bin.zip and apache-opennlp1.6.0-src.zip (for Windows).
Setting the Classpath
After downloading the OpenNLP library, you need to set its path to the bin directory. Assume that you have downloaded the OpenNLP library to the E drive of your system.
Now, follow the steps that are given below −
Step 1 − Right-click on 'My Computer' and select 'Properties'.
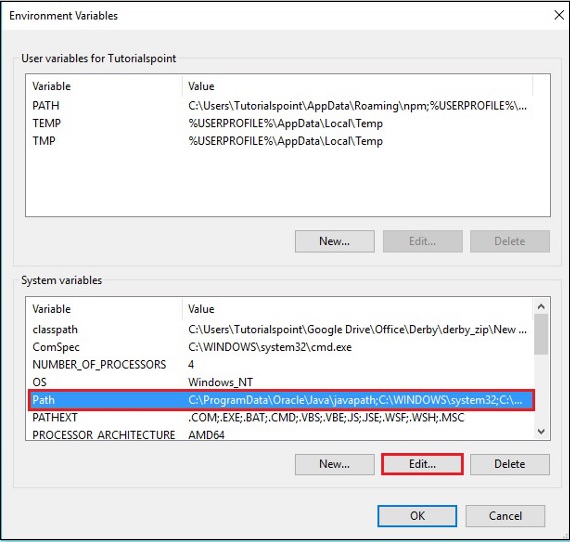
Step 2 − Click on the 'Environment Variables' button under the 'Advanced' tab.
Step 3 − Select the path variable and click the Edit button, as shown in the following screenshot.
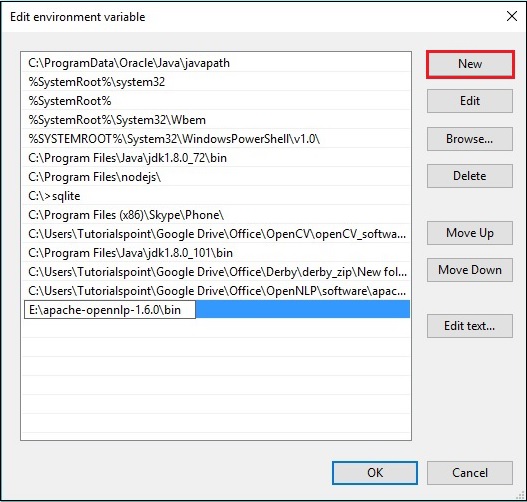
Step 4 − In the Edit Environment Variable window, click the New button and add the path for OpenNLP directory E:\apache-opennlp-1.6.0\bin and click the OK button, as shown in the following screenshot.
Eclipse Installation
You can set the Eclipse environment for OpenNLP library, either by setting the Build path to the JAR files or by using pom.xml.
Setting Build Path to the JAR Files
Follow the steps given below to install OpenNLP in Eclipse −
Step 1 − Make sure that you have Eclipse environment installed in your system.
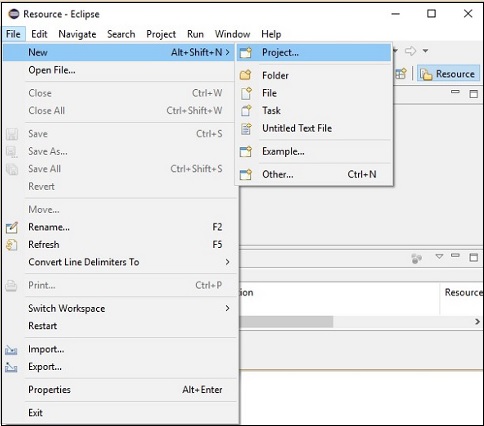
Step 2 − Open Eclipse. Click File → New → Open a new project, as shown below.
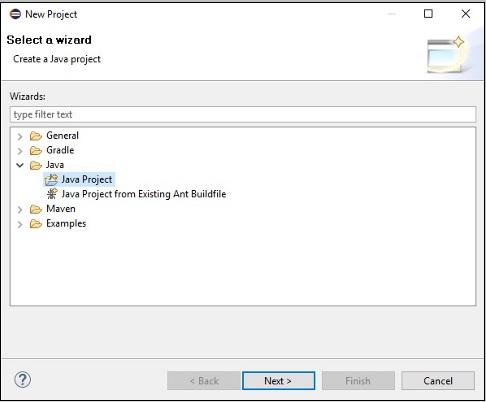
Step 3 − You will get the New Project wizard. In this wizard, select Java project and proceed by clicking the Next button.
Step 4 − Next, you will get the New Java Project wizard. Here, you need to create a new project and click the Next button, as shown below.

Step 5 − After creating a new project, right-click on it, select Build Path and click Configure Build Path.
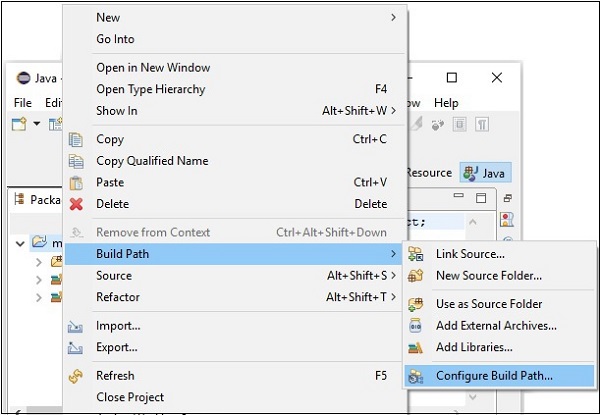
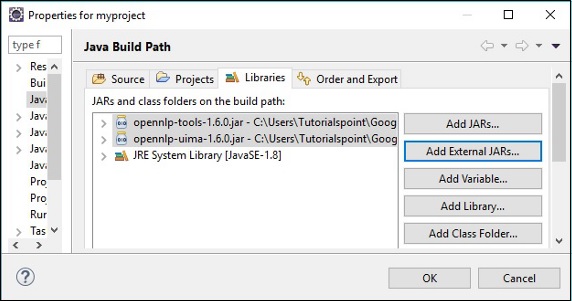
Step 6 − Next, you will get the Java Build Path wizard. Here, click the Add External JARs button, as shown below.

Step 7 − Select the jar files opennlp-tools-1.6.0.jar and opennlp-uima-1.6.0.jar located in the lib folder of apache-opennlp-1.6.0 folder.
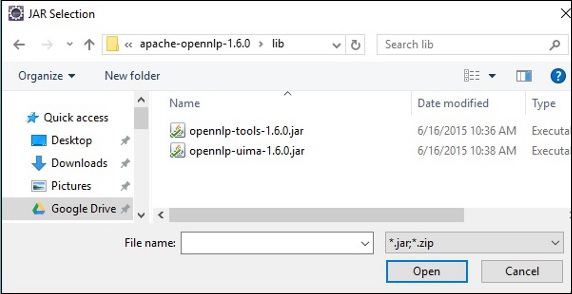
On clicking the Open button in the above screen, the selected files will be added to your library.
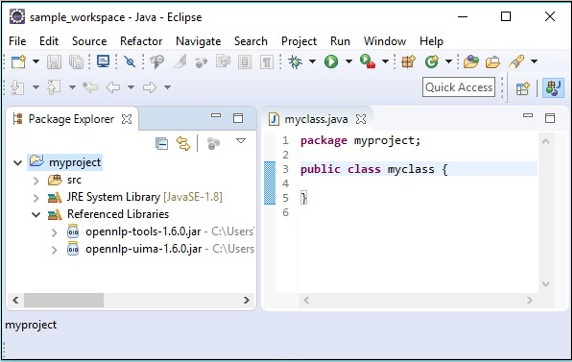
On clicking OK, you will successfully add the required JAR files to the current project and you can verify these added libraries by expanding the Referenced Libraries, as shown below.
Using pom.xml
Convert the project into a Maven project and add the following code to its pom.xml.
<project xmlns="http://maven.apache.org/POM/4.0.0"
xmlns:xsi="http://www.w3.org/2001/XMLSchema-instance"
xsi:schemaLocation="http://maven.apache.org/POM/4.0.0
http://maven.apache.org/xsd/maven-4.0.0.xsd">
   <modelVersion>4.0.0</modelVersion>
   <groupId>myproject</groupId>
   <artifactId>myproject</artifactId>
   <version>0.0.1-SNAPSHOT</version>
   <build>
      <sourceDirectory>src</sourceDirectory>
      <plugins>
         <plugin>
            <artifactId>maven-compiler-plugin</artifactId>
            <version>3.5.1</version>
            <configuration>
               <source>1.8</source>
               <target>1.8</target>
            </configuration>
         </plugin>
      </plugins>
   </build>
   <dependencies>
      <dependency>
         <groupId>org.apache.opennlp</groupId>
         <artifactId>opennlp-tools</artifactId>
         <version>1.6.0</version>
     </dependency>
     <dependency>
         <groupId>org.apache.opennlp</groupId>
         <artifactId>opennlp-uima</artifactId>
         <version>1.6.0</version>
      </dependency>
  </dependencies>
</project>
