- JasmineJS - Home
- JasmineJS - Overview
- JasmineJS - Environment Setup
- JasmineJS - Writing Text & Execution
- JasmineJS - BDD Architecture
- JasmineJS - Building Blocks of Test
- JasmineJS - Matchers
- JasmineJS - Skip Block
- JasmineJS - Equality Check
- JasmineJS - Boolean Check
- JasmineJS - Sequential Check
- JasmineJS - Null Check
- JasmineJS - Inequality Check
- JasmineJS - Not a Number Check
- JasmineJS - Exception Check
- JasmineJS - beforeEach()
- JasmineJS - afterEach()
- JasmineJS - Spies
JasmineJS - Environment Setup
In this chapter, we will discuss the step-by-step procedure of how to set up a Jasmine based BDD testing application.
Step 1 − Go to the official website of jasmine https://jasmine.github.io/
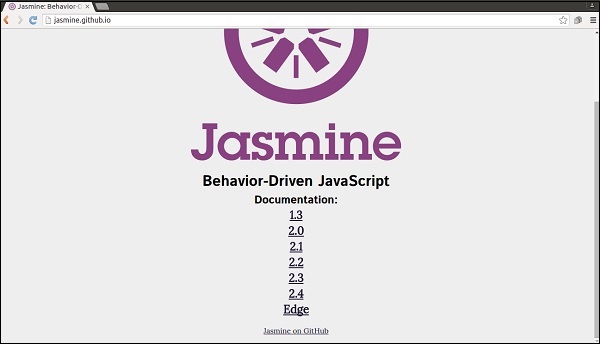
Step 2 − Click on any of the version link. It is preferable to use the most recent version that is Edge. You will be redirected to the homepage of the selected version.
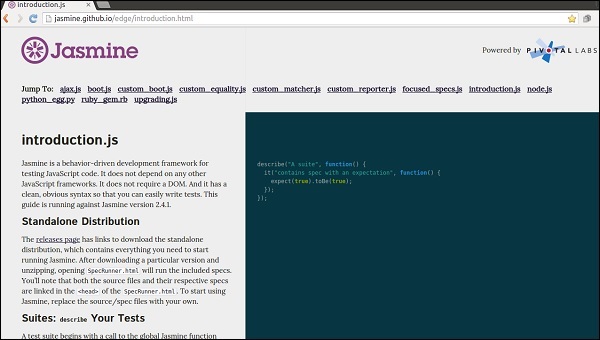
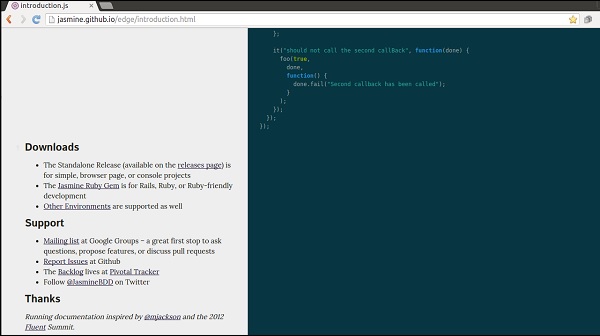
Step 3 − Go to the Download section of the homepage and click on the standalone release page.
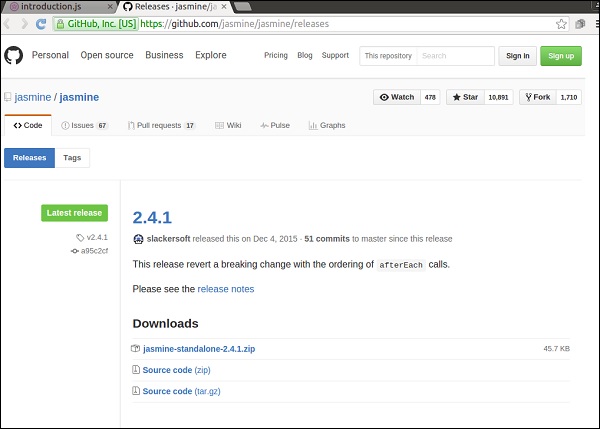
Step 4 − Once you are redirected to github release page, download the Zip file from there.
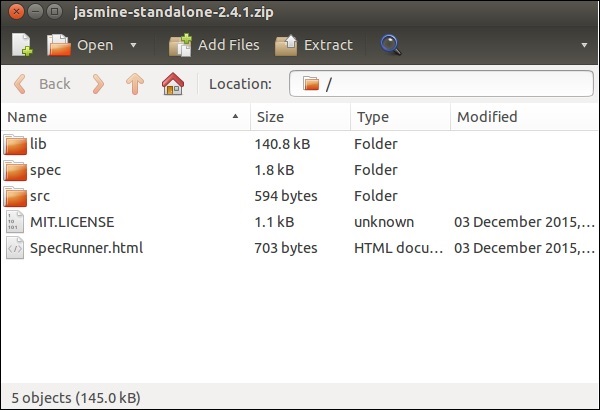
Step 5 − Unzip the downloaded jasmine-standalone-2.4.1 folder. You will see the following folder structure.
Step 6 − Now Create a web application project in your favorite IDE and add this downloaded library files into the application. Here, we have used netbeans IDE. Following is the Directory structure of our application after adding Jasmine framework.

Our environment setup is done. Now our application is ready to be tested by Jasmine framework.
