
Article Categories
- All Categories
-
 Data Structure
-
 Networking
-
 RDBMS
RDBMS
-
 Operating System
-
 Java
Java
-
 MS Excel
-
 iOS
iOS
-
 HTML
HTML
-
 CSS
CSS
-
 Android
-
 Python
-
 C Programming
-
 C++
C++
-
 C#
C#
-
 MongoDB
-
 MySQL
MySQL
-
 Javascript
-
 PHP
PHP
-
 Economics & Finance
Introduction to Arduino Online Editor
Don’t have Arduino IDE installed on your machine, but still want to write Arduino code? Alternatively, don’t have access to your machine, but still want to program boards with your code? Come in Arduino Online Editor. Head on to www.create.arduino.cc/editor
You will be asked to Sign Up if you are visiting this page for the first time. Complete the Sign Up formalities, and login.
You will be greeted with a screen like this one −
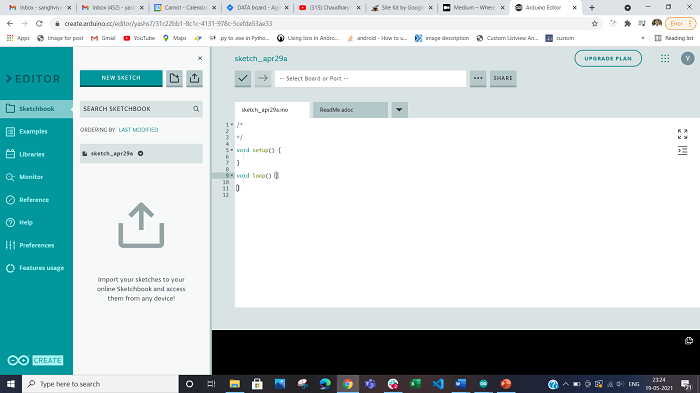
As you can see, this is very similar to the offline Arduino IDE. You can select the board and port (more on the port later), you can write your code, check its compilation using the familiar ‘Verify’ button.
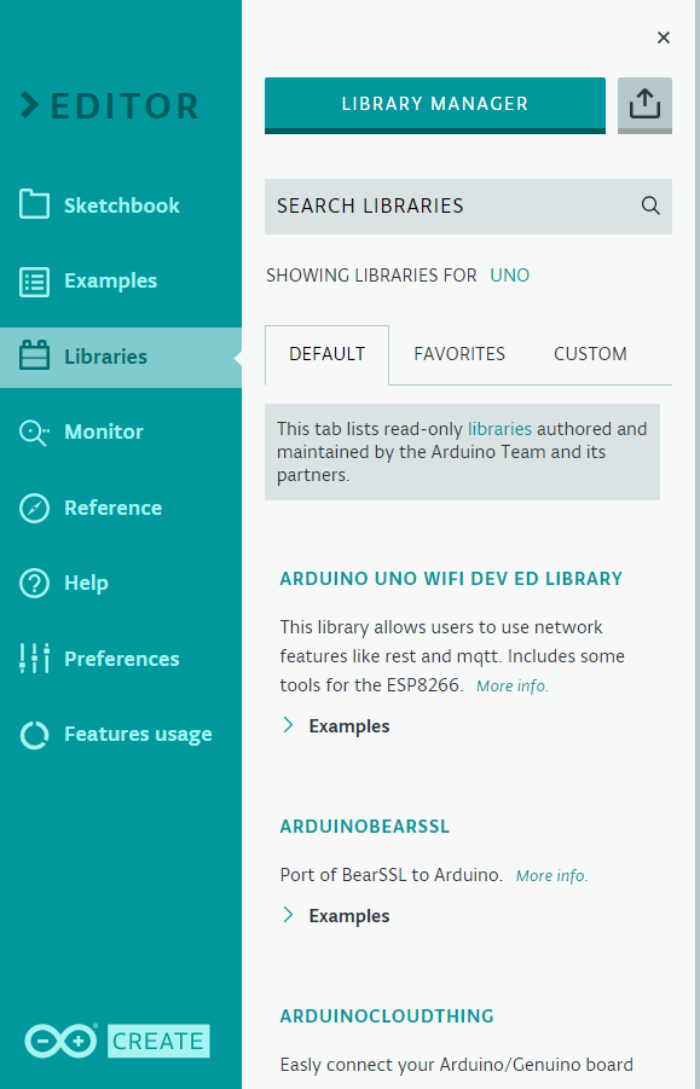
On the left side, you can see Example, both built-in and from libraries, and also see the list of libraries.
In the libraries tab, you can see the Manage Libraries button to install additional libraries.
You can find the Arduino code reference in the ‘Reference’ tab, and adjust the Online Editor settings in Preferences.
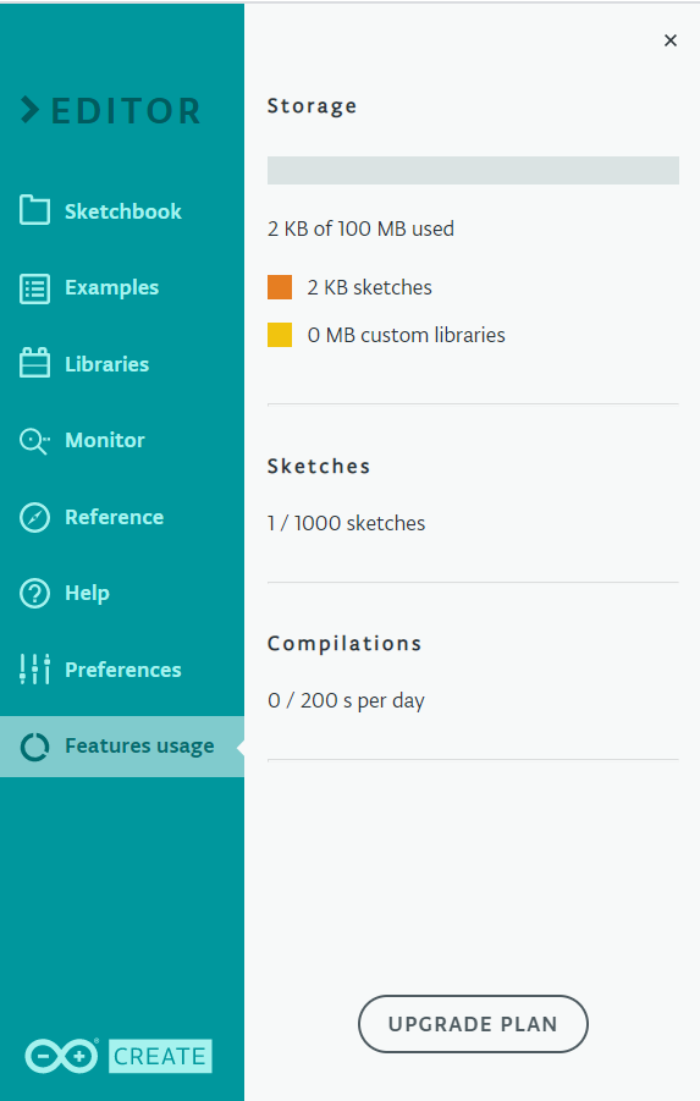
Also, you can check your free plan usage in the ‘Features usage’ tab, and can update your plan if required.
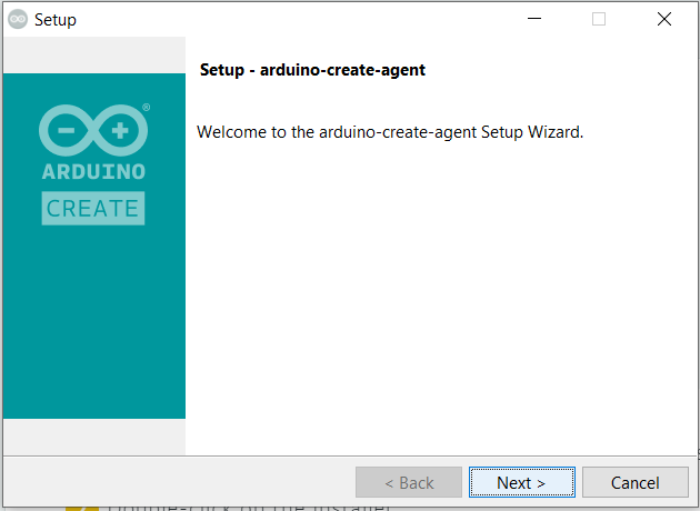
In order to just compile a sketch, this much of an introduction is enough. However, if you wish to program a board using the Online Editor, you need to install the Arduino Create Agent in your machine. You can install it from here − https://create.arduino.cc/gettingstarted/plugin/welcome
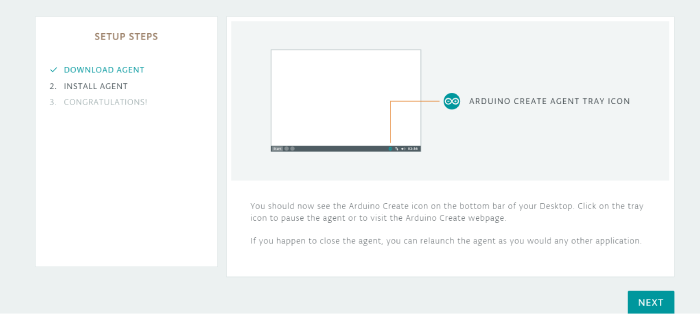
Follow the installation instructions −
Once the installation is done, you can see the Arduino Create icon in your tray (if your firewall is blocking access to this, you may need to manually provide permissions)
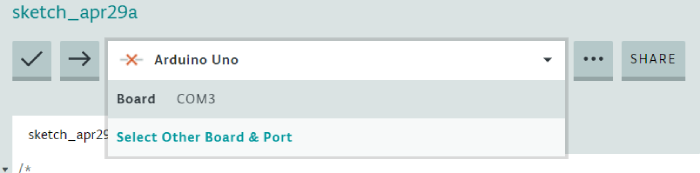
If you now, go to the Online Editor, you will be able to see the Port, the Upload button will be clickable and once uploaded, you will be able to see the Serial Output in the Monitor tab on the left.
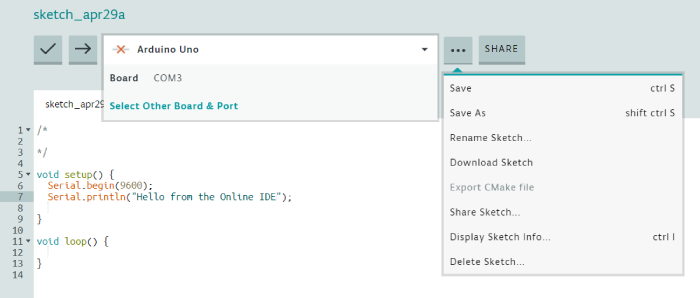
Finally, you can save and download the sketch using the 3-dot menu.

1K+ Views
