
Article Categories
- All Categories
-
 Data Structure
-
 Networking
-
 RDBMS
RDBMS
-
 Operating System
-
 Java
Java
-
 MS Excel
-
 iOS
iOS
-
 HTML
HTML
-
 CSS
CSS
-
 Android
-
 Python
-
 C Programming
-
 C++
C++
-
 C#
C#
-
 MongoDB
-
 MySQL
MySQL
-
 Javascript
-
 PHP
PHP
-
 Economics & Finance
Selected Reading
How to use Bold & Non-Bold Text In A Single UILabel in iOS/iPhone?
To use a Bold and a regular/Non-Bold text in a single UILabel, we can either use a storyboard editor to achieve the same, or we can do it programmatically. Let’s see both of them.
Method One − Editing with Storyboard
Select the label you want to edit, go to it’s attribute inspector.
From the first option Text, select Attributes instead of plain.
Write the following text in the label “Bold Regular”
Double Click on Bold to select it, and then right click on it to see more options.
Select font > Bold from that option. It should do the task.
Method Two − Programmatically Achieving the result.
Add the following code inside you View Controller’s View did load method.
override func viewDidLoad() {
   super.viewDidLoad()
   let boldAttribute = [
      NSAttributedString.Key.font: UIFont(name: "HelveticaNeue-Bold", size: 18.0)!
   ]
   let regularAttribute = [
      NSAttributedString.Key.font: UIFont(name: "HelveticaNeue-Light", size: 18.0)!
   ]
   let boldText = NSAttributedString(string: "Bold", attributes: boldAttribute)
   let regularText = NSAttributedString(string: " regular", attributes: regularAttribute)
   let newString = NSMutableAttributedString()
   newString.append(boldText)
   newString.append(regularText)
   lbl.attributedText = newString
}
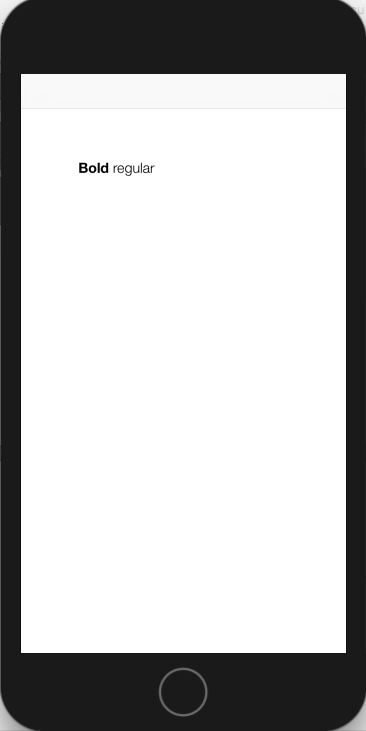
This code can be converted to function or extensions as per requirement. When we run with any of the above-mentioned methods the same result is produced as shown below.

Updated on: 2020-06-29T13:59:33+05:30
4K+ Views

Advertisements