
Article Categories
- All Categories
-
 Data Structure
-
 Networking
-
 RDBMS
RDBMS
-
 Operating System
-
 Java
Java
-
 MS Excel
-
 iOS
iOS
-
 HTML
HTML
-
 CSS
CSS
-
 Android
-
 Python
-
 C Programming
-
 C++
C++
-
 C#
C#
-
 MongoDB
-
 MySQL
MySQL
-
 Javascript
-
 PHP
PHP
-
 Economics & Finance
How to programmatically take a screenshot in android?
This example demonstrate about how to programmatically take a screenshot in android.
Step 1 − Create a new project in Android Studio, go to File ⇒ New Project and fill all required details to create a new project.
Step 2 − Add the following code to res/layout/activity_main.xml.
<?xml version="1.0" encoding="utf-8"?>
<LinearLayout xmlns:android="http://schemas.android.com/apk/res/android"
   android:id="@+id/parent"
   xmlns:tools="http://schemas.android.com/tools"
   android:layout_width="match_parent"
   android:layout_height="match_parent"
   tools:context=".MainActivity"
   android:background="#33FFFF00"
   android:orientation="vertical">
   <ImageView
      android:id="@+id/screenShot"
      android:layout_width="300dp"
      android:layout_height="300dp" />
   <TextView
      android:id="@+id/text"
      android:textSize="18sp"
      android:layout_gravity="center"
      android:text="Click"
      android:layout_width="wrap_content"
      android:layout_height="wrap_content" />
</LinearLayout>
In the above code we have taken two views as imageview and textview. when user click on textview, it going to take screen shot and append to imageview.
Step 3 − Add the following code to src/MainActivity.java
package com.example.andy.myapplication;
import android.graphics.Bitmap;
import android.graphics.Canvas;
import android.os.Bundle;
import android.support.v7.app.AppCompatActivity;
import android.view.View;
import android.widget.ImageView;
import android.widget.LinearLayout;
import android.widget.TextView;

public class MainActivity extends AppCompatActivity {
   int view=R.layout.activity_main;
   ImageView screenShort;
   TextView textView;
   @Override
   protected void onCreate(Bundle savedInstanceState) {
      super.onCreate(savedInstanceState);
      setContentView(view);
      final LinearLayout parent=findViewById(R.id.parent);
      screenShot=findViewById(R.id.screenShot);
      textView=findViewById(R.id.text);
      textView.setOnClickListener(new View.OnClickListener() {
         @Override
         public void onClick(View v) {
            textView.setText("It is screen shot text");
            screenShot(parent);
         }
      });
   }
   public void screenShot(View view) {
      Bitmap bitmap = Bitmap.createBitmap(view.getWidth(),
      view.getHeight(), Bitmap.Config.ARGB_8888);
      Canvas canvas = new Canvas(bitmap);
      view.draw(canvas);
      screenShot.setImageBitmap(bitmap);
      textView.setText("click");
   }
}
In the above code we have written screenshot(view), in this method we have passed parent view to take screen shot from top end bottom. To take screen use the following code -
Bitmap bitmap = Bitmap.createBitmap(view.getWidth(),
view.getHeight(), Bitmap.Config.ARGB_8888);
Canvas canvas = new Canvas(bitmap);
view.draw(canvas);
screenShort.setImageBitmap(bitmap);
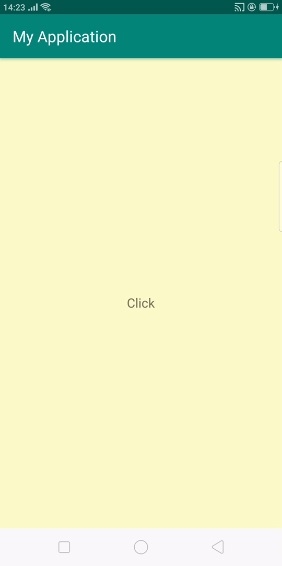
Let's try to run your application. I assume you have connected your actual Android Mobile device with your computer. To run the app from android studio, open one of your project's activity files and click Run ![]() icon from the toolbar. Select your mobile device as an option and then check your mobile device which will display your default screen −
icon from the toolbar. Select your mobile device as an option and then check your mobile device which will display your default screen −
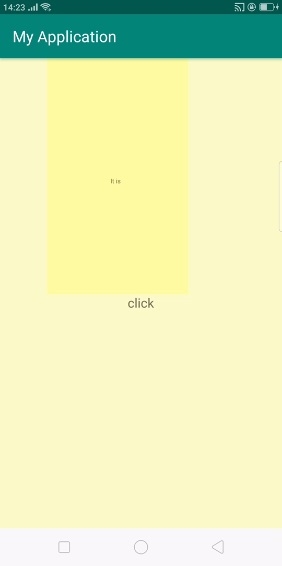
Now click on text view, it will take screen shot and append to image view as shown below -
Click here to download the project code

2K+ Views
