 Data Structure
 Networking
 RDBMS
RDBMS Operating System
 Java
Java MS Excel
 iOS
iOS HTML
HTML CSS
CSS Android
 Python
 C Programming
 C++
C++ C#
C# MongoDB
 MySQL
MySQL Javascript
 PHP
PHP
- Selected Reading
- UPSC IAS Exams Notes
- Developer's Best Practices
- Questions and Answers
- Effective Resume Writing
- HR Interview Questions
- Computer Glossary
- Who is Who
How to resize the Azure VM using Azure CLI in PowerShell?
To resize the Azure VM using az CLI, we can use “az vm resize” command. Before running this command, make sure you are connected to the Azure cloud and the proper Azure subscription.
To get the current size of the VM,
PS C:\> az vm show -n Win2k16VM1 -g testvmrg --query 'hardwareProfile.vmSize'
Output
"Standard_B2ms"
Here, -n is the VM name, and -g is the resource group name.
To get the VM location,
PS C:\> az vm show -n Win2k16VM1 -g testvmrg --query 'location'
Output
"eastus"
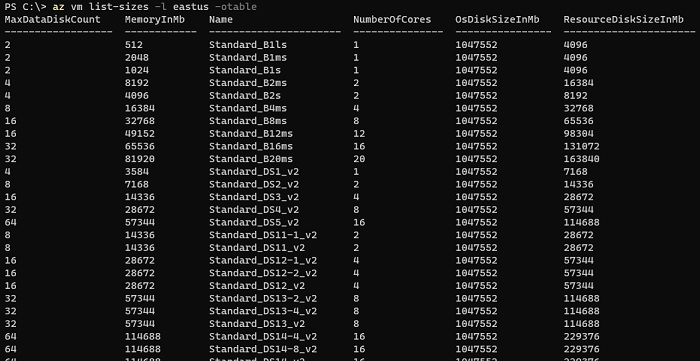
We will now get all the sizes available at the particular location so that we can resize the VM from the sizes listed.
PS C:\> az vm list-sizes -l eastus -otable
Output

To resize the VM with Standard_B2s size.
PS C:\> az vm resize -n Win2k16VM1 -g testvmrg --size Standard_B2s
When we check the size again,
PS C:\> az vm show -n Win2k16VM1 -g testvmrg --query 'hardwareProfile.vmSize'
Output
![]()

Advertisements
