
Article Categories
- All Categories
-
 Data Structure
-
 Networking
-
 RDBMS
RDBMS
-
 Operating System
-
 Java
Java
-
 MS Excel
-
 iOS
iOS
-
 HTML
HTML
-
 CSS
CSS
-
 Android
-
 Python
-
 C Programming
-
 C++
C++
-
 C#
C#
-
 MongoDB
-
 MySQL
MySQL
-
 Javascript
-
 PHP
PHP
-
 Economics & Finance
How to Make YouTube Stories in Simple Steps?
Though YouTube Stories may not be as well-known as Instagram Stories, have you ever tried them? YouTube is significantly dissimilar from Instagram and calls for a different strategy.
What are YouTube Stories?
The Story formats on Snapchat, Instagram, and other social media sites are comparable to those on YouTube.
The YouTube story feature is now progressively being made available to all qualified YouTube channels with more than 10,000 followers. More YouTube channel creators and channel owners may now use YouTube Stories to communicate with their audience on a more casual level by disseminating quick videos and photographs throughout the day.
You'll learn how to set up and distribute stories on YouTube in this tutorial.
Let?s begin
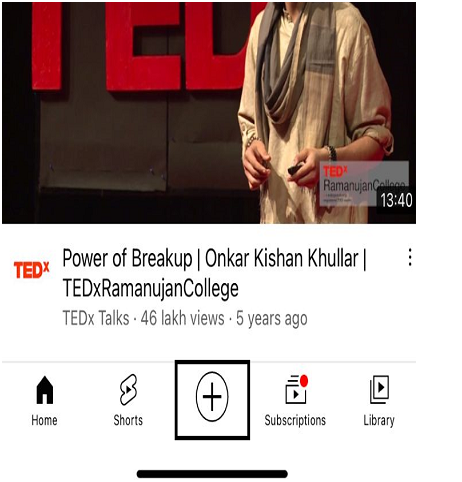
- Step 1 ? Sign into your YouTube account with your email address and Password on mobile device. Once it?s done, at the bottom of the task bar and in the middle, you will find + icon. (as shown below). Tap on the + icon.
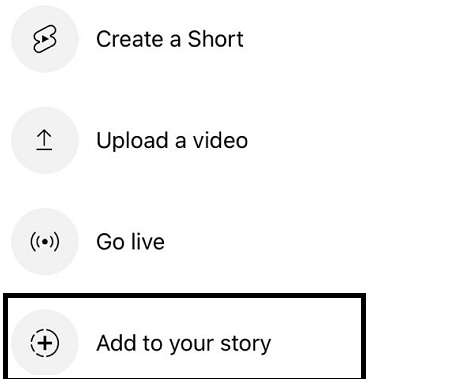
- Step 2 ? A separate window will be opened up, you will find different options. Click on the Add to Your Story (as shown below).
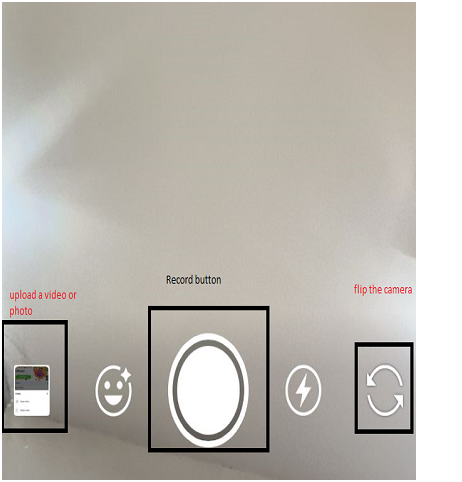
- Step 3 ? When you click on Add to your story, an empty camera will be shown to you. You can record a video or take a selfie or you can upload any of photos or videos in the gallery and you can flip the camera - front or rear.
- Step 4 ? Here I?m uploading one of my videos in the gallery and the screen looks like this as shown below and in the left side, you will find different options to edit the videos.
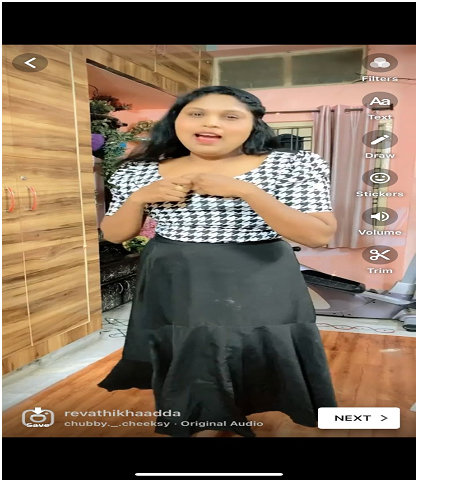
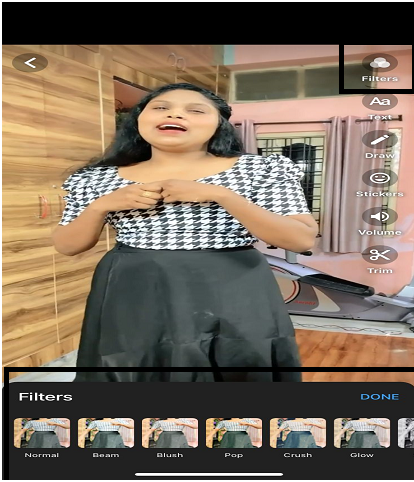
- Step 5 ? Click on the Filters button on the top and you will be displayed with different types of filters at the bottom. Select any one of the filter to make your videos visually more appealing.
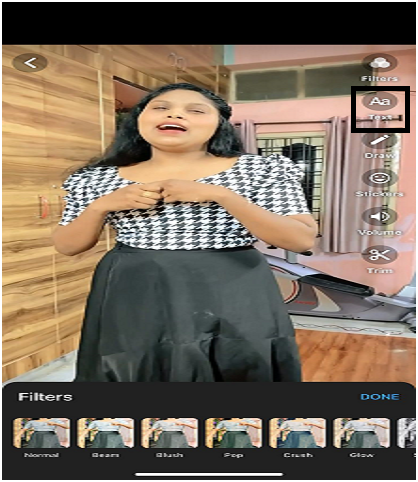
- Step 6 ? You can write any text on the uploaded or recorded video or photo by clicking on Text button.
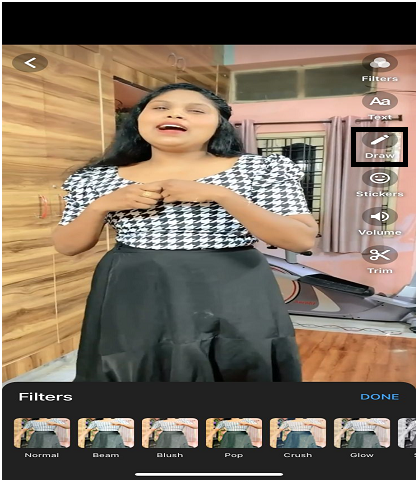
- Step 7 ? You can add colors or draw something painting on the video by clicking on the Draw button.
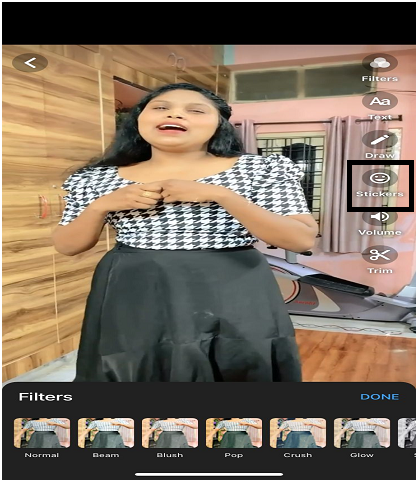
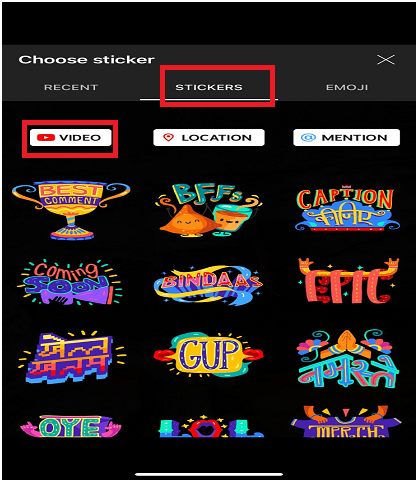
- Step 8 ? You can even promote your YouTube videos on stories. For that, just click on the Stickers (as shown below).
- Step 9 ? A separate window opens up. Here you will find Recent, Stickers and Emoji tabs. Tap on the Stickers section and in the Stickers section, you will find VIDEO button.
- Step 10 ? Click on the VIDEO button and in the UPLOAD section, you will find your YouTube videos and select any one of the videos which you want to upload on YouTube Stories (as shown below).
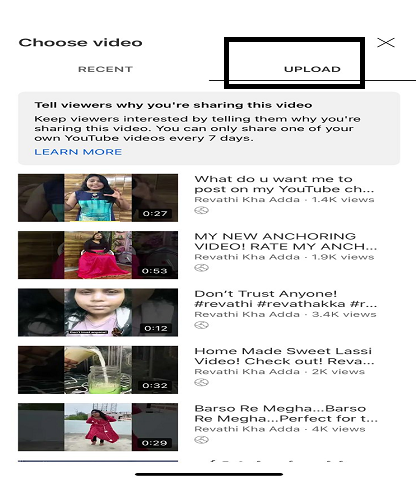
- Step 11 ? Click on the selected video and the video gets added in the story (as shown below). Remember, if you have recently shared your own YouTube video, then you can?t be share it for 7 days but you can share videos from another channel.

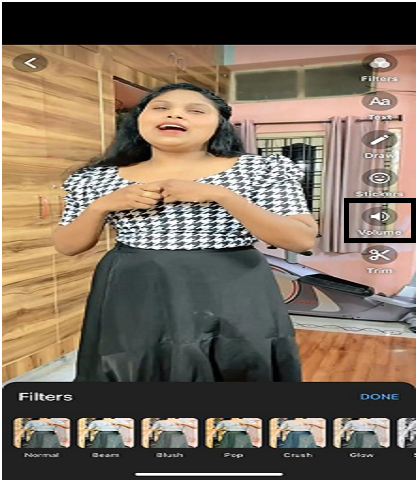
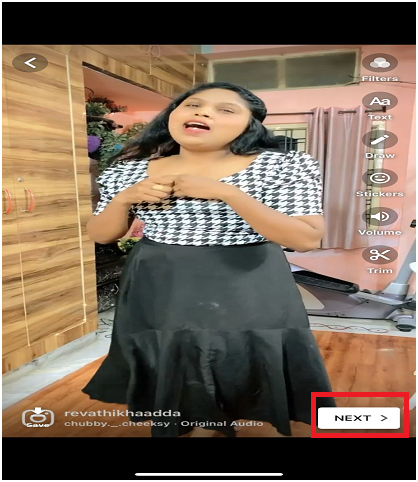
- Step 12 ? You can increase the volume in the video by clicking on the Volume button.
- Step 13 ? You can even edit or trim the video (remove the extra portions) by clicking on the Trim button.
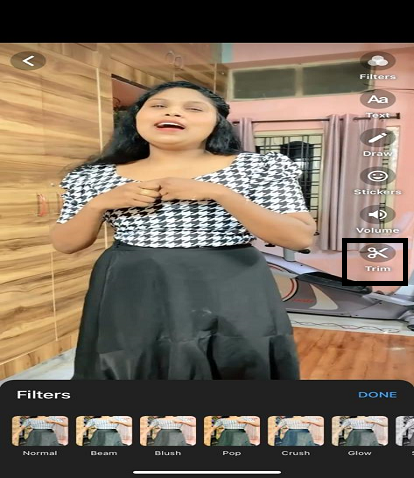
- Step 14 ? After making all the necessary changes in the video, click on the NEXT button.
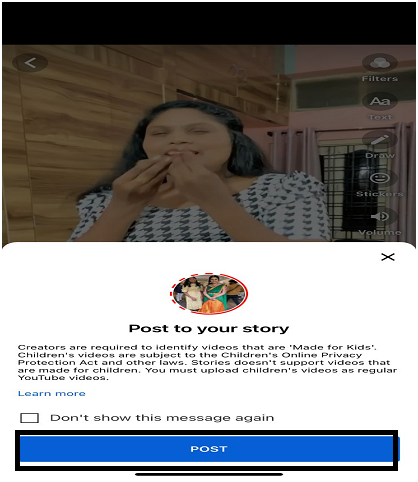
- Step 15 ? When you click on the NEXT button, a pop-up window opens up (as shown below). Click on the POST button and the story gets posted on your YouTube timeline.
Conclusion
Since the release of Reels, YouTube Stories have advanced significantly.
By familiarizing yourself with making, managing, and utilizing YouTube Stories today, you'll be prepared when your channel reaches 10,000 subscribers.

1K+ Views
