- Jenkins - Home
- Jenkins - Overview
- Jenkins - Installation
- Jenkins - Tomcat Setup
- Jenkins - Git Setup
- Jenkins - Maven Setup
- Jenkins - Configuration
- Jenkins - Management
- Jenkins - Setup Build Jobs
- Jenkins - Unit Testing
- Jenkins - Automated Testing
- Jenkins - Notification
- Jenkins - Reporting
- Jenkins - Code Analysis
- Jenkins - Distributed Builds
- Jenkins - Automated Deployment
- Jenkins - Metrics and Trends
- Jenkins - Server Maintenance
- Jenkins - Continuous Deployment
- Jenkins - Managing Plugins
- Jenkins - Security
- Jenkins - Backup Plugin
- Jenkins - Remote Testing
Jenkins - Installation
Download Jenkins
The official website for Jenkins is Jenkins. If you click the given link, you can get the home page of the Jenkins official website as shown below.

By default, the latest release and the Long-Term support release will be available for download. The past releases are also available for download. Click the Long-Term Support Release tab in the download section.
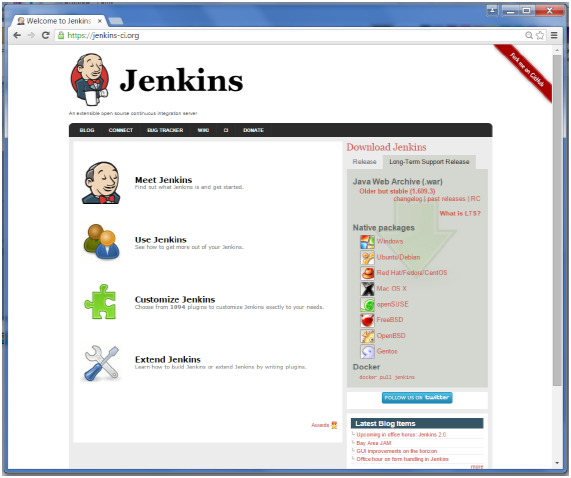
Click the link Older but stable version to download the Jenkins war file.
Starting Jenkins
Open the command prompt. From the command prompt, browse to the directory where the jenkins.war file is present. Run the following command
D:\>Java jar Jenkins.war
After the command is run, various tasks will run, one of which is the extraction of the war file which is done by an embedded webserver called winstone.
D:\>Java jar Jenkins.war
Running from: D:\jenkins.war
Webroot: $user.home/ .jenkins
Sep 29, 2015 4:10:46 PM winstone.Logger logInternal
INFO: Beginning extraction from war file
Once the processing is complete without major errors, the following line will come in the output of the command prompt.
INFO: Jenkins is fully up and running
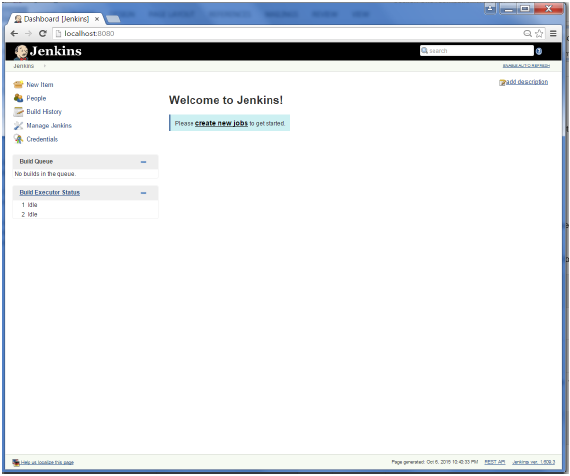
Accessing Jenkins
Once Jenkins is up and running, one can access Jenkins from the link − http://localhost:8080
This link will bring up the Jenkins dashboard.