
Article Categories
- All Categories
-
 Data Structure
-
 Networking
-
 RDBMS
RDBMS
-
 Operating System
-
 Java
Java
-
 MS Excel
-
 iOS
iOS
-
 HTML
HTML
-
 CSS
CSS
-
 Android
-
 Python
-
 C Programming
-
 C++
C++
-
 C#
C#
-
 MongoDB
-
 MySQL
MySQL
-
 Javascript
-
 PHP
PHP
How to hook a function into the Power Button in Android?
Introduction
Android phones are designed with a wide range of features and capabilities, including a Power button that allows users to turn the device on and off. While the basic function of the Power button is to turn the device on and off, Android developers can actually use the button to trigger custom functions. This can be done by "hooking" a function to the Power button, which will allow the function to be triggered anytime the Power button is pressed. In this article we will take a look on How to hook a function into Power Button in an Android application.
Implementation
We will be creating a simple project in which we will be displaying a simple text view for displaying a heading in which we will be displaying the simple heading. Along with that we will be adding a broadcast receiver to call a function on power button click in android.
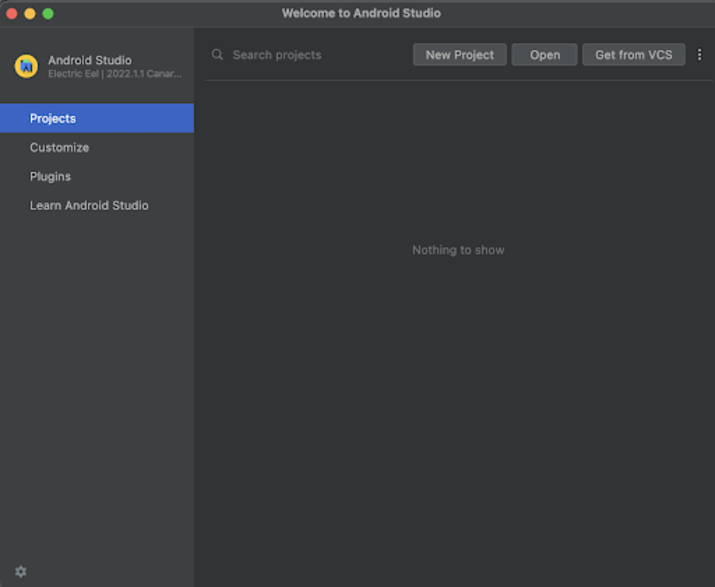
Step 1 : Creating a new project in Android Studio
Navigate to Android studio as shown in below screen. In the below screen click on New Project to create a new Android Studio Project.
After clicking on New Project you will get to see the below screen.
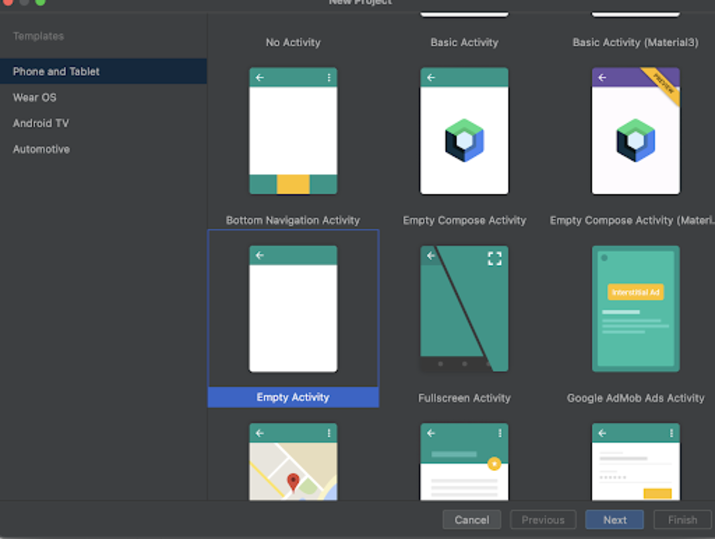
Inside this screen we have to simply select Empty Activity and click on Next. After clicking on next you will get to see the screen below.
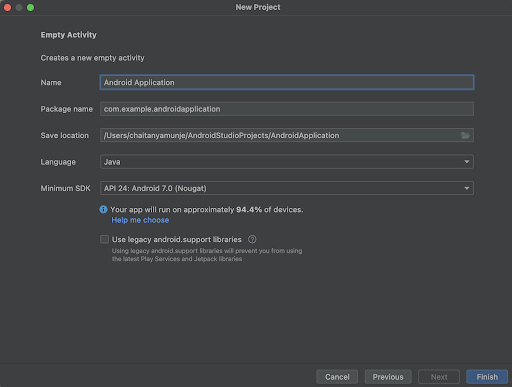
Inside this screen we have to simply specify the project name. Then the package name will be generated automatically.
Note ? Make sure to select the Language as Java.
After specifying all the details click on Finish to create a new Android studio project.
Once our project has been created we will get to see 2 files which are open i.e activity_main.xml and MainActivity.java file.
Step 3 : Working with activity_main.xml
Navigate to activity_main.xml. If this file is not visible. To open this file. In the left pane navigate to app>res>layout>activity_main.xml to open this file. After opening this file. Add the below code to it. Comments are added in the code to get to know in detail.
<?xml version="1.0" encoding="utf-8"?>
<RelativeLayout xmlns:android="http://schemas.android.com/apk/res/android"
   xmlns:app="http://schemas.android.com/apk/res-auto"
   xmlns:tools="http://schemas.android.com/tools"
   android:layout_width="fill_parent"
   android:layout_height="fill_parent"
   android:orientation="vertical"
   tools:context=".MainActivity">

   <!-- on below line creating a text view for displaying a heading-->
   <TextView
      android:id="@+id/idTVHeading"
      android:layout_width="match_parent"
      android:layout_height="wrap_content"
      android:layout_centerInParent="true"
      android:layout_margin="10dp"
      android:padding="4dp"
      android:text="Hook a Function in Power Button in Android"
      android:textAlignment="center"
      android:textColor="@color/black"
      android:textSize="20sp"
      android:textStyle="bold" />
</RelativeLayout>
Explanation ? In the above code we are creating a Relative layout as a root layout and inside that we are creating a simple text view in which we are displaying a simple text view inside which we are displaying the heading of our application.
Step 4 : Working with MainActivity.java file
Navigate to MainActivity.java. If this file is not visible. To open this file. In the left pane navigate to app>res>layout>MainActivity.java to open this file. After opening this file. Add the below code to it. Comments are added in the code to get to know in detail.
package com.example.androidjavaapp;

import androidx.appcompat.app.AppCompatActivity;
import android.content.BroadcastReceiver;
import android.content.Context;
import android.content.ContextWrapper;
import android.content.Intent;
import android.content.IntentFilter;
import android.os.Bundle;
import android.os.Environment;
import android.util.Log;
import android.view.View;
import android.widget.TextView;
import android.widget.Toast;
import com.android.volley.Request;
import com.android.volley.RequestQueue;
import com.android.volley.Response;
import com.android.volley.VolleyError;
import com.android.volley.toolbox.JsonObjectRequest;
import com.android.volley.toolbox.RequestFuture;
import com.android.volley.toolbox.StringRequest;
import com.android.volley.toolbox.Volley;
import org.json.JSONException;
import org.json.JSONObject;
import java.io.BufferedReader;
import java.io.File;
import java.io.FileReader;
import java.util.concurrent.TimeUnit;

public class MainActivity extends AppCompatActivity {

   @Override
   protected void onCreate(Bundle savedInstanceState) {
      super.onCreate(savedInstanceState);
      setContentView(R.layout.activity_main);

      // on below line initializing web view with id.
      BroadcastReceiver receiver = new BroadcastReceiver() {
         @Override
         public void onReceive(Context context, Intent intent) {

            //Your code to hook the function goes here
            Log.e("TAGAPI", "Power button pressed");

            // on below line we are displaying a toast message.
            Toast.makeText(context, "Power button pressed..", Toast.LENGTH_SHORT).show();
         }
      };

      // on below line we are creating an intent filter.
      IntentFilter filter = new IntentFilter(Intent.ACTION_SCREEN_ON);

      // on below line we are registering receiver.
      registerReceiver(receiver, filter);
   }
}
Explanation ? In the above code we firstly get to see the onCreate method. This is a default method in our MainActivity.java file which is used to load the activity_main.xml file of our application. Inside this onCreate method we are creating and initializing a broadcast receiver. Inside our broadcast receiver in the onReceive method we are displaying a log message along with a toast message. After that we are creating a variable for intent filter and setting action for it as ACTION_SCREEN_ON which will keep the screen ON. Lastly we are registering our receiver to start our broadcast receiver.
After adding the above code now we have to simply click on the green icon in the top bar to run our application on a mobile device.
Note ? Make sure you are connected to your real device or emulator.
Output
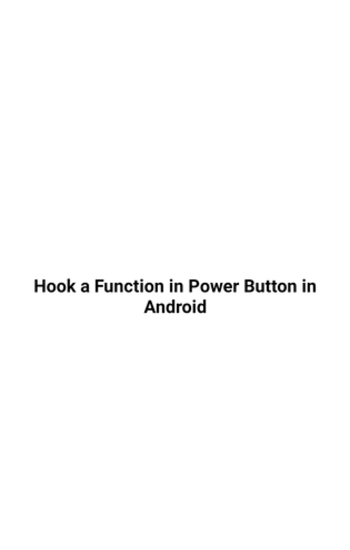
Note ? When you click on the power button a toast message will be displayed.
Conclusion
Hooking a function to the Power button can be a useful technique for Android developers who are looking to add custom features to their apps. It can be used to launch other applications, send text messages, or any other type of custom code. In order to hook a function to the Power button, Android developers must create the function and register it to the Power button?s onClickListener. They must also create a BroadcastReceiver and add it to the AndroidManifest.xml file. Once these steps have been completed, the function will be triggered anytime the Power button is pressed.

2K+ Views
