
Article Categories
- All Categories
-
 Data Structure
-
 Networking
-
 RDBMS
RDBMS
-
 Operating System
-
 Java
Java
-
 MS Excel
-
 iOS
iOS
-
 HTML
HTML
-
 CSS
CSS
-
 Android
-
 Python
-
 C Programming
-
 C++
C++
-
 C#
C#
-
 MongoDB
-
 MySQL
MySQL
-
 Javascript
-
 PHP
PHP
-
 Economics & Finance
How to Connect a Laptop to a Monitor?
Connecting a laptop to a monitor allows you to use both screens simultaneously or use the monitor screen alone while closing the laptop screen. You can use a connecting cable such as HDMI, DisplayPort, USB-C, VGA, or DVI.
This article explains how to find out what cable to connect your laptop to a monitor or use the monitor as a mirror to extend your laptop screen. There are two methods to do that, and we have mentioned each method in easy-to-follow steps ?
Method 1: Connect the Laptop to a Monitor
First, you need to find what video output ports are supported in your laptop. Most laptops come with HDMI, DisplayPort, and USB-C ports.
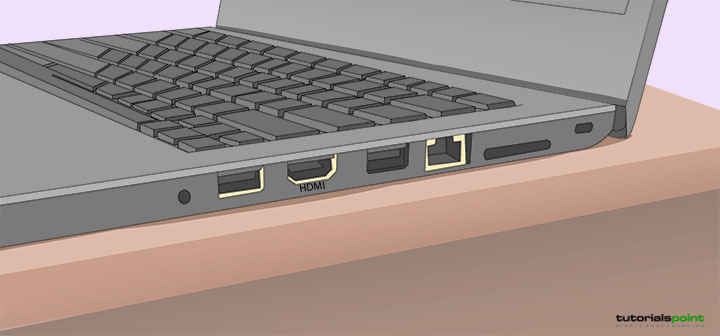
Find Your Monitor's Video Input
Most modern LCD and LED monitors support HDMI, USB-C, and DisplayPort. VGA and DVI video input.
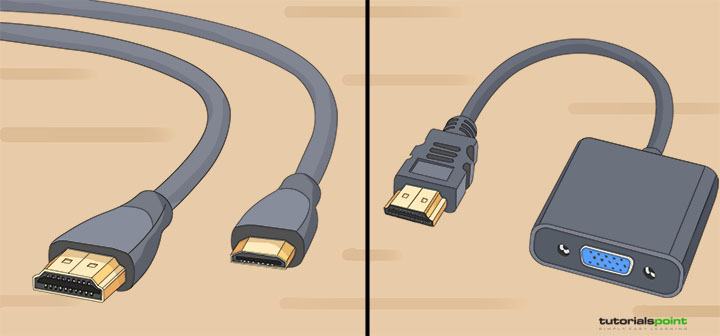
If both your laptop and monitor support HDMI, then choose an HDMI cable to connect.
If your laptop has HDMI/USB-C, but your monitor has VGA/HDMI, then you need to buy an HDMI to VGA adapter, USB-C to HDMI, or VGA adapter
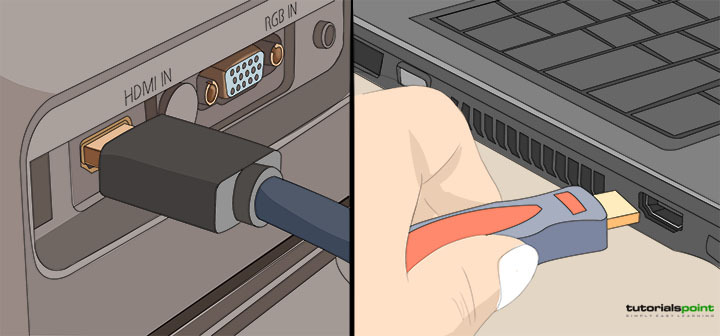
Connect the Cable
Connect the cable to the laptop's port and the other to the monitor's input port.
If you are using an adapter such as HDMI to VGA, you must first plug the HDMI cable into your laptop and the remote end of the HDMI cord into the adapter port and then connect the VGA output port to the monitor's VGA video input port.
Choose the Display You Want to Keep
Once the plug-in process is done, turn on the monitor. Once connected, you will see your laptop screen mirrored on your monitor screen. If you need only the monitor screen to stay active, you can turn off the laptop screen by selecting only the "monitor screen" on your laptop's display settings.
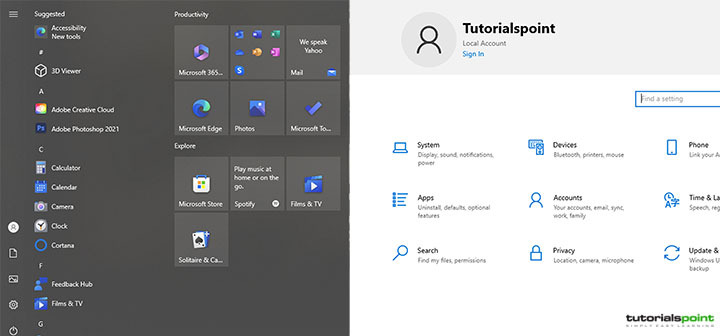
Open your Windows settings by clicking on the gear icon from your Windows Start Menu or pressing the Windows key + I from your keyboard.
Click on the System option (laptop icon).
Click Display located on the left side in Windows 10 and right on Windows 11.
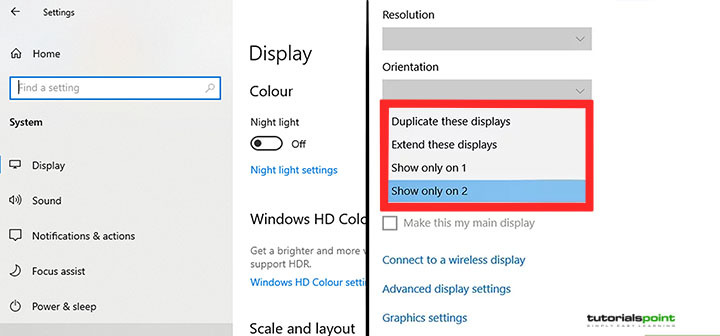
Select a Display Option of your choice (mirror or extend).
On Windows 10, the options are available under the dropdown menu under Multiple Displays.
On Windows 11, it's available on the right side of Identify button.
Types of Display Options
Duplicate these displays is for seeing the same Display on both laptop and monitor.
Extend these displays if for using the monitor screen as a continuation of your laptop screen, and split the screen into two parts (it only looks good if the screen size of the monitor is the same as that of your laptop).
Show only on 1 means only Screen 1 will stay active, which is your laptop's built-in screen.
Show only on 2 means only your monitor screen will stay active, which is the secondary screen.
Choose the Main Display
You do need to follow this step if you only use the secondary screen for duplicating or mirroring purposes.
If you are choosing it to extend your desktop screen, then you need to decide which screen to keep as the main Display (this is where all apps will open by default).
Click on the Identify button to display the assigned number of each screen (usually, your laptop screen will be assigned as the main Display or number 1)
If you want to make your monitor screen the main Display, choose number 2 and select Make This My Main Display under the Multiple Displays option
Method 2: Use your laptop with a closed lid
You can use your laptop as a PC by connecting it to a monitor. You can do that by closing the laptop's lip, giving it more room to operate.
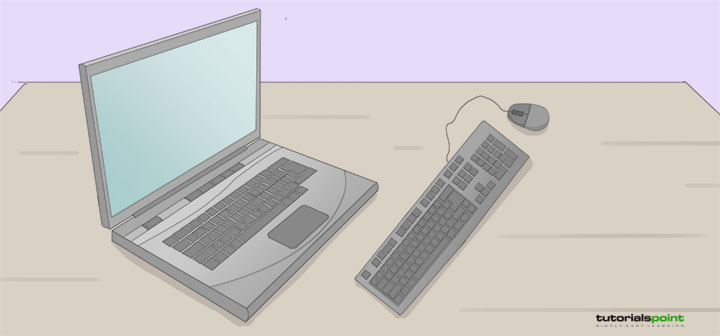
Connect PC Accessories to Your Laptop
To convert your laptop into a PC, you need to connect accessories like an external keyboard and mouse to the laptop's USB port.
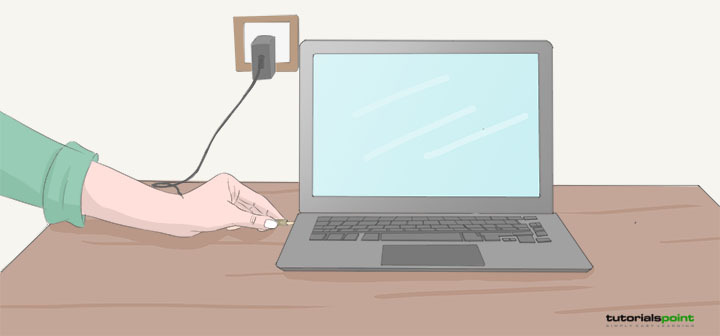
Connect the Power Source to Your Laptop
By default, your laptop will go to sleep mode if you drop its lid. Therefore, you need to connect it to the power source. Don't close the lid soon as connecting the power source, as you need to make some additional changes in the settings.
Open the Control Panel
Open your Windows Control Panel by clicking the search icon in the taskbar and typing Control Panel, and clicking on the Open option when it appears towards the right side of the search screen.
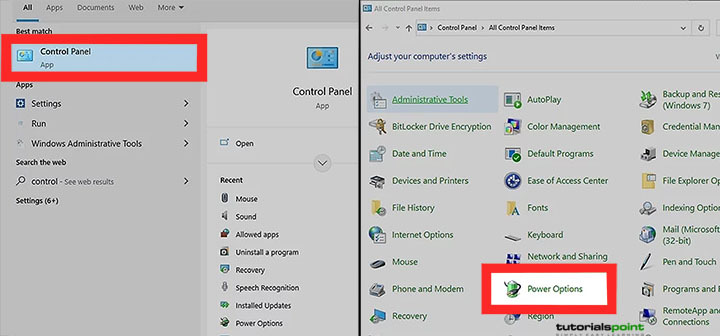
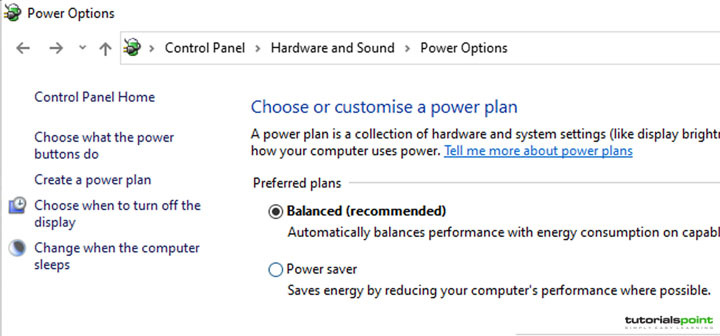
Go to Power Options
Click on Hardware and Sound option on the Control Panel page. Click on Power Options.
Look at the left side panel and click on the option Choose what closing the lid does. You will see a lot of options. Check the When I close the lid option, and you will find two dropdown menus on options with On Battery and Plugged in. Go to the dropdown menu located under On Battery, and When I close the lid and choose to Do Nothing (it is a power-consuming process, so we recommend you always use the laptop with the power source plugged in while using it with a secondary monitor screen). Go to the dropdown menu located under Plugged in, and "When I close the lid," and choose to Do Nothing. Click Save Changes.
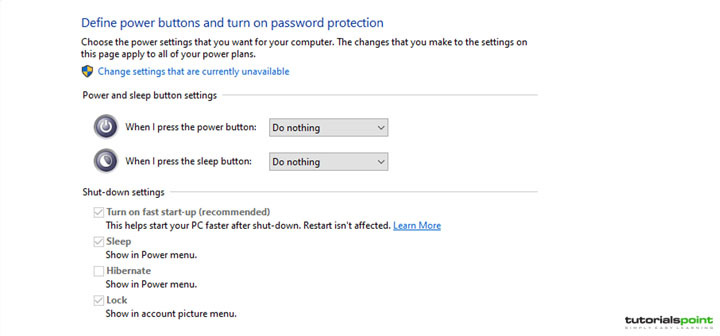
From now on, your laptop will not go to sleep when you close the lid, and you can still operate it through your external monitor.

4K+ Views
