
Article Categories
- All Categories
-
 Data Structure
-
 Networking
-
 RDBMS
RDBMS
-
 Operating System
-
 Java
Java
-
 MS Excel
-
 iOS
iOS
-
 HTML
HTML
-
 CSS
CSS
-
 Android
-
 Python
-
 C Programming
-
 C++
C++
-
 C#
C#
-
 MongoDB
-
 MySQL
MySQL
-
 Javascript
-
 PHP
PHP
-
 Economics & Finance
How to Auto Change the Shape and Size Based on a Specified Cell Value in Excel?
When we want to change the size of a specific shape in Excel based on the value present in any cell, we can use VB code to do it. Read this tutorial to learn how you can automatically change the shape and size based on a specified cell value in Excel. Here we will have two parts: the first is to change only one shape, and the other is to change multiple shapes at once.
Auto Change the Shape and Size Based on a Specified Cell Value for a Single Shape
Here we will add the VBA code to the sheet to complete our task. Let us see a simple process to understand how we can automatically change shape size based on a specified cell value for a single shape.
Step 1
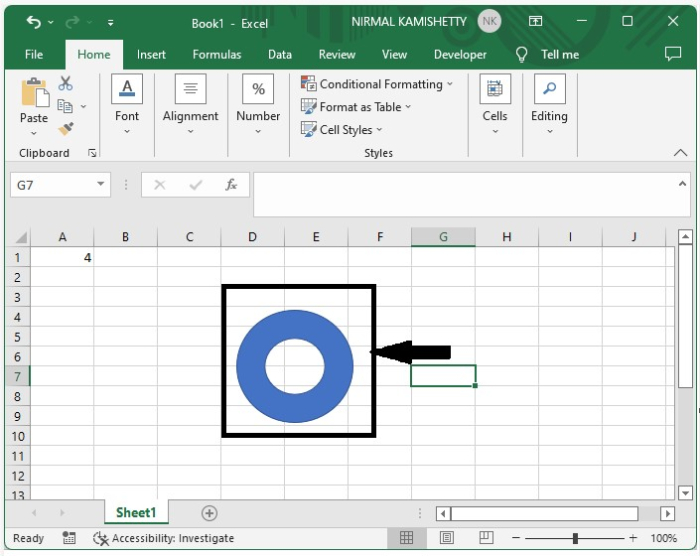
Let us consider an Excel sheet similar to the one shown in the below image.
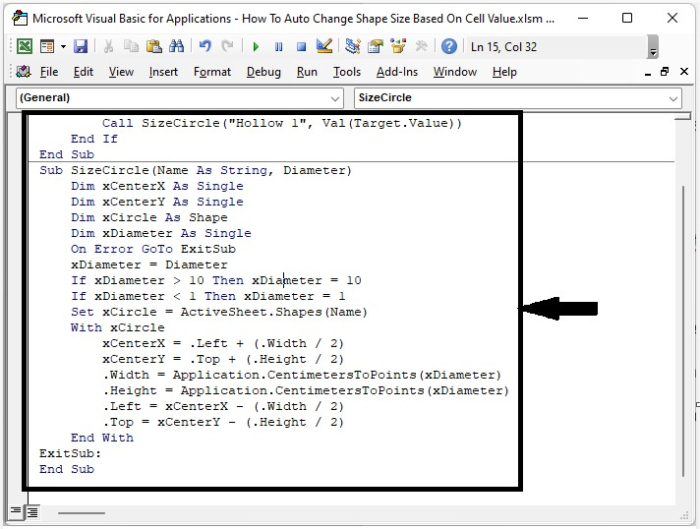
Now right-click on the sheet name and select view code to open the VB application, and type the programme into the text box as shown in the below image.
Program
Private Sub Worksheet_Change(ByVal Target As Range)
   'Updated BY Nirmal
   On Error Resume Next
   If Target.Row = 1 And Target.Column = 1 Then
      Call SizeCircle("Hollow 1", Val(Target.Value))
   End If
End Sub
Sub SizeCircle(Name As String, Diameter)
   Dim xCenterX As Single
   Dim xCenterY As Single
   Dim xCircle As Shape
   Dim xDiameter As Single
   On Error GoTo ExitSub
   xDiameter = Diameter
   If xDiameter > 10 Then xDiameter = 10
   If xDiameter < 1 Then xDiameter = 1
   Set xCircle = ActiveSheet.Shapes(Name)
   With xCircle
      xCenterX = .Left + (.Width / 2)
      xCenterY = .Top + (.Height / 2)
      .Width = Application.CentimetersToPoints(xDiameter)
      .Height = Application.CentimetersToPoints(xDiameter)
      .Left = xCenterX - (.Width / 2)
      .Top = xCenterY - (.Height / 2)
   End With
ExitSub:
End Sub
The name of the shape in Excel is "Hollow 1" in the code, and "row = 1" and "column = 1" represent cell A1.
Step 2
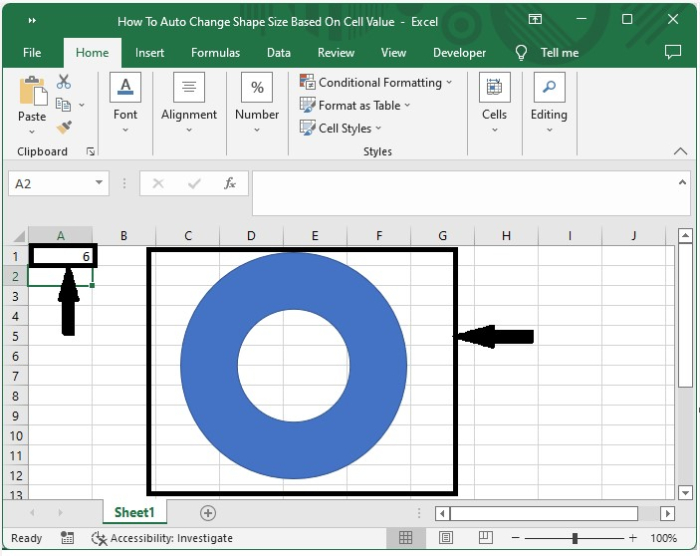
Save the sheet as a VBA template before exiting the VBA application with Alt + Q. Then every time we change the value in a cell, the shape of the cell changes automatically, as shown in the below image.
Auto Change the Shape and Size Based on a Specified Cell Value for Multiple Shapes
Here we will add VBA code to the sheet to complete our task. Let's see a simple process to understand how we can automatically change shape size based on a specified cell value for multiple shapes.
Step 1
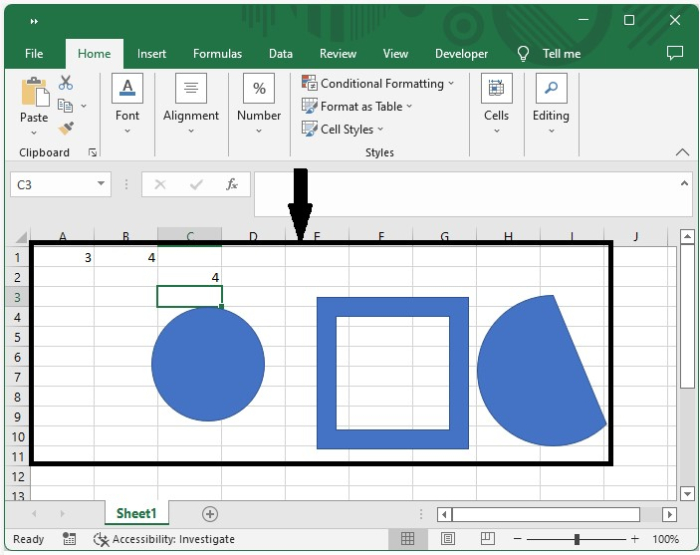
Let us consider an Excel sheet similar to the one shown in the below image.
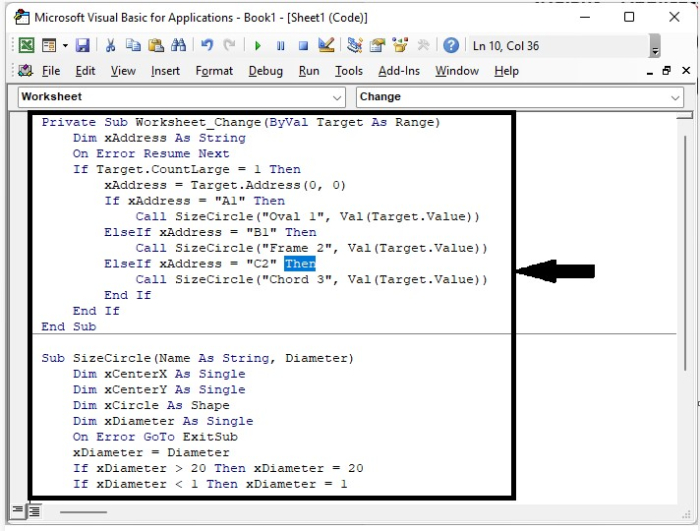
Now right-click on the sheet name and select View Code to open the VBA application, and type the programme into the text box as shown in the below image.
Program
Private Sub Worksheet_Change(ByVal Target As Range)
   Dim xAddress As String
   On Error Resume Next
   If Target.CountLarge = 1 Then
      xAddress = Target.Address(0, 0)
      If xAddress = "A1" Then
         Call SizeCircle("Oval 1", Val(Target.Value))
      ElseIf xAddress = "B1" Then
         Call SizeCircle("Frame 2", Val(Target.Value))
      ElseIf xAddress = "C2" Then
         Call SizeCircle("Chord 3", Val(Target.Value))
      End If
   End If
End Sub

Sub SizeCircle(Name As String, Diameter)
   Dim xCenterX As Single
   Dim xCenterY As Single
   Dim xCircle As Shape
   Dim xDiameter As Single
   On Error GoTo ExitSub
   xDiameter = Diameter
   If xDiameter > 20 Then xDiameter = 20
   If xDiameter < 1 Then xDiameter = 1
   Set xCircle = ActiveSheet.Shapes(Name)
   With xCircle
      xCenterX = .Left + (.Width / 2)
      xCenterY = .Top + (.Height / 2)
      .Width = Application.CentimetersToPoints(xDiameter)
      .Height = Application.CentimetersToPoints(xDiameter)
      .Left = xCenterX - (.Width / 2)
      .Top = xCenterY - (.Height / 2)
   End With
ExitSub:
End Sub
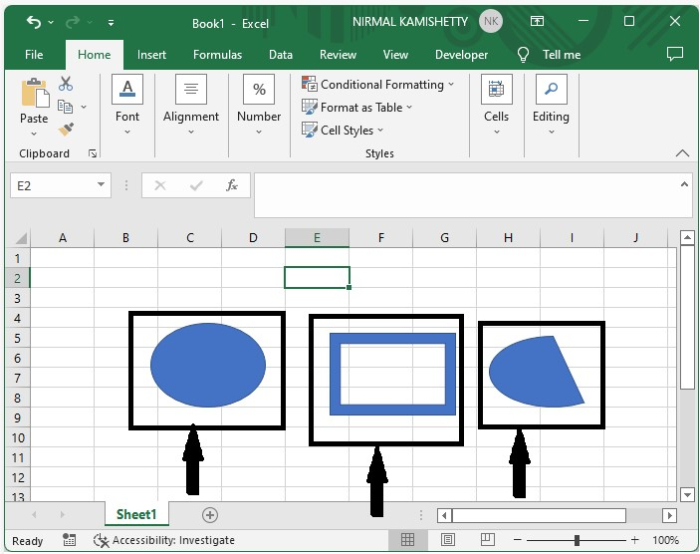
In the code, Oval 1, Frame 2, and Chord 3 are the names of shapes, and cells A1, B1, and C2 decide their sizes, respectively.
Step 2
Save the sheet as a VBA template before exiting the VBA application with Alt + Q. Then every time we change the value in a cell, the shape of the cell changes automatically, as shown in the below image.
Conclusion
In this tutorial, we used a simple example to demonstrate how we can automatically change the shape and size based on a specified cell value for single and multiple shapes.

4K+ Views
