
Article Categories
- All Categories
-
 Data Structure
-
 Networking
-
 RDBMS
RDBMS
-
 Operating System
-
 Java
Java
-
 MS Excel
-
 iOS
iOS
-
 HTML
HTML
-
 CSS
CSS
-
 Android
-
 Python
-
 C Programming
-
 C++
C++
-
 C#
C#
-
 MongoDB
-
 MySQL
MySQL
-
 Javascript
-
 PHP
PHP
-
 Economics & Finance
How to assign an action to the UIImageView object in Swift?
In the iOS applications, the UIImageView class does not provide in-build support to make it clickable like other components e.g. UIButton. In order to make UIImageView clickable, you can add a UITapGestureRecognizer to the image view. Remember that, by default, UIImageView does not take any interaction from the user. To make it interactable, set true to the isUserInteractionEnabled property.
In this article, you will learn how you can add a tag gesture to the image view in Swift.
To add a tap gesture, we will follow these steps ?
Step 1 - Create an Image View
let profileImageView = UIImageView()
Step 2 - Allow Interaction
profileImageView.isUserInteractionEnabled = true
Remember that you also need to set the isUserInteractionEnabled property of the profileImageView object to true to enable user interaction. This property determines whether the imageView can receive touch events or not. So you need to set it to true to allow the user to tap on the image view.
Step 3 - Create an Instance of the tap Gesture
let tapGesture = UITapGestureRecognizer(target: self, action: #selector(handleProfileImageTapped))
A UITapGestureRecognizer is a subclass of UIGestureRecognizer class that can be used for single or multiple taps on a view. To create an object of this tap gesture, you must use the init(target: Any?, action: Selector?) initializer. In the above example, we set the target to self, which represents the current view controller. We also set the action to #selector(handleProfileImageTapped), which is a reference to a method named handleProfileImageTapped() that we'll implement later.
Step 4 - Set the Number of taps Required to Trigger the Gesture Recognizer
tapGesture.numberOfTapsRequired = 1
By default, a UITapGestureRecognizer needs a single tap to make the gesture actionable. However, you can change this behavior by setting the value of the numberOfTapsRequired property. Here, you set it to 1 to trigger the gesture recognizer when the user taps once on the profileImageView.
Step 5 - Add the Gesture Recognizer to your UIImageView Object
profileImageView.addGestureRecognizer(tapGesture)
To add the gesture object to the profileImageView object, you use the addGestureRecognizer(_:) method. You pass in the instance of UITapGestureRecognizer that we created earlier as a parameter.
Step 6 - Implement the ImageTapped Method to Handle the Action
@objc private func handleProfileImageTapped(_ gesture: UITapGestureRecognizer) {
   if let imageView = gesture.view as? UIImageView {
      print("Image view has tapped !!")
   }
}
In the last step, you implemented the handleProfileImageTapped() method to handle the tap action when the user taps on the profileImageView. Note that, you have to use the @objc attribute to make the method accessible from Objective-C code. This is required because gesture recognizers are implemented in Objective-C. In this method, you can add the code we want to run when the user taps on the profileImageView.
Example
Here's an example of how to use these steps to assign an action to a UIImageView object
import UIKit
class TestController: UIViewController {

   override func viewDidLoad() {
      super.viewDidLoad()
      initialSetup()
   }

   private func initialSetup() {

      // create profileImageView object
      let profileImageView = UIImageView()

      // basic setup
      view.backgroundColor = .white
      navigationItem.title = "UIImageView"
      profileImageView.isUserInteractionEnabled = true
      profileImageView.backgroundColor = UIColor(white: 0, alpha: 0.1)
      profileImageView.layer.cornerRadius = 8
      profileImageView.clipsToBounds = true

      // adding required constraints to the profileImageView
      profileImageView.translatesAutoresizingMaskIntoConstraints = false
      profileImageView.heightAnchor.constraint(equalToConstant: 200).isActive = true
      profileImageView.widthAnchor.constraint(equalToConstant: 200).isActive = true
      profileImageView.centerXAnchor.constraint(equalTo: view.centerXAnchor).isActive = true
      profileImageView.centerYAnchor.constraint(equalTo: view.centerYAnchor).isActive = true

      let tapGesture = UITapGestureRecognizer(target: self, action: #selector(handleProfileImageTapped))
      tapGesture.numberOfTapsRequired = 1
      profileImageView.addGestureRecognizer(tapGesture)
   }

   @objc private func handleProfileImageTapped(_ gesture: UITapGestureRecognizer) {
      if let imageView = gesture.view as? UIImageView {
         print("Image view has tapped !!")
      }
   }
}
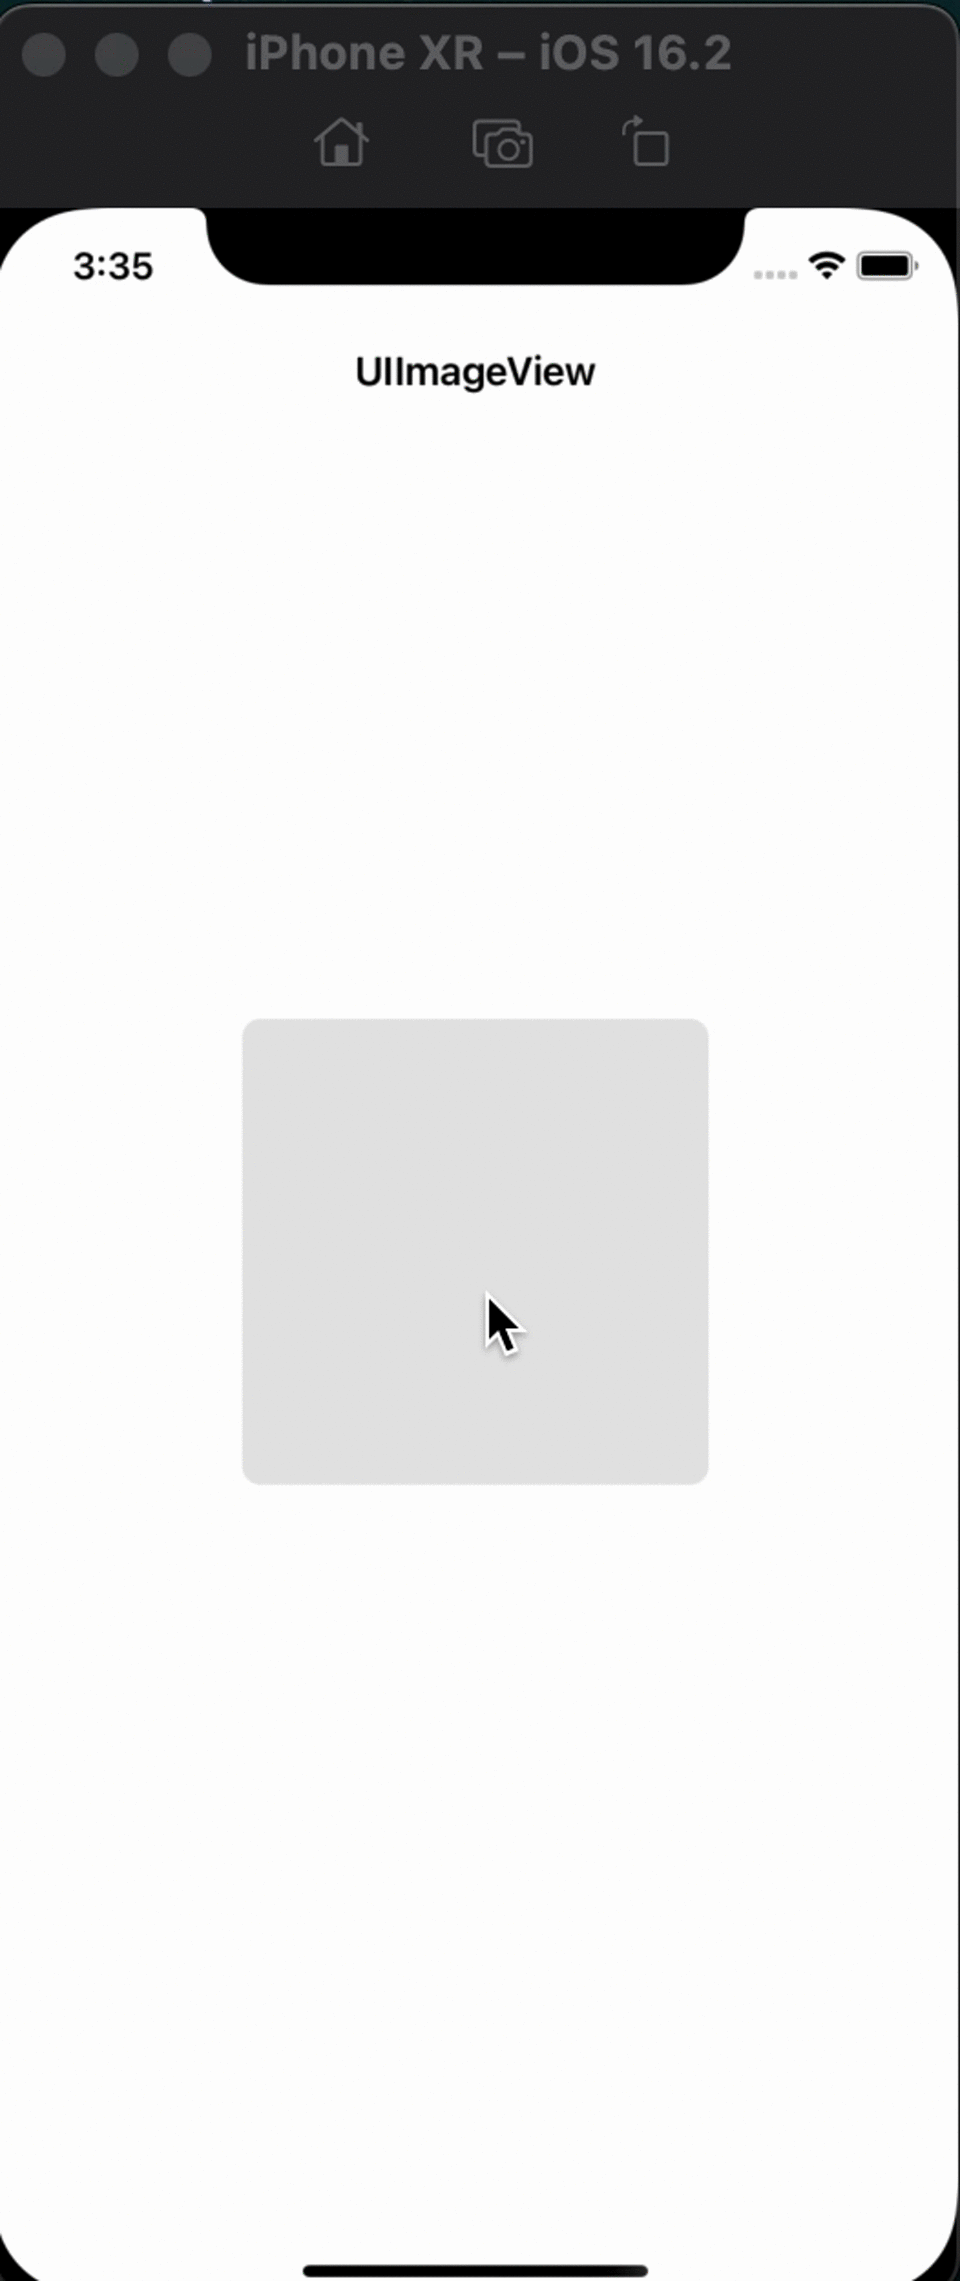
Output
Conclusion
You can assign an action to a UIImageView object in Swift by adding a UITapGestureRecognizer object to it. In the beginning, you create an instance of the UITapGestureRecognizer class, along with setting the number of taps needs to trigger the tap gesture recognizer. After that, add the gesture recognizer to the profileImageView object, and last, you need to implement a method to handle the action when the user taps on the image. Don't forget to set the isUserInteractionEnabled property of the UIImageView object to true as well.

2K+ Views
