
Article Categories
- All Categories
-
 Data Structure
-
 Networking
-
 RDBMS
RDBMS
-
 Operating System
-
 Java
Java
-
 MS Excel
-
 iOS
iOS
-
 HTML
HTML
-
 CSS
CSS
-
 Android
-
 Python
-
 C Programming
-
 C++
C++
-
 C#
C#
-
 MongoDB
-
 MySQL
MySQL
-
 Javascript
-
 PHP
PHP
-
 Economics & Finance
How to add Watermark and Text to YouTube Videos?
Including text and watermark in your YouTube videos is a clever approach to draw in viewers from across the world and make it easier for them to follow the content of your video. A YouTube study found that videos with subtitles receive 4% more views overall than those without.
Even though YouTube offers automated subtitles, these may not always translate owing to accents, quick speech pace, or noisy backdrop. As a result, manually adding text and watermark to YouTube videos is advised for accuracy.
However, in this article I would like to provide you with the easiest method to add text and watermark to your YouTube videos using the YouTube Editor.
Let?s find it out together.
Let?s begin with - How to add Watermark in your YouTube videos
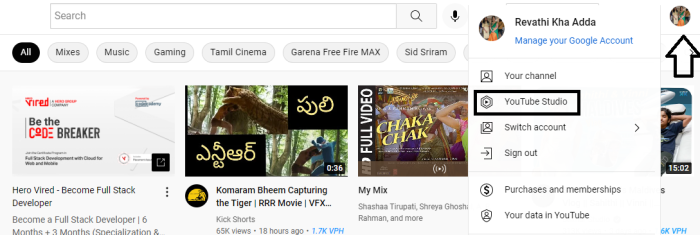
- Step 1 ? Go to the YouTube.com website. Sign in to your YouTube account. On the right side, top corner you will find a profile icon. Click on the profile icon. A drop-down menu appears. In the drop-down menu, you will find YouTube studio. Click on the YouTube studio.

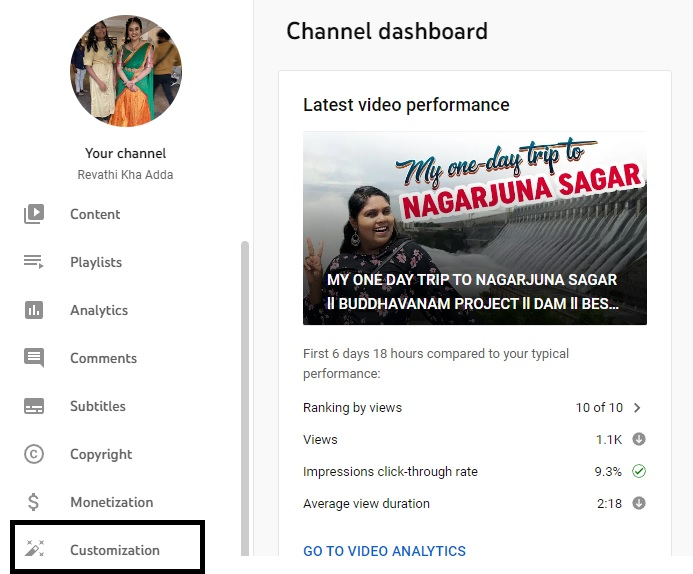
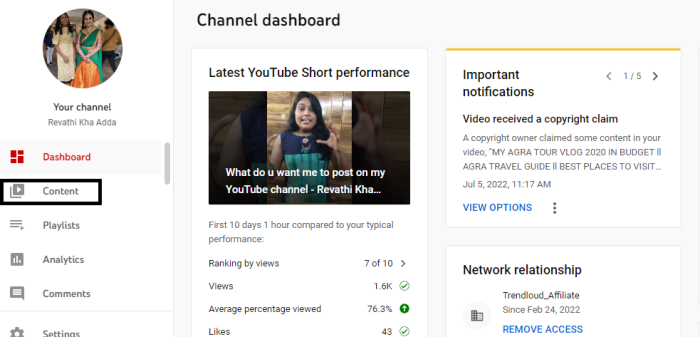
- Step 2 ? You will be taken to the Channel Dashboard page (as shown below). On the left hand corner, scroll down, click on the Customization tab.
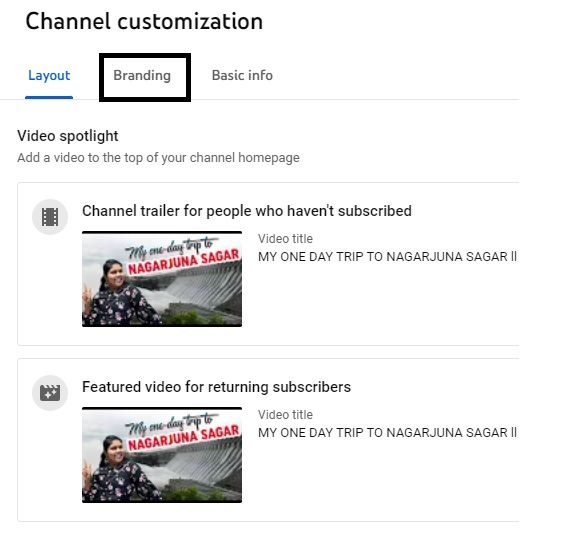
- Step 3 ? You will be taken to the Channel Customization page. Here you will find three sections. Click on the Branding section.
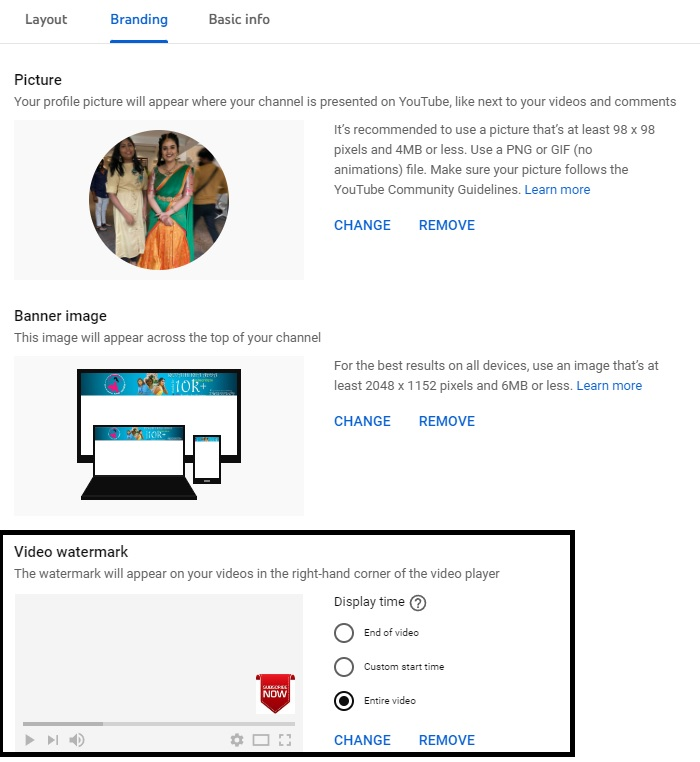
- Step 4 ? At the bottom of the Branding section, you will find - Video watermark. Here you can upload the watermark images, it can be a company logo or a subscribe button.

- Step 5 ? Upload an image of 150*150 pixels and you can use PNG, GIF, JPEG files. Here I?m uploading the subscribe button of 150*150 pixels and keeping the Display time for the Entire Video.
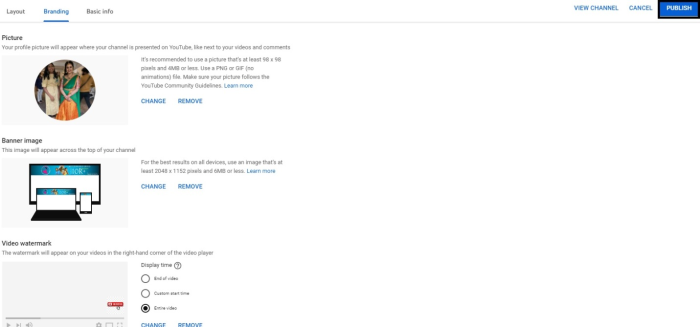
- Step 6 ? You can select display time for End of Video or Custom start time (It?s up to you) and click on PUBLISH. The watermark will be displayed for all your uploaded videos in the right-hand corner of the video player.
How to Add Text In The YouTube Videos
- Step 1 ? Go to the YouTube.com website. Sign in to your YouTube account. On the right side, top corner you will find a profile icon. Click on the profile icon. A drop-down menu appears. In the drop-down menu, you will find YouTube studio. Click on the YouTube studio.
- Step 2 ? When you click on the YouTube Studio, the page appears (as shown below).On the left side corner, you will find the Content tab. Click on the Content.
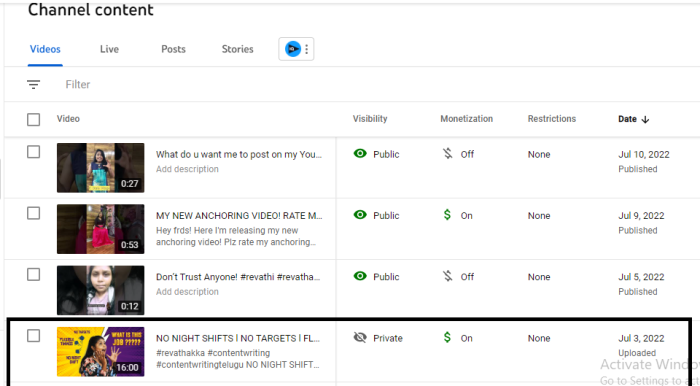
- Step 3 ? The Channel content page will be opened up and you will find a bunch of videos. Select one video for which you want to add text and click on that video. Remember, you can add text only after uploading the video on your YouTube channel.
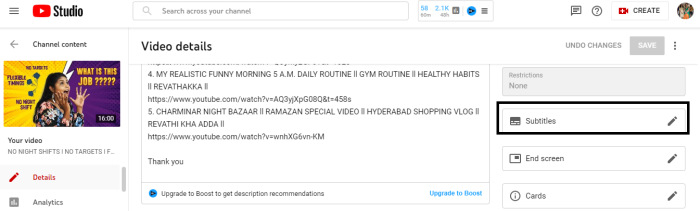
- Step 4 ? Click on the Selected video (as shown below), Video details page will be opened up. In the Video details page, Scroll down and at the bottom of the left hand corner, you will find Subtitles section. Click on the Subtitles.
- Step 5 ? A separate window will be opened up and you will be shown with different options - Upload file, Auto-sync and Type manually to add text to your videos (as shown below). Click on the Upload file.
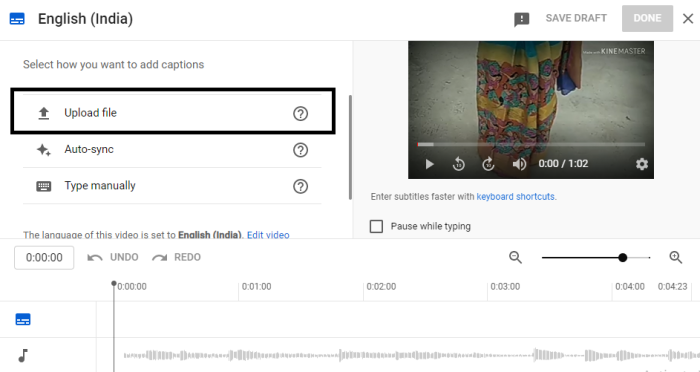
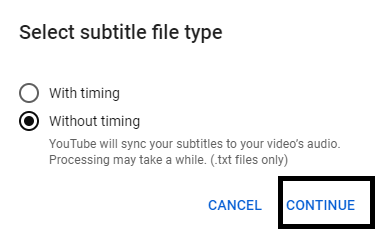
- Step 6 ? Click on the Upload File and a separate window will be opened up (as shown below). Select the subtitle file type - With timing or without timing (as per your choice) and click on Continue.
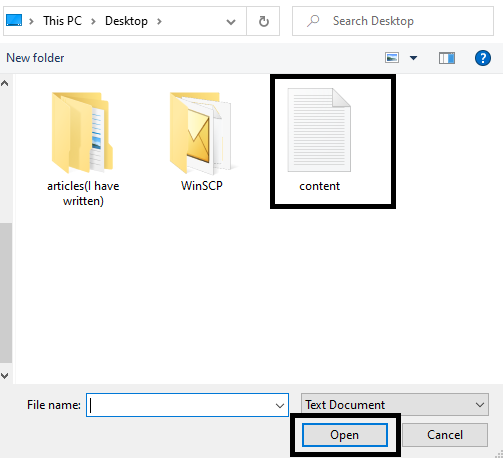
- Step 7 ? When you click on CONTINUE button, a separate window will be opened up, select the file and click on Open (As shown below).
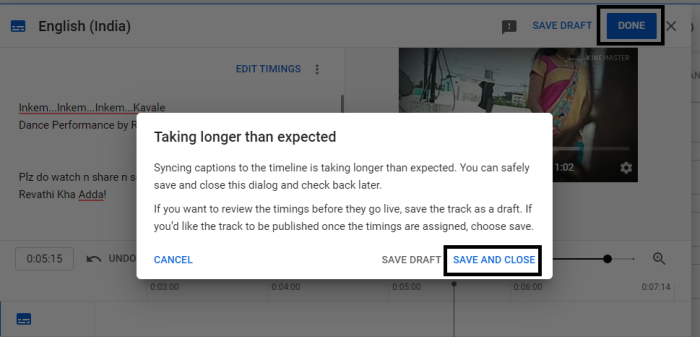
- Step 8 ? After selecting the file, the content gets copied here (as shown below) and click on DONE button. You can even edit the timings too but it takes longer than expected. So, just SAVE and CLOSE.
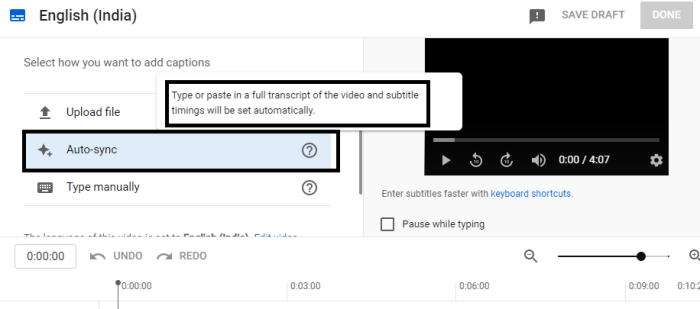
- Step 9 ? In the Auto-sync method, you can type or paste the full script of the video and subtitle timings will be set automatically (as shown below). Click on the Auto-sync.
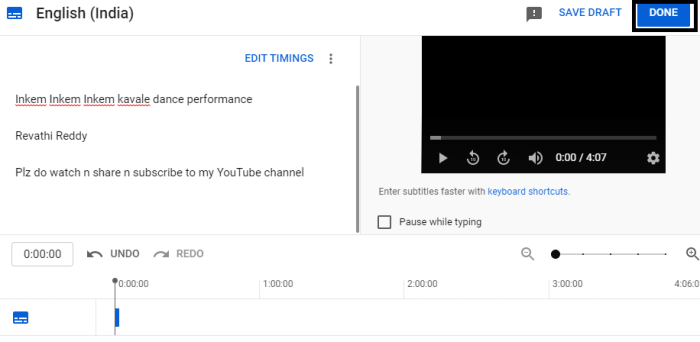
- Step 10 ? A separate window will be opened up; here you can type the content as per your requirement (as shown below) and click on DONE button.
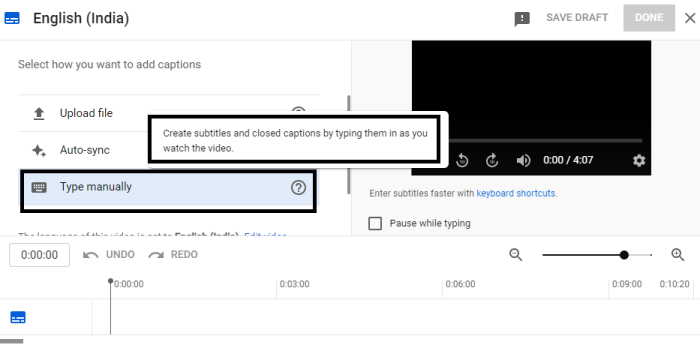
- Step 11 ? You can create the Sub-titles or closed captions by typing manually. Click on the Type manually tab.
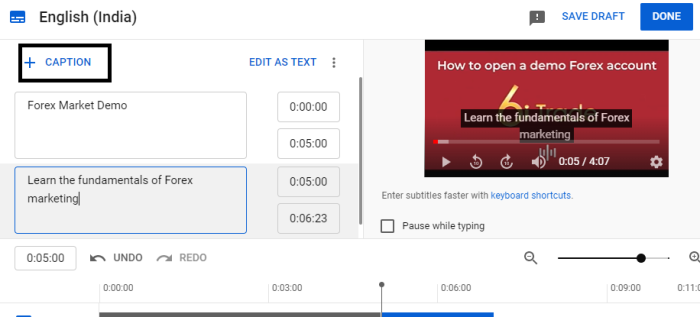
- Step 12 ? A separate CAPTION window will be opened up, you can type the text in the box and edit the timings too. To add more boxes, you need to click on the + CAPTIONbutton.
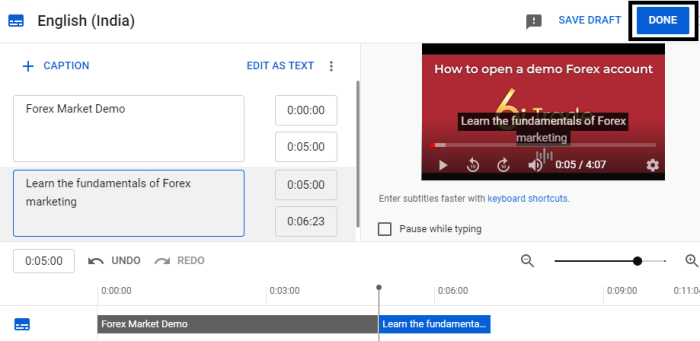
- Step 14 ? When you click on the DONE button, the added subtitles are saved in the video. When you will play the video on YouTube, you will watch the subtitles (as shown below).

Conclusion
Adding text to YouTube videos can be beneficial. It will positively boost audience engagement and interaction. But, don?t overuse it. YouTube viewers want to see more visual content rather than text. The text in the video should be present only for explanation and design.

460 Views
