 Data Structure
 Networking
 RDBMS
RDBMS Operating System
 Java
Java MS Excel
 iOS
iOS HTML
HTML CSS
CSS Android
 Python
 C Programming
 C++
C++ C#
C# MongoDB
 MySQL
MySQL Javascript
 PHP
PHP
- Selected Reading
- UPSC IAS Exams Notes
- Developer's Best Practices
- Questions and Answers
- Effective Resume Writing
- HR Interview Questions
- Computer Glossary
- Who is Who
How to Add Live Camera Preview to UIView in Swift?
To add a live camera preview to our default UIView in swift we can either use AVFoundation framework of iOS SDK or native UIImagePickerController(). In this example we’ll be using ImagePicker as our aim is to present camera preview on the UIView and Imagepicker is suitable for that task. AVFoundation can be used when we need a lot of customization on our camera or different types of custom actions.
To show a camera preview on the UIView we need to perform the following steps.
Create a UIImagePickerController object.
Conform our class to UIImagePickerControllerDelegate and UINavigationControllerDelegate.
Assign delegates to the object we created in step one.
Add the object we created as a child
Add the child's view as a subView to our UIView.
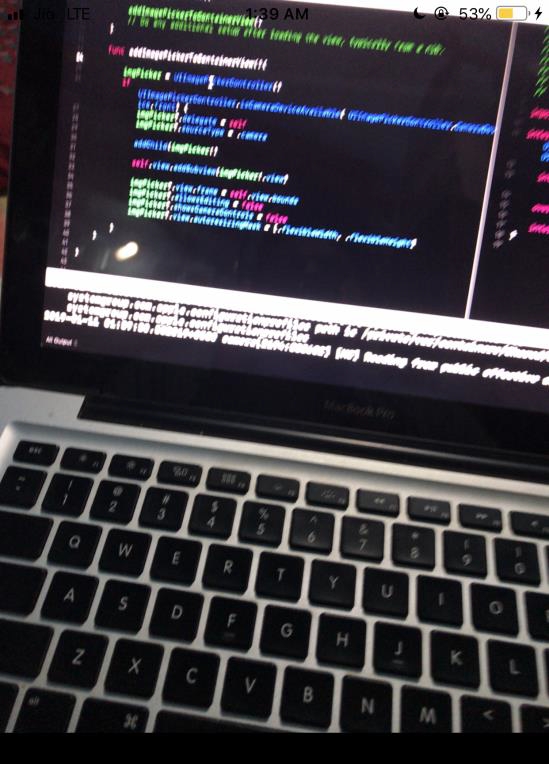
To achieve the same we’ll use the code below
override func viewDidLoad() {
   super.viewDidLoad()
   // Do any additional setup after loading the view, typically from a nib
   let imgPicker = UIImagePickerController()
   if UIImagePickerController.isCameraDeviceAvailable( UIImagePickerController.CameraDevice.front) {
      imgPicker.delegate = self
      imgPicker.sourceType = .camera

      addChild(imgPicker)
      self.view.addSubview(imgPicker.view)
      imgPicker.view.frame = self.view.bounds
      imgPicker.allowsEditing = false
      imgPicker.showsCameraControls = false
      imgPicker.view.autoresizingMask = [.flexibleWidth, .flexibleHeight]
   }
}
For this example we have not written any function and we directly created objects here, but it’s always a good choice to use lazy variables in situations where we might not need to use some variable.
This code will not work on a simulator as it makes use of camera. When I run the above code on an iPhone 7+, below is the result that’s produced.


