
 Data Structure
 Networking
 RDBMS
RDBMS Operating System
 Java
Java MS Excel
 iOS
iOS HTML
HTML CSS
CSS Android
 Python
 C Programming
 C++
C++ C#
C# MongoDB
 MySQL
MySQL Javascript
 PHP
PHP
- Selected Reading
- UPSC IAS Exams Notes
- Developer's Best Practices
- Questions and Answers
- Effective Resume Writing
- HR Interview Questions
- Computer Glossary
- Who is Who
How do we set the input type for an Android EditText programatically?
This example demonstrates how do I set the input type for an Android EditText programmatically.
Step 1 − Create a new project in Android Studio, go to File ⇒ New Project and fill all required details to create a new project.
Step 2 − Add the following code to res/layout/activity_main.xml.
<?xml version="1.0" encoding="utf-8"?>
<LinearLayout xmlns:android="http://schemas.android.com/apk/res/android" xmlns:tools="http://schemas.android.com/tools"
   android:layout_width="match_parent"
   android:layout_height="match_parent"
   android:orientation="vertical"
   android:gravity="center_horizontal"
   android:layout_marginTop="30dp"
   android:padding="4dp"
   tools:context=".MainActivity">
   <EditText
      android:id="@+id/editText"
      android:layout_width="match_parent"
      android:layout_height="wrap_content"/>
      <Button
         android:onClick="SetInputTypeNumber"
         android:layout_width="wrap_content"
         android:layout_height="wrap_content"
         android:text="Click Here to set EditText input type to number" />
</LinearLayout>
Step 3 − Add the following code to src/MainActivity.java
import androidx.appcompat.app.AppCompatActivity;
import android.os.Bundle;
import android.text.InputType;
import android.view.View;
import android.widget.EditText;
public class MainActivity extends AppCompatActivity {
   EditText editText;
   @Override
   protected void onCreate(Bundle savedInstanceState) {
      super.onCreate(savedInstanceState);
      setContentView(R.layout.activity_main);
      editText = findViewById(R.id.editText);
   }
   public void SetInputTypeNumber(View view) {
      editText.setInputType(InputType.TYPE_CLASS_NUMBER);
   }
}
Step 4 − Add the following code to androidManifest.xml
<?xml version="1.0" encoding="utf-8"?>
<manifest xmlns:android="http://schemas.android.com/apk/res/android" package="app.com.sample">
   <application
      android:allowBackup="true"
      android:icon="@mipmap/ic_launcher"
      android:label="@string/app_name"
      android:roundIcon="@mipmap/ic_launcher_round"
      android:supportsRtl="true"
      android:theme="@style/AppTheme">
      <activity android:name=".MainActivity">
         <intent-filter>
            <action android:name="android.intent.action.MAIN" />
            <category android:name="android.intent.category.LAUNCHER" />
         </intent-filter>
      </activity>
</application>
</manifest>
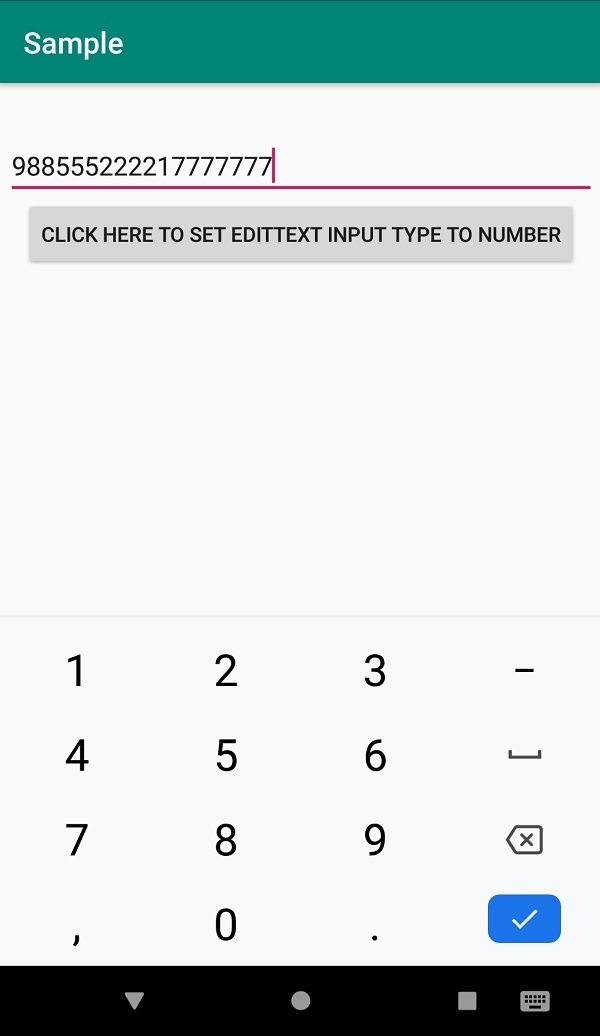
Let's try to run your application. I assume you have connected your actual Android Mobile device with your computer. To run the app from android studio, open one of your project's activity files and click Run ![]() icon from the toolbar. Select your mobile device as an option and then check your mobile device which will display your default screen −
icon from the toolbar. Select your mobile device as an option and then check your mobile device which will display your default screen −
Click here to download the project code

315 Views
