- Github Copilot - Home
- Github Copilot - Introduction
- Github Copilot - Basic Usage
- Github Copilot - Registration
- Github Copilot - Set Up
- Github Copilot - Features
- Github Copilot - Customization
- Github Copilot - Collaborative Coding
- Github Copilot - Code Completion
- Github Copilot - Integrating with CI/CD Pipelines
- Github Copilot - Ethical Consideration
- Github Copilot - Performance Optimization
- Github Copilot - Learning and Development
- Github Copilot - Version Control Integration
- Github Copilot - Industry Applications
- Github Copilot - Code Review
- Github Copilot - Pair Programming
- Github Copilot - Different IDEs
- Github Copilot Used For
- Github Copilot - Data Science and Machine Learning
- Github Copilot - Web Development
- Github Copilot - Game Development
- Github Copilot - DevOps
- Github Copilot - Scripting and Automation
- Github Copilot - Legacy Code
- Github Copilot - Testing
- Github Copilot - For Documentation
- Github Copilot - API Development
- Github Copilot - IoT Development
- Github Copilot - Blockchain Development
- Github Copilot - Cybersecurity
- Github Copilot Useful Resources
- Github Copilot - Quick Guide
- Github Copilot - Useful Resources
- Github Copilot - Discussion
Github Copilot - Set Up in JetBrains IDE
Github Copilot set up in JetBrains IDE is straight forward. In this tutorial we will learn to setup github copilot in webStorm IDE of Jetbrains. First you need to complete the registration process of copilot and then install the copilot extension in your JetBrains IDE. Follow these steps to set up GitHub Copilot in WebStorm IDE.
How to Setup Copilot in JetBrains IDE
Follow these steps to set up GitHub Copilot in WebStorm IDE of JetBrains:
Step 1: Install WebStorm IDE
If you don't already have WebStorm IDE installed on your system, you can download it from the official website. Choose the appropriate version for your operating system and follow the installation instructions.
Step 2: Set Up GitHub Copilot Plugin
To install copilot plugin got to files section on the top-left corner of IDE. Then choose settings from the list as shown in the image.

Step 3: Install GitHub Copilot Plugin
In settings, go to plugins section. Search for copilot and install the copilot as shown in image.

Step 4: Restart The IDE
After installing the GitHub Copilot plugin, You will be asked to restart the WebStorm IDE as shown in image. Restarting will apply the changes.

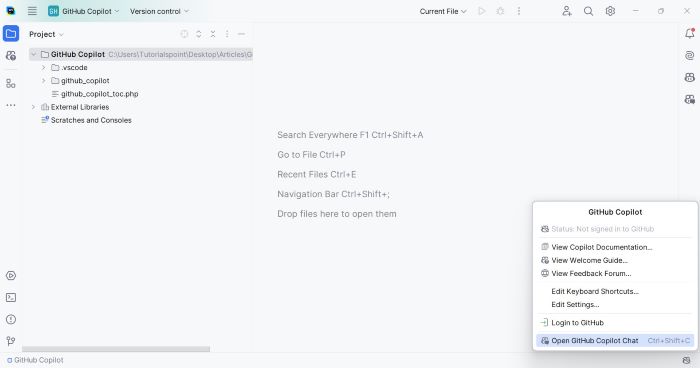
Step 5: Sign in to Copilot
After restarting the IDE, You can see a copilot icon at bottom-right corner of IDE, click on it. Now you will see option to login in to github as shown in image. On clicking you will be given with authorization key and link to authorize. By clicking on it authorize your github account. Make sure to that you already registered for copilot in your github account. We have a separate tutorial on register for copilot.
Step 6: Start Using Copilot
Now you copilot is ready to use. Open any project directory you are working, you can see copilot icon at bottom right corner of your IDE screen. When you start typing a yellow symbol will be displayed near to cursor caret. By click on this yellow symbol you can ask copilot to generate code or fix existing code. You can also see a copilot chat section in right part of your IDE, this can be used to ask doubt while coding.
