
Article Categories
- All Categories
-
 Data Structure
-
 Networking
-
 RDBMS
RDBMS
-
 Operating System
-
 Java
Java
-
 MS Excel
-
 iOS
iOS
-
 HTML
HTML
-
 CSS
CSS
-
 Android
-
 Python
-
 C Programming
-
 C++
C++
-
 C#
C#
-
 MongoDB
-
 MySQL
MySQL
-
 Javascript
-
 PHP
PHP
-
 Economics & Finance
Firebase to get url
Firebase is a backend-as-a-service (BaaS) that provides different services including authentication, cloud storage, hosting, and more. It makes it easy for developers to integrate these features into mobile or web applications.
In this tutorial, we will explore Firebase Cloud Storage to upload images and retrieve their URLs for use in web applications.
Firebase Project Setup
Follow these steps to set up a Firebase project and configure cloud storage:
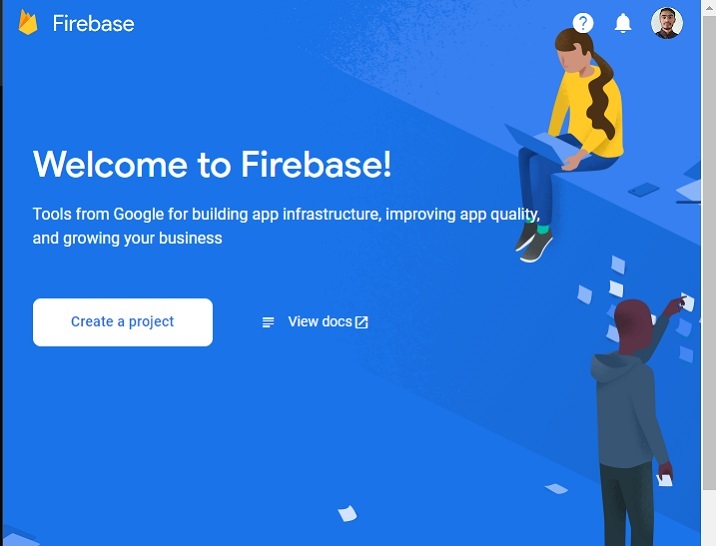
Step 1 ? Go to Firebase and create an account.
Step 2 ? Open the Firebase Console.
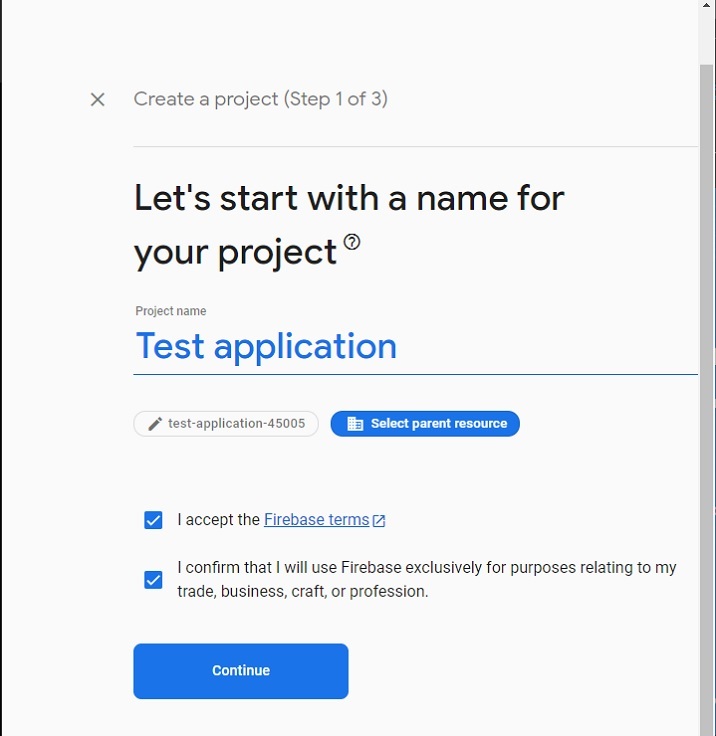
Step 3 ? Click the 'Create project' button to start a new project.
Step 4 ? Add the project name, accept terms & conditions, and click 'Continue'.
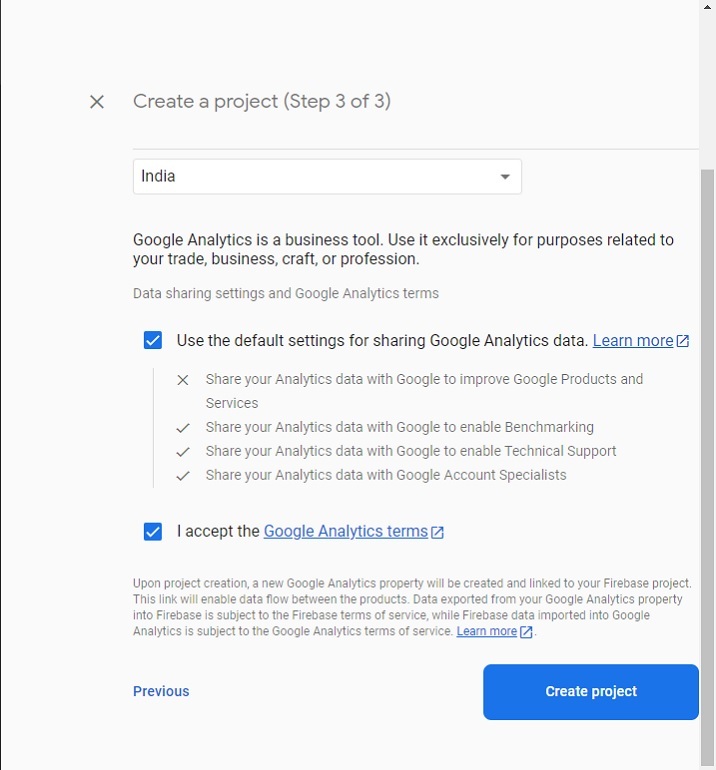
Step 5 ? Select your preferred location, accept terms, and click 'Create project'.
Step 6 ? Click on the 'Storage' card, then click 'Get started'.

Step 7 ? Choose 'Test mode' for development and click 'Next'.
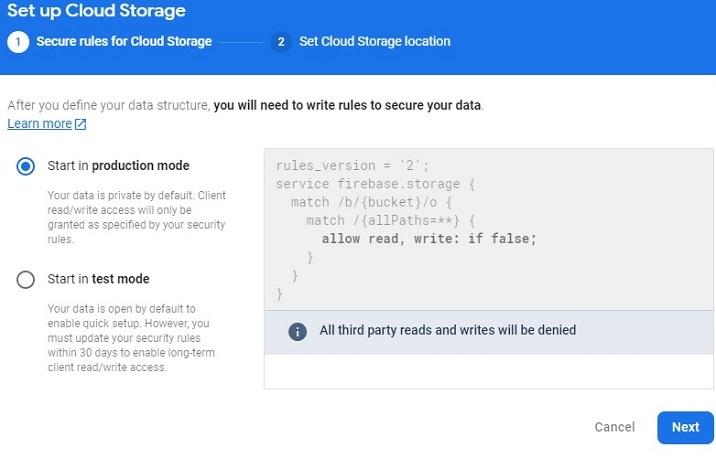
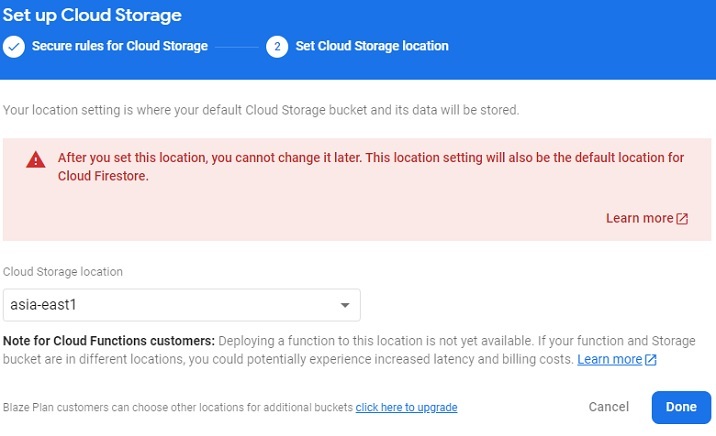
Step 8 ? Select the storage location nearest to you and click 'Done'.
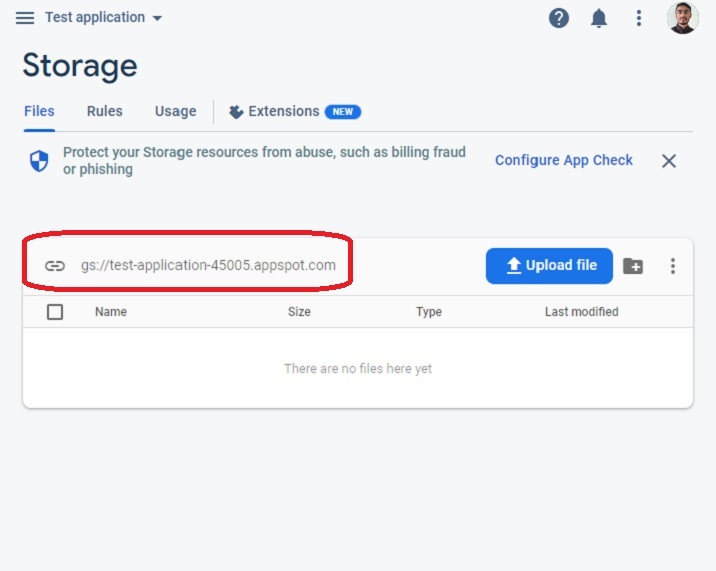
Step 9 ? Copy the storage bucket ID from the storage dashboard.
Step 10 ? Go to the 'Rules' tab and update the security rules:
rules_version = '2';
service firebase.storage {
   match /b/{bucket}/o {
      match /{allPaths=**} {
         // Allow access by all users (for testing only)
         allow read, write;
      }
   }
}

Complete Example: Upload Image and Get URL
This example demonstrates uploading an image to Firebase Storage and retrieving its download URL. The application includes a progress bar and displays the uploaded image.
<html>
<head>
   <!-- Firebase SDK -->
   <script src="https://www.gstatic.com/firebasejs/8.6.8/firebase-app.js"></script>
   <script src="https://www.gstatic.com/firebasejs/8.6.8/firebase-storage.js"></script>
   <style>
      img {
         width: 500px;
         height: auto;
         border: 1px solid #ddd;
      }
      .progress-container {
         margin: 20px 0;
      }
   </style>
</head>
<body>
   <h2>Firebase Image Upload with URL Retrieval</h2>

   <div class="progress-container">
      <progress value="0" id="progressBar" max="100">0%</progress>
      <span id="progressText">0%</span>
   </div>

   <input id="file" type="file" accept="image/*" onchange="uploadFile()">
   <br><br>

   <div id="imageContainer">
      <img src="" alt="Uploaded Image" id="uploadedImage" style="display:none;">
   </div>

   <div id="urlContainer" style="margin-top: 20px; display:none;">
      <strong>Image URL:</strong>
      <input type="text" id="imageURL" readonly style="width: 100%; margin-top: 5px;">
   </div>

   <script>
      // Firebase configuration - Replace with your config
      const firebaseConfig = {
         apiKey: "your-api-key",
         authDomain: "your-project.firebaseapp.com",
         projectId: "your-project-id",
         storageBucket: "your-project.appspot.com",
         messagingSenderId: "123456789",
         appId: "your-app-id"
      };

      // Initialize Firebase
      firebase.initializeApp(firebaseConfig);
      const storage = firebase.storage();

      function uploadFile() {
         const fileInput = document.getElementById("file");
         const file = fileInput.files[0];

         if (!file) {
            alert("Please select a file first!");
            return;
         }

         // Create unique filename
         const fileName = `image-${Date.now()}-${file.name}`;

         // Create storage reference
         const storageRef = storage.ref().child(`images/${fileName}`);

         // Upload file
         const uploadTask = storageRef.put(file);

         // Monitor upload progress
         uploadTask.on('state_changed',
            function(snapshot) {
               // Calculate progress percentage
               const progress = (snapshot.bytesTransferred / snapshot.totalBytes) * 100;

               // Update progress bar
               const progressBar = document.getElementById('progressBar');
               const progressText = document.getElementById('progressText');
               progressBar.value = progress;
               progressText.textContent = Math.round(progress) + '%';

               console.log('Upload is ' + progress + '% done');
            },
            function(error) {
               // Handle upload errors
               console.error('Upload failed:', error);
               alert('Upload failed: ' + error.message);
            },
            function() {
               // Upload completed successfully
               uploadTask.snapshot.ref.getDownloadURL().then(function(downloadURL) {
                  console.log('File available at:', downloadURL);

                  // Display uploaded image
                  const img = document.getElementById('uploadedImage');
                  img.src = downloadURL;
                  img.style.display = 'block';

                  // Show the URL
                  const urlContainer = document.getElementById('urlContainer');
                  const imageURLInput = document.getElementById('imageURL');
                  imageURLInput.value = downloadURL;
                  urlContainer.style.display = 'block';

                  alert('Upload successful! Image URL copied to text field.');
               });
            }
         );
      }
   </script>
</body>
</html>
Key Features Explained
Firebase Storage Reference ? Creates a reference to the storage location using
storage.ref().child()File Upload ? Uses
put()method to upload the file to Firebase StorageProgress Monitoring ? Tracks upload progress with the
state_changedeventDownload URL ? Retrieves the public URL using
getDownloadURL()methodError Handling ? Includes proper error handling for upload failures
Security Considerations
The example uses permissive security rules for testing. In production, implement proper authentication and authorization:
rules_version = '2';
service firebase.storage {
  match /b/{bucket}/o {
    match /{allPaths=**} {
      // Only allow authenticated users to read/write
      allow read, write: if request.auth != null;
    }
  }
}
Conclusion
Firebase Storage provides an easy way to upload files and retrieve their URLs for use in web applications. The getDownloadURL() method returns a publicly accessible URL that can be used to display images or share files. Remember to implement proper security rules in production environments.

2K+ Views
