
Article Categories
- All Categories
-
 Data Structure
-
 Networking
-
 RDBMS
RDBMS
-
 Operating System
-
 Java
Java
-
 MS Excel
-
 iOS
iOS
-
 HTML
HTML
-
 CSS
CSS
-
 Android
-
 Python
-
 C Programming
-
 C++
C++
-
 C#
C#
-
 MongoDB
-
 MySQL
MySQL
-
 Javascript
-
 PHP
PHP
-
 Economics & Finance
Excel data validation: Add, use, copy and remove data validation in Excel
You may restrict what users are able to type into a cell by using a handy function called Data Validation. This feature allows you to restrict what users can input into a cell. For instance, the data validation tool may assist you in limiting the length of text strings, or text starting / ending with certain characters, or the number of unique values that must be input, and so on.
Add Data Validation
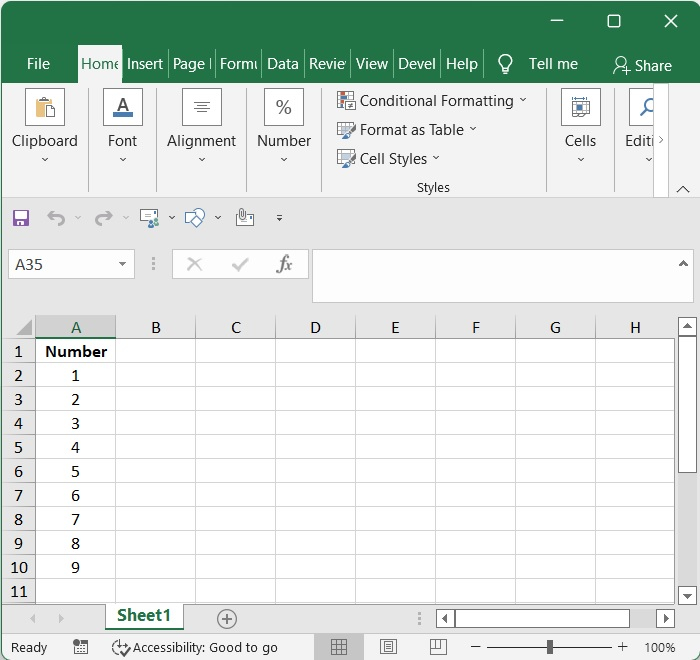
Step 1 ? Choose the cells in which you wish to set the data validation and add them to the list.
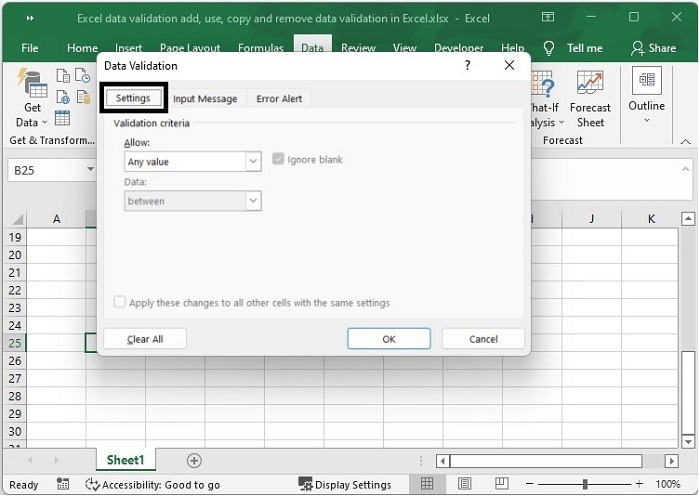
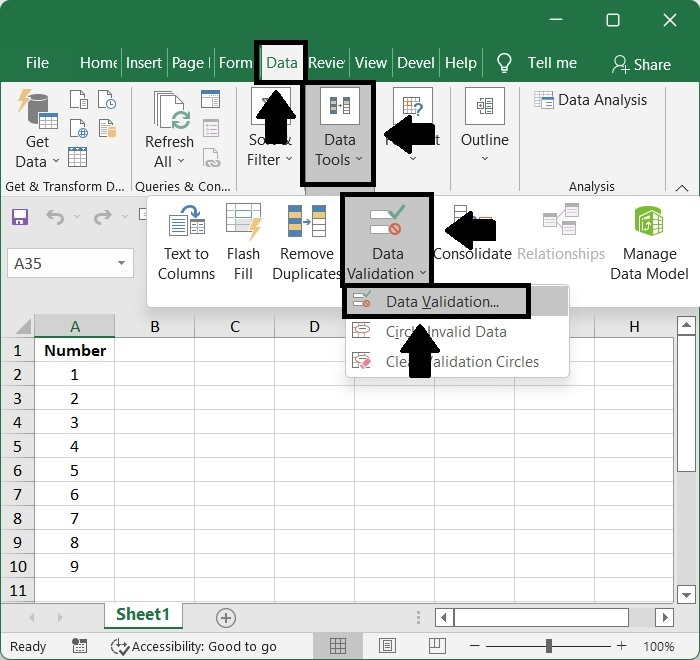
Step 2 ? Click Data followed by Data Validation, and then choose Data Validation.

Step 3 ? Provide your own validation criteria in the Data Validation dialogue box's Settings tab. inside the criterion fields,
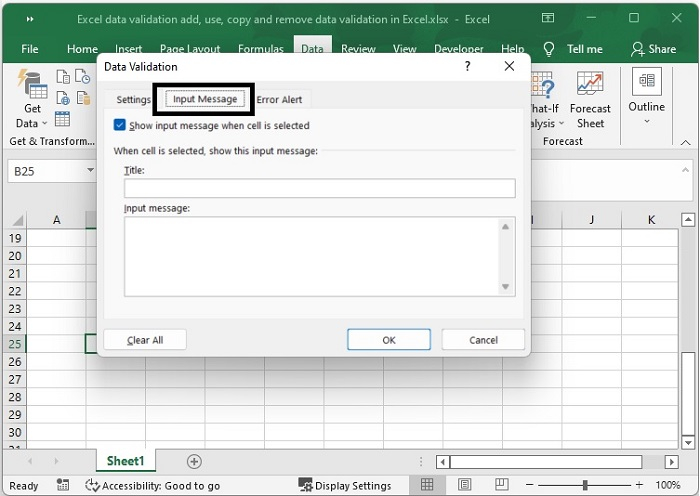
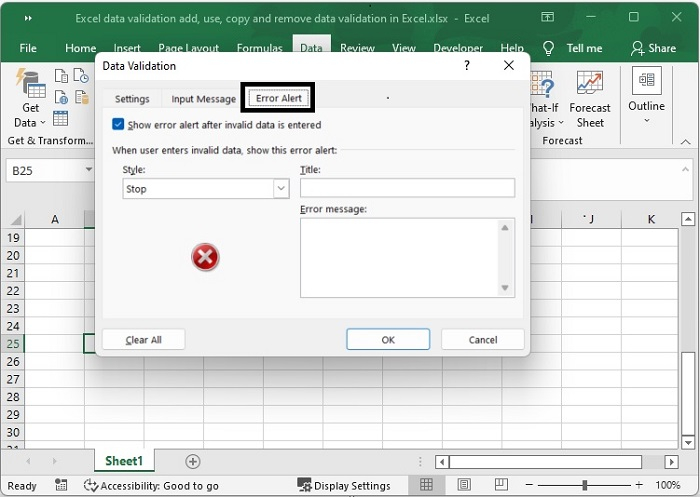
Step 4 ? After you have finished creating the criteria, you can next go to the tab labelled Input Message or Error Warning to customize the input message or error alert that is shown in the validation columns. Please click the OK button if you do not want to set the alert; this will allow you to continue the process immediately.
If you do not provide your own personal message into the Error Alert box, the default Stop alert prompt box would be presented instead, as illustrated.
Use Data Validation
Step 1 ? Select the cells in which you wish to permit only whole numbers and decimals, and then go to the Data menu and click on Data Validation followed by Data Validation.
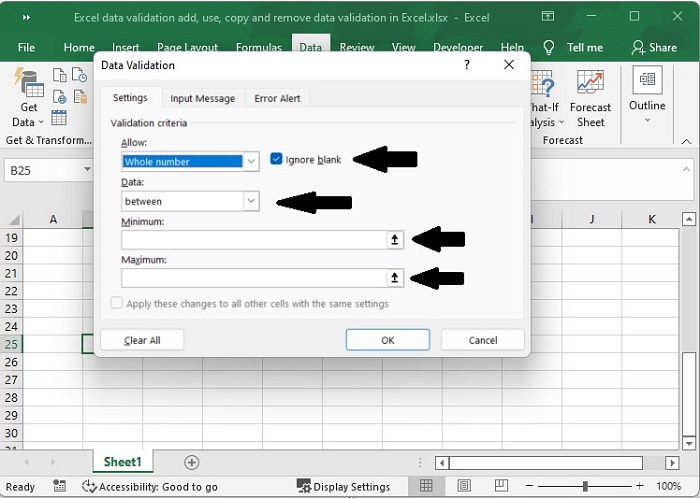
Step 2 ? Under the tab labelled Settings in the Data Validation dialogue box, Please choose the item that corresponds. Choose either a Whole number or a Decimal from the Allow drop down box.
Next, in the box labelled "Data," choose one of the criteria that you need. For this illustration, I will go with the "between" option.
Next, input the minimum and maximum values that you need; in my case, those values should be between 0 and 500. To continue, choose the OK button.
Copy Data Validation
If you have already established data validation for one cell and desire to verify additional cells using the same criteria, you do not need to recreate the rule from start. Instead, you can just copy and paste the existing rule into the new cell.
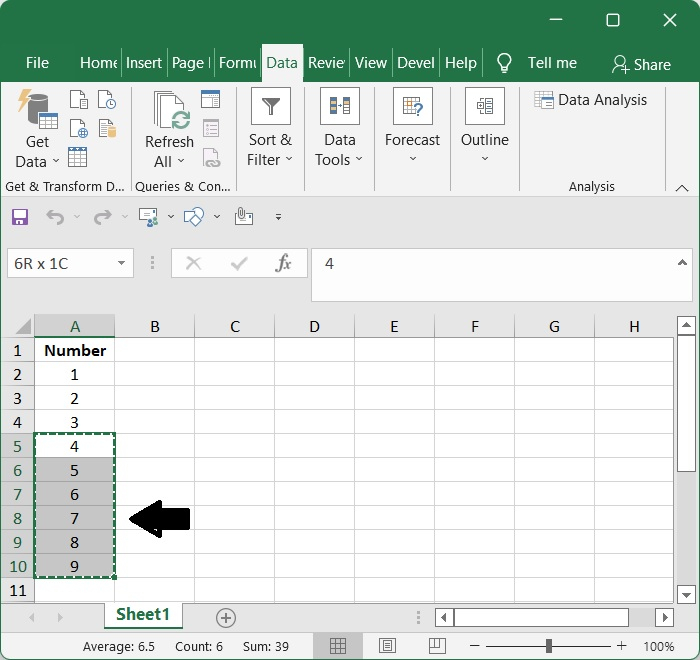
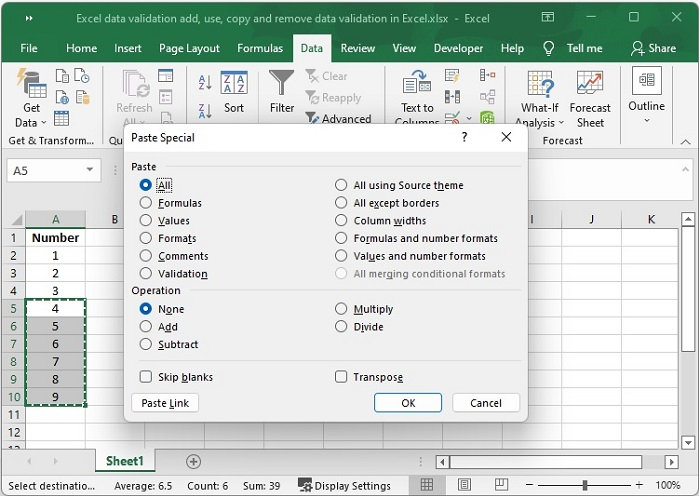
Step 1 ? Choose the cell that the validation rule affects, then hit the 'Ctrl + C' key combination to copy the cell.
Step 2 ? After selecting what you want to validate, right-click the area, go to Paste Special, and then choose the appropriate choice.
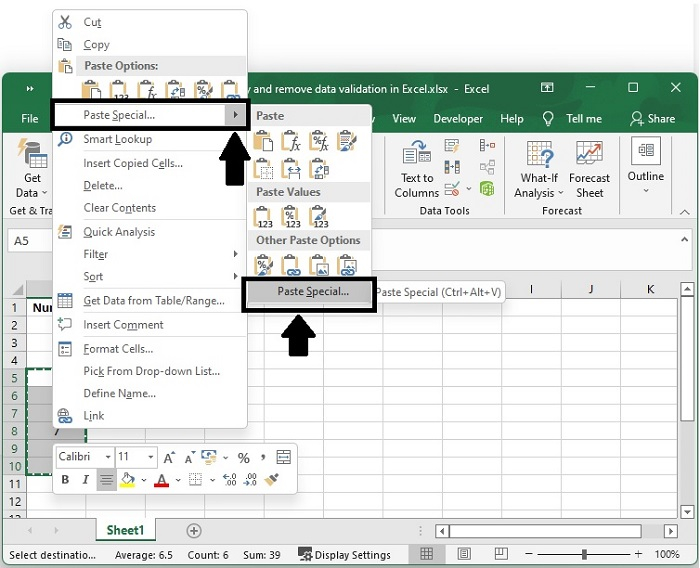
You may also use the keyboard shortcut for Paste Special > Validation, which is Ctrl + Alt + V followed by N. Select the OK button.
Remove Data Validation
Excel provides users with two options for removing validation: the first is the traditional method developed by Microsoft, and the second is a mouse-free method developed by Excel enthusiasts who, unless it was absolutely essential, would never take their hands off the keyboard.
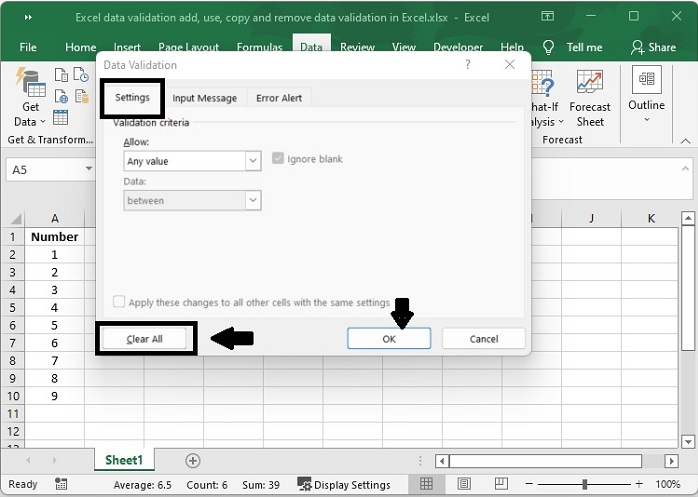
Step 1 ? Choose the cell that has data validation applied to it. And On the "Data" tab, choose the option labelled "Data Validation."

Step 2 ? On the Settings tab, choose all of the settings to delete by clicking the Clear All option, and then selecting OK.
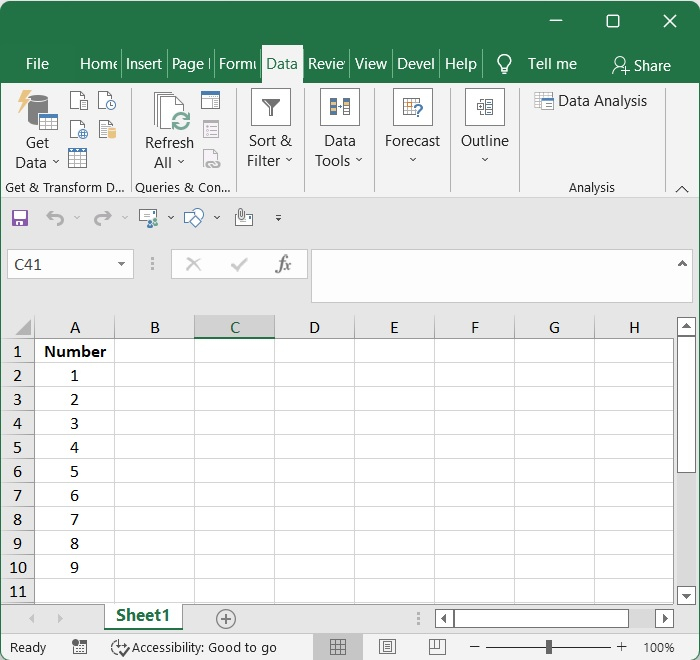
Step 3 ? There is no data validation that can be performed on this sheet.
Conclusion
In this tutorial, we explained how you can add, use, copy and remove data validation in Excel.

928 Views
