 Data Structure
 Networking
 RDBMS
RDBMS Operating System
 Java
Java MS Excel
 iOS
iOS HTML
HTML CSS
CSS Android
 Python
 C Programming
 C++
C++ C#
C# MongoDB
 MySQL
MySQL Javascript
 PHP
PHP
- Selected Reading
- UPSC IAS Exams Notes
- Developer's Best Practices
- Questions and Answers
- Effective Resume Writing
- HR Interview Questions
- Computer Glossary
- Who is Who
Creating auto-resize text area using JavaScript
In this post, we are going to learn how to set up an auto?size text area in JavaScript. This text area will be able to change its height automatically depending on the content within it. Auto?size text in JavaScript is a helpful feature that can be used to edit multiple lines of text. The text can automatically change its height depending on the content inside it. The default behavior of textarea doesn't allow this, but we can create it by using the input event listener over it.
Let's understand how to adjust the height of the text area element dynamically with the help of some examples ?
Example 1
In this case, we'll ?
pick the text area using the ID and add the input event listener.
When a user adjusts the text size we first set the text height to scroll height then we set the text height to auto (default) and finally we adapt the text height based on the content
Filename - index.html
<html>
<head>
   <title>Creating auto-resize text area using JavaScript</title>
   <style>
      #container {
         width: 310px;
      }

      textarea {
         width: 100%;
         resize: none;
         overflow: hidden;
      }
   </style>
</head>
<body>
   <h3>Auto-resize Text Area</h3>

   <div id="container">
      <textarea id="myTextArea" rows="1" placeholder="Enter text..."></textarea>
   </div>

   <script>
      const textArea = document.getElementById("myTextArea");

      textArea.addEventListener("input", function () {
         this.style.height = "auto";
         this.style.height = this.scrollHeight + "px";
      });
   </script>
</body>
</html>
Output
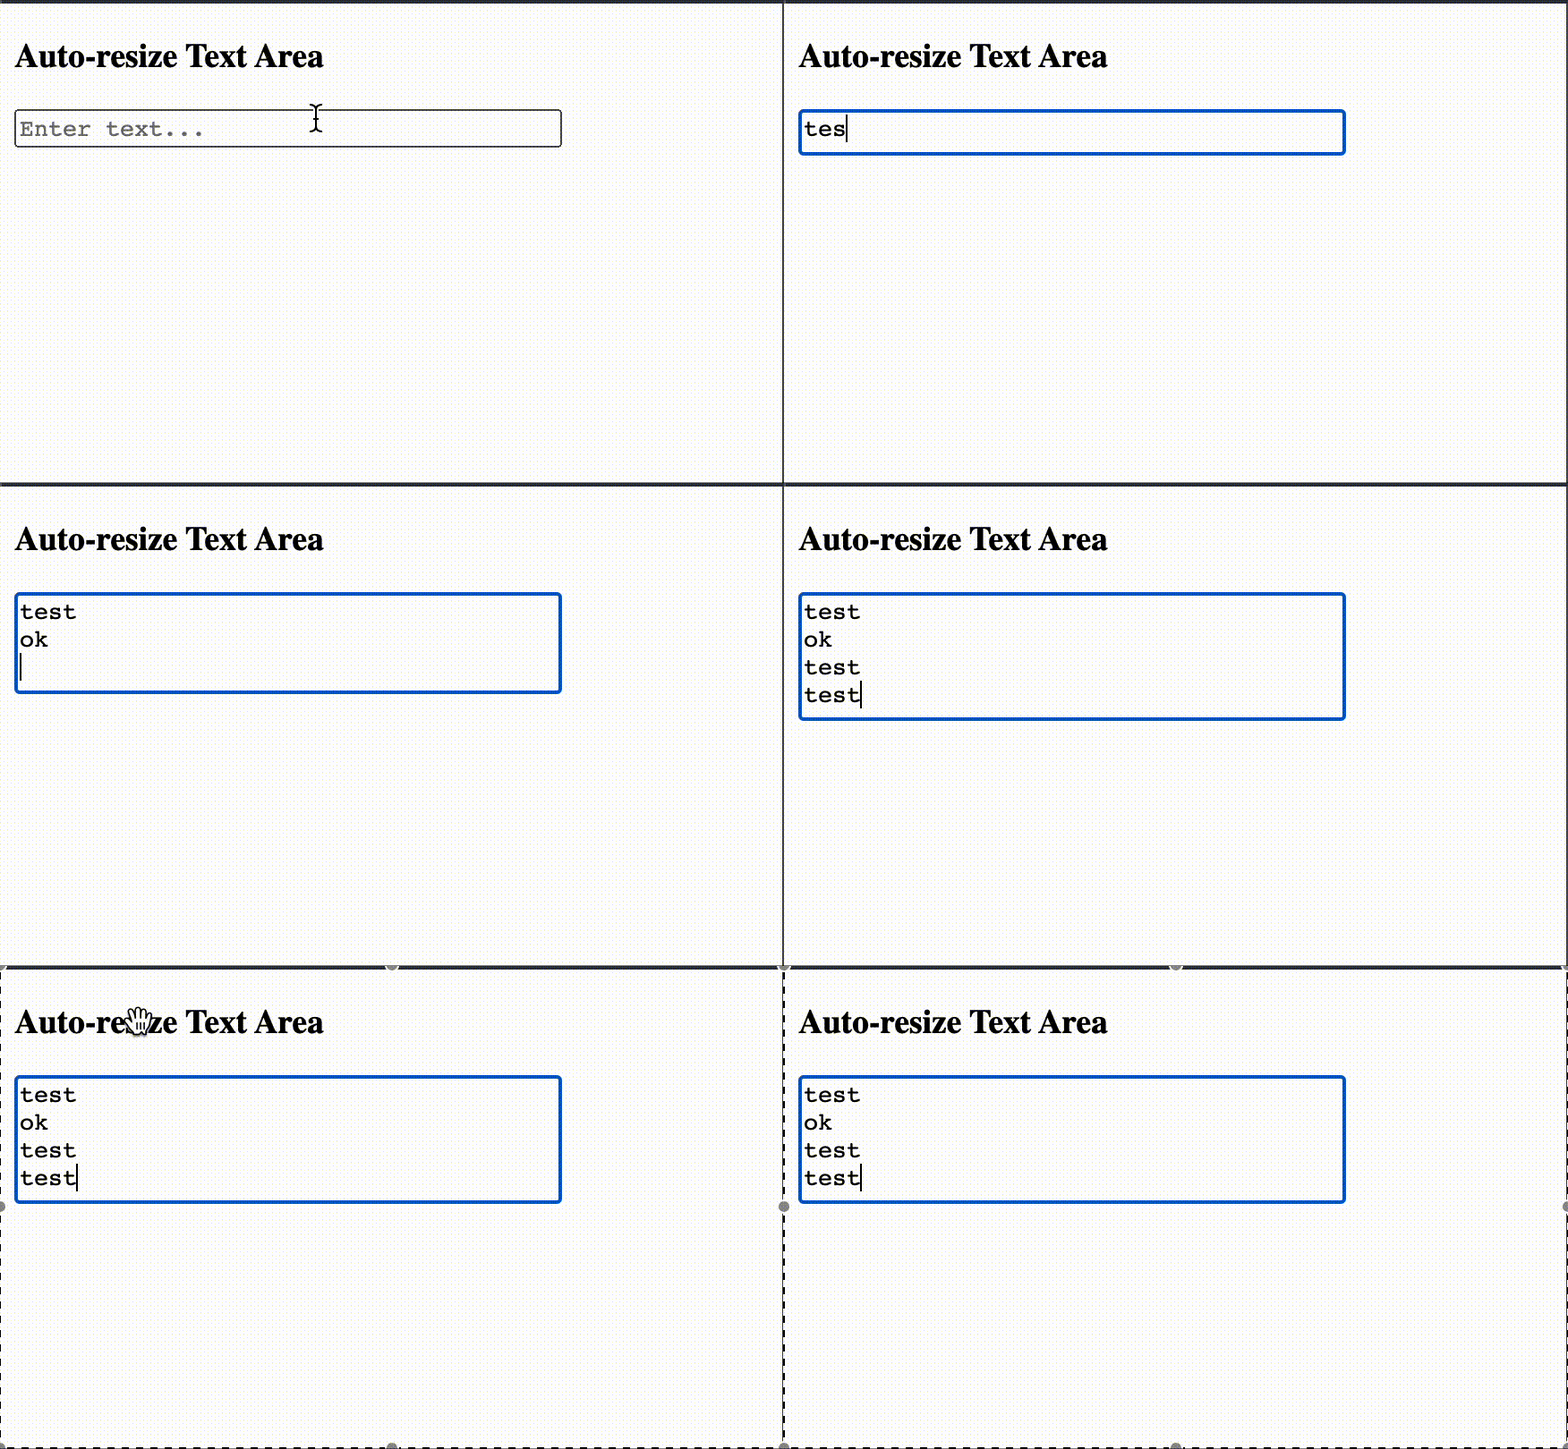
The result will like the image below.

Example 2
In this example, we will ?
define a function resizeTextArea() that gets called at both times when the input event occurs and when the resize event occurs (when the window is resized)
this is so as to maintain the correct height of the text area if the user resizes the window while typing
Filename - index.html
<html>
<head>
   <title>Creating auto-resize text area using JavaScript</title>
   <style>
      #container {
         width: 310px;
      }

      textarea {
         width: 100%;
         resize: none;
         overflow: hidden;
      }
   </style>
</head>
<body>
   <h3>Auto-resize Text Area</h3>

   <div id="container">
      <textarea id="myTextArea" rows="1" placeholder="Enter text..."></textarea>
   </div>

   <script>
      const textArea = document.getElementById("myTextArea");

      function resizeTextArea() {
         textArea.style.height = "auto";
         textArea.style.height = textArea.scrollHeight + "px";
      }

      textArea.addEventListener("input", resizeTextArea);
      window.addEventListener("resize", resizeTextArea);
   </script>
</body>
</html>
Output
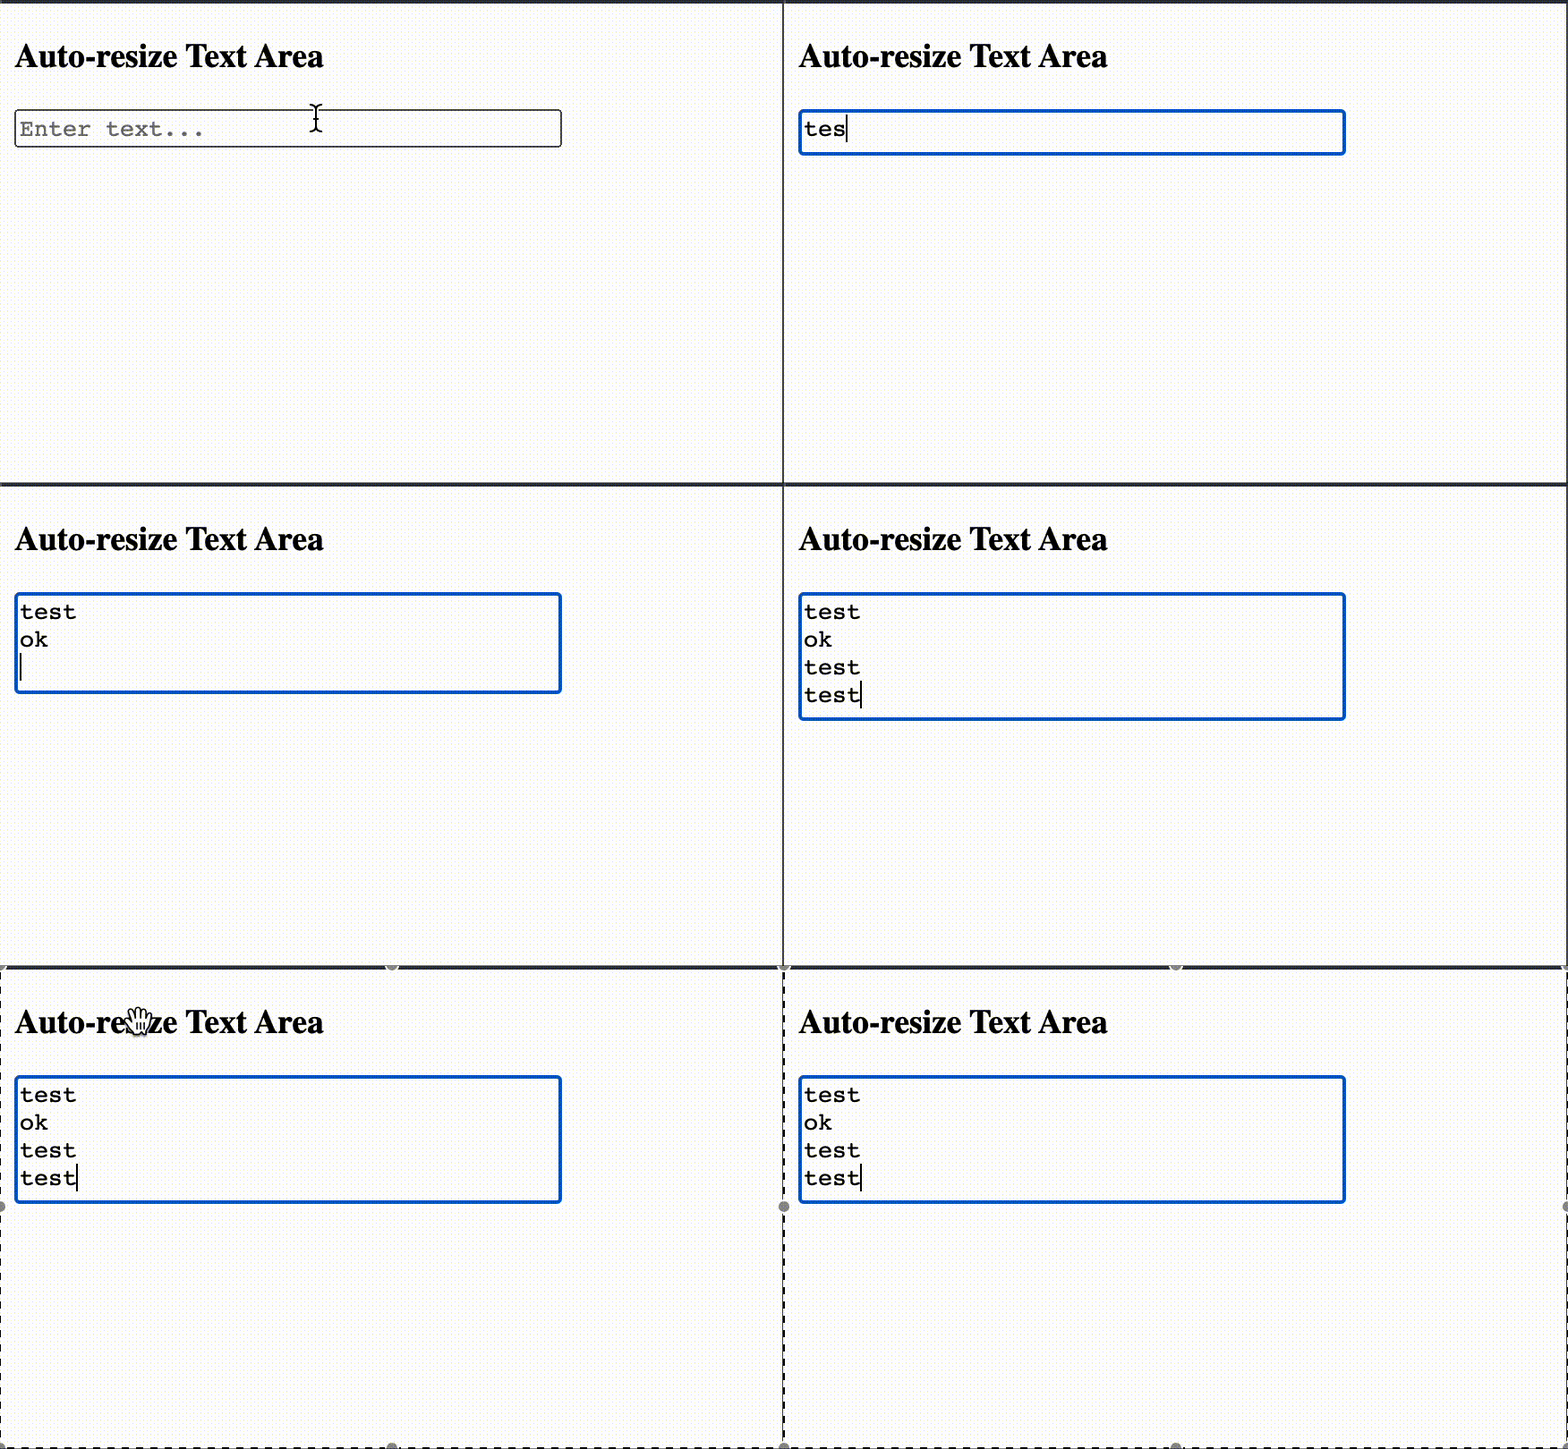
The result will like the image below.

Conclusion
In conclusion, the auto?resize text area functionality using JavaScript provides a user?friendly experience for handling multiline text input and changing the height of the text area based on the content present inside it. Through the use of event listeners and DOM manipulation, we were able to create an auto?resize text area. We learned the concept of auto?resizing text area using JavaScript and saw some examples explaining the same.

