
Article Categories
- All Categories
-
 Data Structure
-
 Networking
-
 RDBMS
RDBMS
-
 Operating System
-
 Java
Java
-
 MS Excel
-
 iOS
iOS
-
 HTML
HTML
-
 CSS
CSS
-
 Android
-
 Python
-
 C Programming
-
 C++
C++
-
 C#
C#
-
 MongoDB
-
 MySQL
MySQL
-
 Javascript
-
 PHP
PHP
-
 Economics & Finance
Bitwise Right/ left shift numbers in Arduino
If you are a firmware developer, then shifting numbers, or registers by certain number of bits may be quite common for you. In Arduino as well, the same bit shift operators can be used, that are used in the C language, namely left shift and >> for right shift.
Syntax
x >> n or x << n
where x is the number to be bit-shifted, and n is the number of bits by which the number should be right shifted or left shifted.
What is the output? You get the number obtained by shifting the binary representation of the number by that many bits to the left or right. For example, the number 5 is represented as 0b00000101.
If I right shift 5 by 1, I’ll get 0b00000010, where the last 1 pops out because of right shifting. And thus, the resultant number is 2.
Similarly, if I left shift 5 by 2, I’ll get 0b00010100, where two 0s get added at the end because of left shifting. Thus, we get 20.
Example
void setup() {
   // put your setup code here, to run once:
   Serial.begin(9600);
   Serial.println();

   int x = 5;

   Serial.println(x);
   Serial.println(x >> 1);
   Serial.println(x << 2);
}

void loop() {
   // put your main code here, to run repeatedly:
}
Output
The Serial Monitor output is given below −
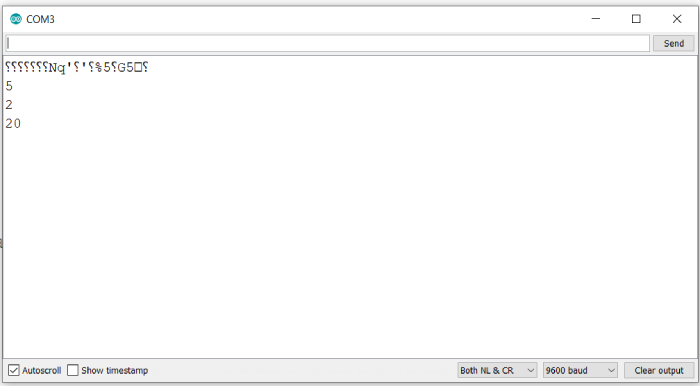
As you can see, the printed output is exactly as per our expectations.

2K+ Views
