- AVRO By Generating a Class
- Serialization by Generating Class
- Deserialization by Generating Class
- AVRO Using Parsers Library
- Serialization Using Parsers
- Deserialization Using Parsers
- AVRO Useful Resources
- AVRO - Quick Guide
- AVRO - Useful Resources
- AVRO - Discussion
AVRO - Environment Setup
Apache software foundation provides Avro with various releases. You can download the required release from Apache mirrors. Let us see, how to set up the environment to work with Avro −
Downloading Avro
To download Apache Avro, proceed with the following −
Open the web page Apache.org. You will see the homepage of Apache Avro as shown below −
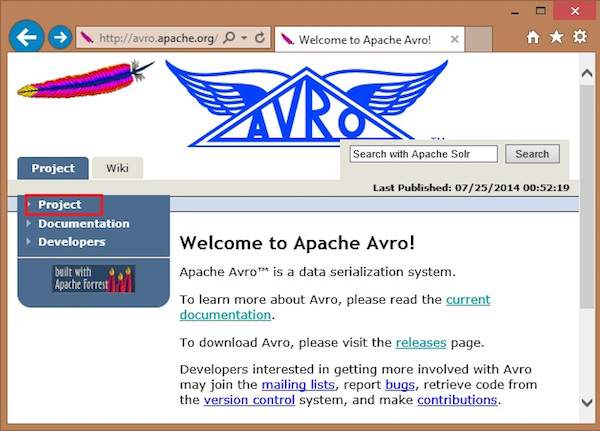
Click on project → releases. You will get a list of releases.
Select the latest release which leads you to a download link.
mirror.nexcess is one of the links where you can find the list of all libraries of different languages that Avro supports as shown below −
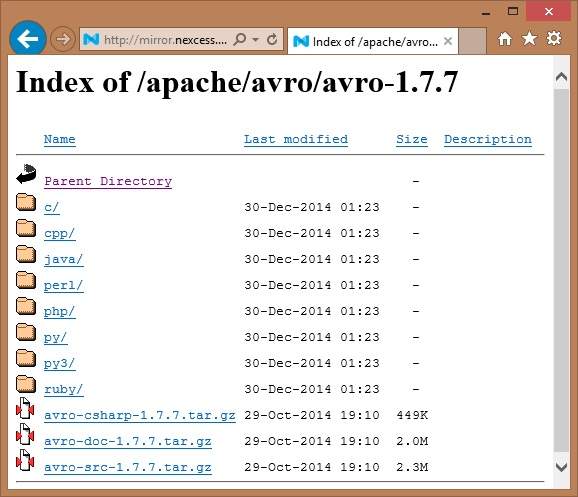
You can select and download the library for any of the languages provided. In this tutorial, we use Java. Hence download the jar files avro-1.7.7.jar and avro-tools-1.7.7.jar.
Avro with Eclipse
To use Avro in Eclipse environment, you need to follow the steps given below −
Step 1. Open eclipse.
Step 2. Create a project.
Step 3. Right-click on the project name. You will get a shortcut menu.
Step 4. Click on Build Path. It leads you to another shortcut menu.
Step 5. Click on Configure Build Path... You can see Properties window of your project as shown below −
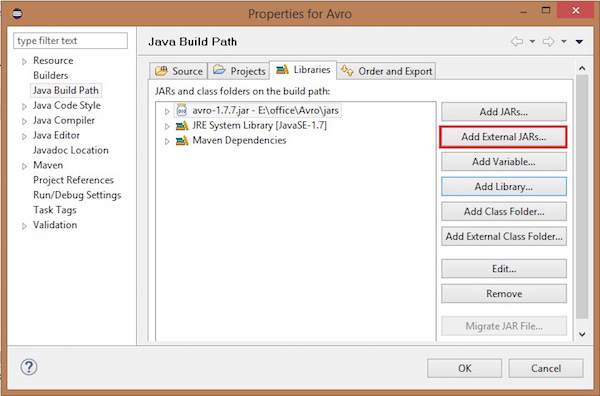
Step 6. Under libraries tab, click on ADD EXternal JARs... button.
Step 7. Select the jar file avro-1.77.jar you have downloaded.
Step 8. Click on OK.
Avro with Maven
You can also get the Avro library into your project using Maven. Given below is the pom.xml file for Avro.
<project xmlns="http://maven.apache.org/POM/4.0.0" xmlns:xsi="   http://www.w3.org/2001/XMLSchema-instance" xsi:schemaLocation="http://maven.apache.org/POM/4.0.0 http://maven.apache.org/xsd/maven-4.0.0.xsd">

   <modelVersion>4.0.0</modelVersion>
   <groupId>Test</groupId>
   <artifactId>Test</artifactId>
   <version>0.0.1-SNAPSHOT</version>

   <build>
      <sourceDirectory>src</sourceDirectory>
      <plugins>
         <plugin>
            <artifactId>maven-compiler-plugin</artifactId>
            <version>3.1</version>

            <configuration>
               <source>1.7</source>
               <target>1.7</target>
            </configuration>

         </plugin>
      </plugins>
   </build>

   <dependencies>
      <dependency>
         <groupId>org.apache.avro</groupId>
         <artifactId>avro</artifactId>
         <version>1.7.7</version>
      </dependency>

      <dependency>
         <groupId>org.apache.avro</groupId>
         <artifactId>avro-tools</artifactId>
         <version>1.7.7</version>
      </dependency>

      <dependency>
         <groupId>org.apache.logging.log4j</groupId>
         <artifactId>log4j-api</artifactId>
         <version>2.0-beta9</version>
      </dependency>

      <dependency>
         <groupId>org.apache.logging.log4j</groupId>
         <artifactId>log4j-core</artifactId>
         <version>2.0-beta9</version>
      </dependency>

   </dependencies>

</project>
Setting Classpath
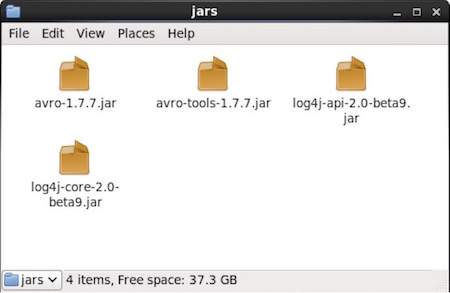
To work with Avro in Linux environment, download the following jar files −
- avro-1.77.jar
- avro-tools-1.77.jar
- log4j-api-2.0-beta9.jar
- og4j-core-2.0.beta9.jar.
Copy these files into a folder and set the classpath to the folder, in the ./bashrc file as shown below.
#class path for Avro
export CLASSPATH=$CLASSPATH://home/Hadoop/Avro_Work/jars/*