
Article Categories
- All Categories
-
 Data Structure
-
 Networking
-
 RDBMS
RDBMS
-
 Operating System
-
 Java
Java
-
 MS Excel
-
 iOS
iOS
-
 HTML
HTML
-
 CSS
CSS
-
 Android
-
 Python
-
 C Programming
-
 C++
C++
-
 C#
C#
-
 MongoDB
-
 MySQL
MySQL
-
 Javascript
-
 PHP
PHP
-
 Economics & Finance
How to mask an image in OpenCV Python?
We can apply a mask to an image by computing the cv2.bitwise_and() between the mask and the image. To track a color, we define a mask in HSV color space using cv2.inRange() passing lower and upper limits of color values in HSV.
To track a part of the image we can define a mask using np.zeros() and slicing the entries with white (255) for the region in the input image to examine. Follow the given steps to mask an image ?
Read the input image using
cv2.imread()method. Convert the image BGR to HSV to track a color in the input image. To track a part of the image leave the image in BGR formatDefine a mask using
cv2.inRange()to track a particular color in the image. Pass the lower and upper limits of color in HSV format. If you want to track the rectangular part of the input image, define a rectangular image (mask) withcv2.zeros()Apply bitwise AND operation between the mask and the input image using
cv2.bitwise_and()Display the mask and masked image
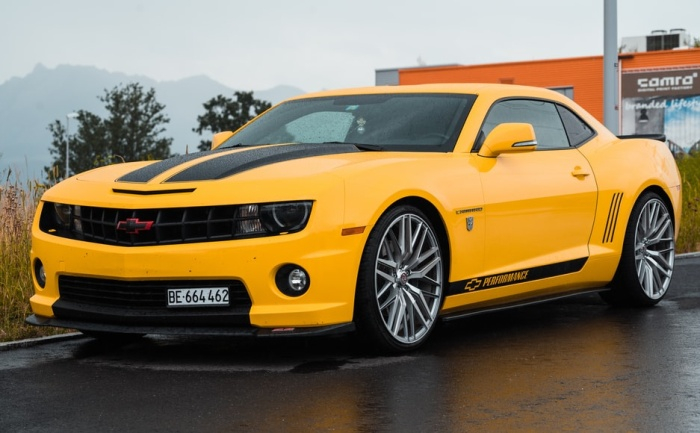
We will use this image as the Input File in the following examples ?
Color Masking using HSV
In this example, we create a color mask to track yellow color in the input image using HSV color space ?
# import required libraries
import cv2
import numpy as np

# read input image
img = cv2.imread('car.jpg')

# Convert BGR to HSV
hsv = cv2.cvtColor(img, cv2.COLOR_BGR2HSV)

# define range of yellow color in HSV
lower_yellow = np.array([15, 50, 180])
upper_yellow = np.array([40, 255, 255])

# Create a mask. Threshold the HSV image to get only yellow colors
mask = cv2.inRange(hsv, lower_yellow, upper_yellow)

# Bitwise-AND mask and original image
result = cv2.bitwise_and(img, img, mask=mask)

# display the mask and masked image
cv2.imshow('Mask', mask)
cv2.waitKey(0)
cv2.imshow('Masked Image', result)
cv2.waitKey(0)
cv2.destroyAllWindows()
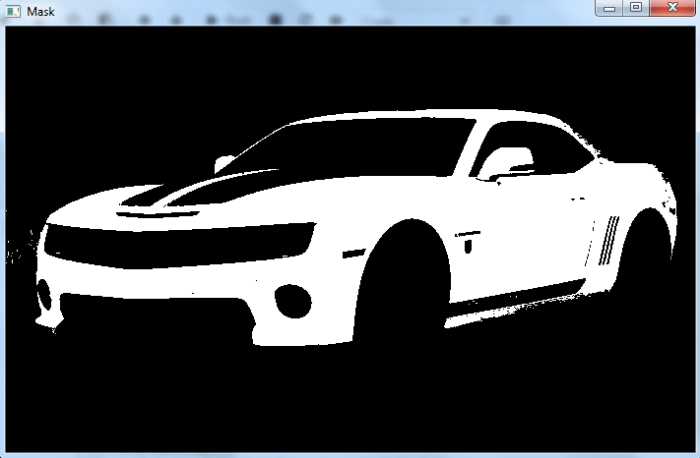
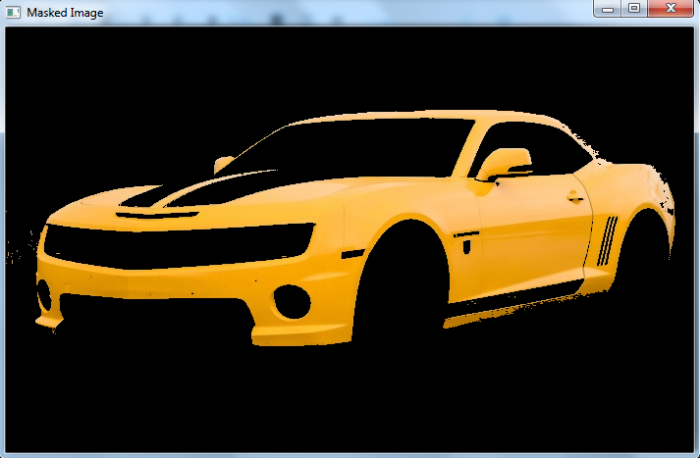
Output
When we run the above code, two windows named 'Mask' and 'Masked Image' will open. 'Mask' shows the mask to track the yellow color. 'Masked Image' shows the tracked yellow color in the input image.
Region Masking using Rectangle
In this example, we create a rectangular region as a mask to track a specific part of the input image ?
# import required libraries
import cv2
import numpy as np
# Read an input image
img = cv2.imread('car.jpg')
# create a mask
mask = np.zeros(img.shape[:2], np.uint8)
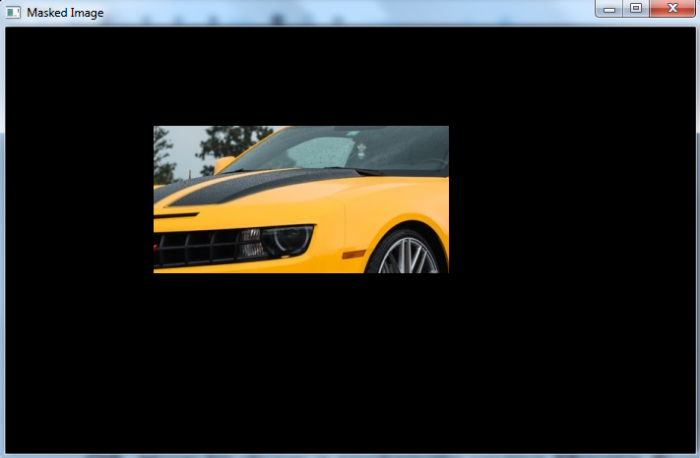
mask[100:250, 150:450] = 255
# compute the bitwise AND using the mask
masked_img = cv2.bitwise_and(img, img, mask=mask)
# display the mask, and the output image
cv2.imshow('Mask', mask)
cv2.waitKey(0)
cv2.imshow('Masked Image', masked_img)
cv2.waitKey(0)
cv2.destroyAllWindows()
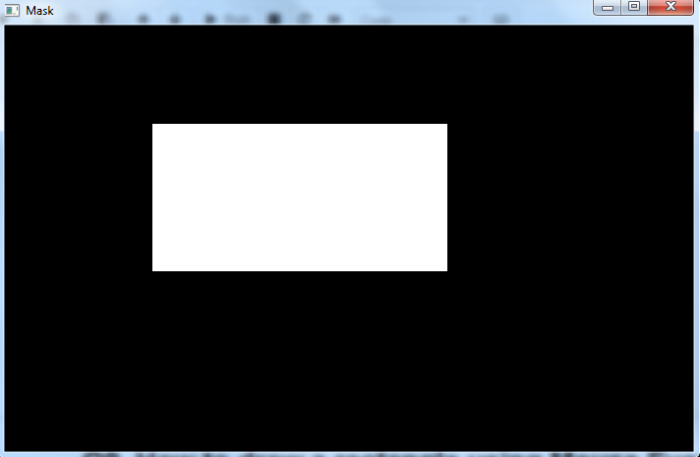
Output
When we run the above code, two windows named 'Mask' and 'Masked Image' will open. 'Mask' shows the mask (rectangular region). 'Masked Image' shows the tracked part in the input image.
Conclusion
Image masking in OpenCV allows you to isolate specific colors using cv2.inRange() in HSV color space or select rectangular regions using np.zeros(). The cv2.bitwise_and() function applies the mask to reveal only the desired areas.

54K+ Views
