
Article Categories
- All Categories
-
 Data Structure
-
 Networking
-
 RDBMS
RDBMS
-
 Operating System
-
 Java
Java
-
 MS Excel
-
 iOS
iOS
-
 HTML
HTML
-
 CSS
CSS
-
 Android
-
 Python
-
 C Programming
-
 C++
C++
-
 C#
C#
-
 MongoDB
-
 MySQL
MySQL
-
 Javascript
-
 PHP
PHP
-
 Economics & Finance
Advanced Filtering: How to create a Slicer in Power BI?
Introduction
Users may populate the selected employee data through the slicer on the dashboard. Two options Filter and Slicer assist users in filtering data. Slicers are more flexible and dynamic, provide quick accessibility of data, are easily embedded into the Report editor, and are also compatible with other charts. The disadvantage of slicers is that a Visual filter is not permitted in slicer visual, and choices like drill down, and input fields can?t be endorsed. In this article, we will learn the fundamental concepts of creating a slicer to shortlist the employees? names based on age categories.
To create a slicer to filter employees' names depending on their ages
Step 1
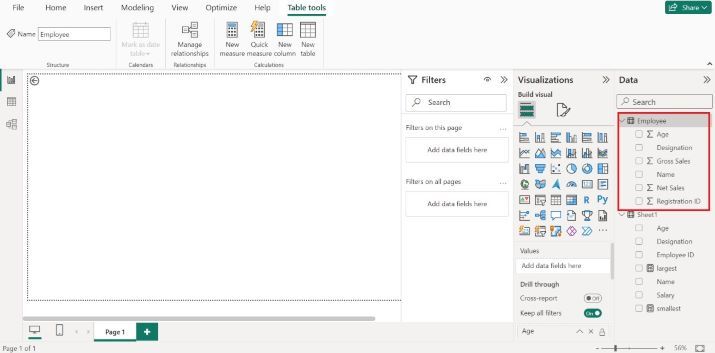
Assume the sample dataset "Employee" comprises six columns as given below
Step 2
To insert the slicer on the Report editor, the user must select the "Slicer" visual under the Visualizations pane. The empty slicer would be created as depicted in the below image. Users would increase the size of the slicer for clear visibility.

Step 3
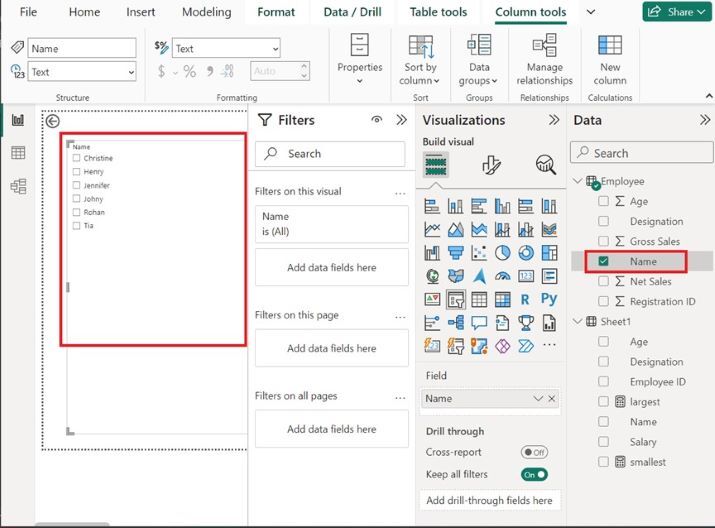
Select the Name column. Once you have selected this column, all the names of the employees populated on the Slicer as given below
Step 4
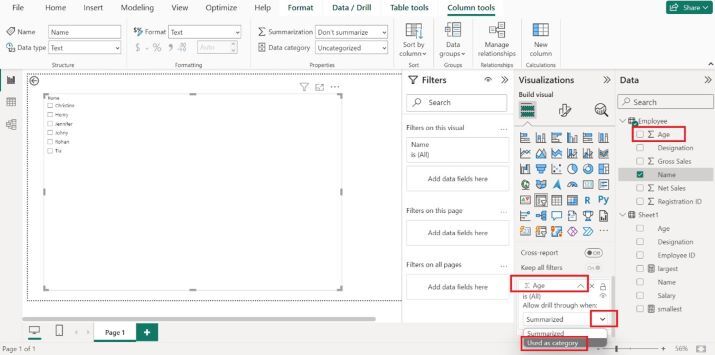
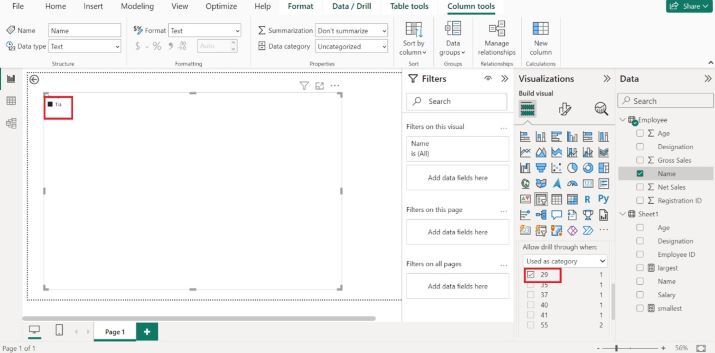
Drag the "Age" column into the "Drill through" textbox and select the "Used as category" option as highlighted below
Step 5
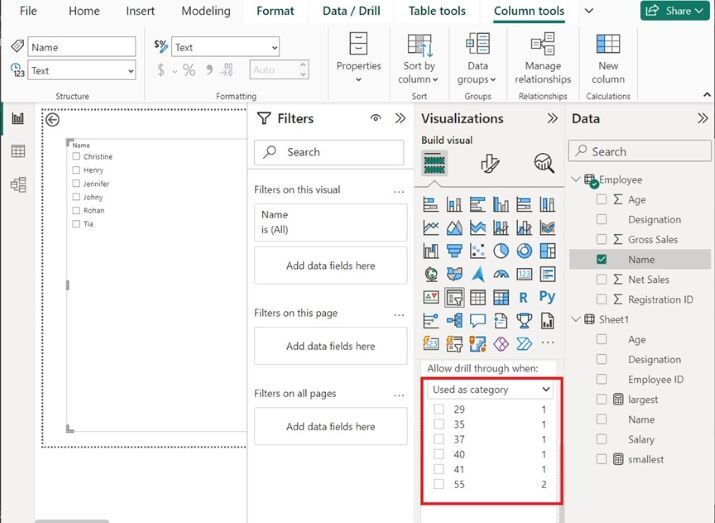
Therefore, ages are in categorical form. We can make the selection of employees according to their age. For instance, if we click on 29, the name of a specific employee, "Tia" who is this age will be populated.
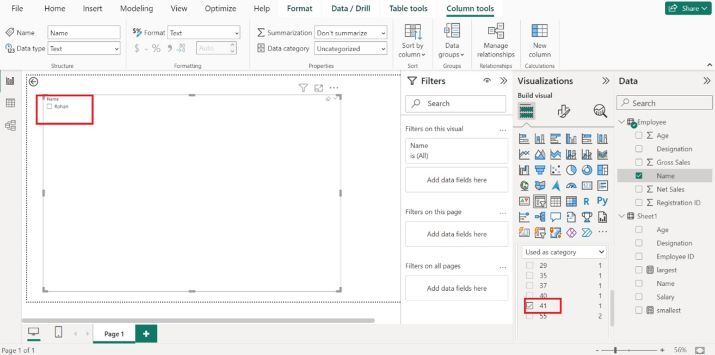
Step 6
Let's click on the 41 age, and the "Rohan" employee name will appear on the slicer visuals
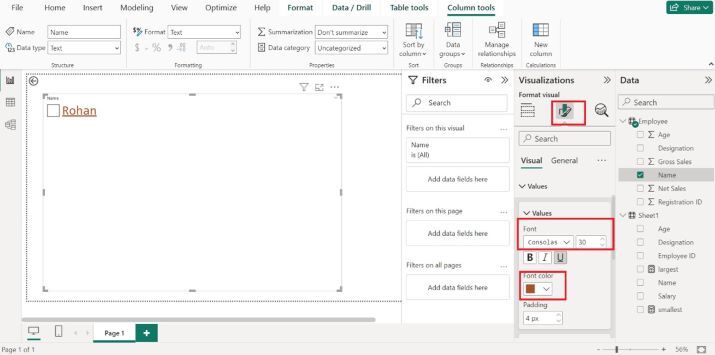
Step 7
We can do visual formatting to make the slicer more colorful. Click on the "Format your visual" icon, alter the font to "Consolas" and set the size to 30 under the "Font" section. Select the Underline option also. Set the font color to "#ad5129" as shown below
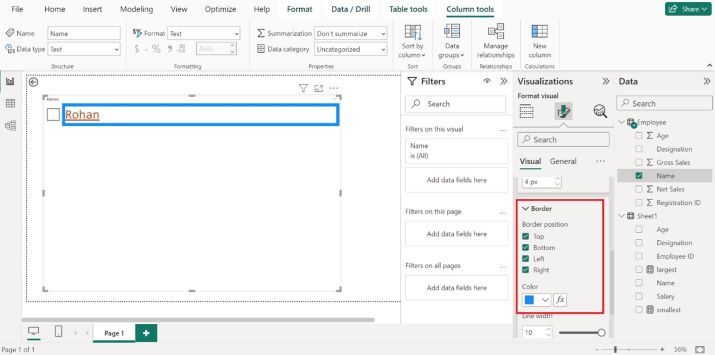
Step 8
We can also alter the border of the slicer. Click on the Top, bottom, Left, and Right checkboxes under the Border section. Choose the desired color for the background.
Conclusion
The step-by-step detailed explanation is depicted in this article where users get to know all the fundamental information of the slicer. The active filtration of selected data can be done through this user-friendly and simple technique.

541 Views
