
Article Categories
- All Categories
-
 Data Structure
-
 Networking
-
 RDBMS
RDBMS
-
 Operating System
-
 Java
Java
-
 MS Excel
-
 iOS
iOS
-
 HTML
HTML
-
 CSS
CSS
-
 Android
-
 Python
-
 C Programming
-
 C++
C++
-
 C#
C#
-
 MongoDB
-
 MySQL
MySQL
-
 Javascript
-
 PHP
PHP
-
 Economics & Finance
Access pins in Arduino
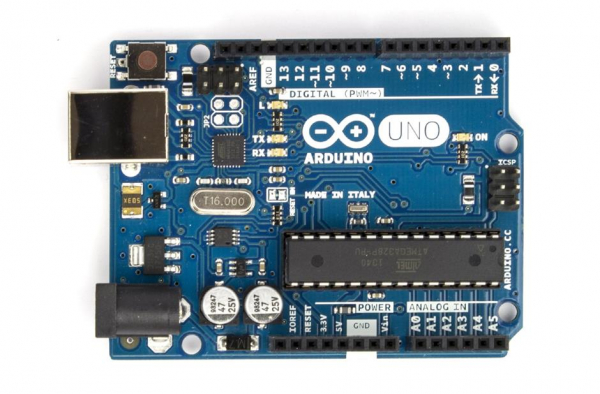
In order to access any pin of your board in Arduino, you can simply reference the number of the pin as an integer. On the Arduino boards like Uno, the label is provided for all the I/O pins, and the same label can be used in the code.
Thus, both the below expressions are valid −
int pin1 = A0;
int pin2 = 7;
Once the pin number has been defined, depending on your use case, you may need to set the pin as either an input pin or an output pin. This is generally done in the setup (because it is a one-time activity).
The syntax is −
Syntax
pinMode(pin_number, MODE);
For example,
Example
pinMode(pin1, OUTPUT);
The MODE argument can accept the following values −
- INPUT
- OUTPUT
- INPUT_PULLUP
The difference between INPUT and INPUT_PULLUP is that INPUT will disable all internal pull up resistors, while INPUT_PULLUP will enable the internal pullup resistors.
When INPUT_PULLUP mode is selected, if there is nothing connected to the pin, the pin will see 5V or 3.3V (depending on the supply provided to the board), because it is getting pulled up by the pull-up resistor. This means that any active sensor will have to bring down the voltage of the pin, for the pin to register any activity. As written in Arduino's documentation on Digital Pins −
"When connecting a sensor to a pin configured with INPUT_PULLUP, the other end should be connected to ground. In the case of a simple switch, this causes the pin to read HIGH when the switch is open, and LOW when the switch is pressed."
You can read more about Digital Pins and their states here: https://www.arduino.cc/en/Tutorial/Foundations/DigitalPins
Please note that by default, the pins are set as INPUT. Therefore, you need not explicitly set the mode of a pin as INPUT, although it is good practice.
Pins configured as inputs are in a high-impedance state, meaning that they hardly demand any current from the circuit. Think of it like a resistor of a very high value in series with the pin. Pins configured as output are in a low-impedance state, meaning they can provide significant amounts of current to the rest of the circuit. Therefore, it is possible to turn LEDs ON and OFF using digital pins configured as output. You can do that using the digitalWrite() function. Similarly, you can read digital values from pins configured as inputs using the digitalRead() function, and you can read analog values using the analogRead() function. Please note that only certain pins can be used for analog read operations, and they are explicitly highlighted on the board, or in the datasheet. On Arduino Uno, pins A0 to A5 can be used for analogRead() operations.
Please note that on most boards, analog pins can very well be used for digital read/ write operations. Refer to the datasheet of your board for more details.

1K+ Views
