- Python Pillow Tutorial
- Python Pillow - Home
- Python Pillow - Overview
- Python Pillow - Environment Setup
- Python Pillow - Using Image Module
- Python Pillow - Working with Images
- Python Pillow - Creating Thumbnails
- Python Pillow - Merging Images
- Python Pillow - Blur an Image
- Python Pillow - Cropping an Image
- Python Pillow - Flip and Rotate Images
- Python Pillow - Resizing an Image
- Python Pillow - Creating a Watermark
- Python Pillow - Adding Filters to an Image
- Python Pillow - Colors on an Image
- Python Pillow - ImageDraw Module
- Python Pillow - Image Sequences
- Python Pillow - Writing Text on Image
- Python Pillow - M L with Numpy
- Python Pillow Useful Resources
- Python Pillow - Quick Guide
- Python Pillow - Useful Resources
- Python Pillow - Discussion
Python Pillow - Resizing an Image
Most of the digital image is a two-dimensional plane of pixels and it has a width and height. The Image module from pillow library has an attribute size. This tuple consists of width and height of the image as its elements. To resize an image, you call the resize() method of pillow’s image class by giving width and height.
Resize and save the resized image
The program for resizing and saving the resized image is given below −
#Import required Image library
from PIL import Image

#Create an Image Object from an Image
im = Image.open("images/cat.jpg")

#Display actual image
im.show()

#Make the new image half the width and half the height of the original image
resized_im = im.resize((round(im.size[0]*0.5), round(im.size[1]*0.5)))

#Display the resized imaged
resized_im.show()

#Save the cropped image
resized_im.save('resizedBeach1.jpg')
Output
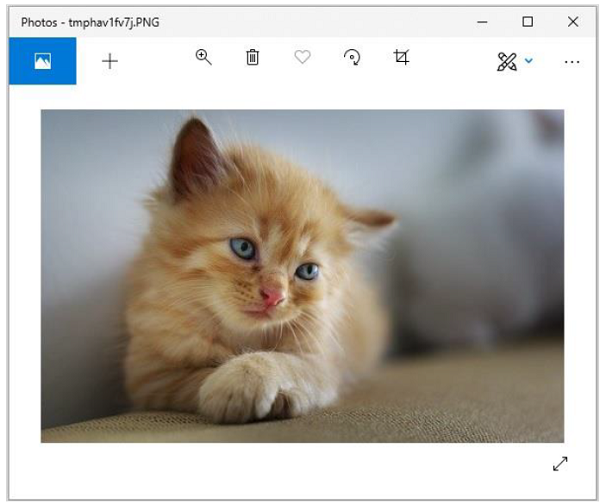
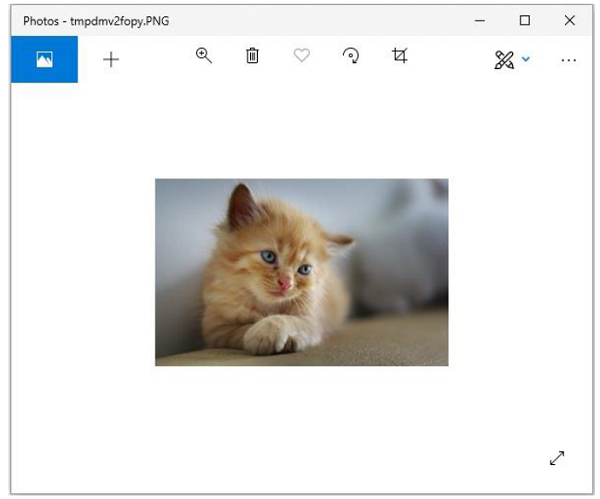
If you save the above program as Example.py and execute, it displays the original and resized images using standard PNG display utility, as follows −
Original Image
Resized Image
Advertisements
To Continue Learning Please Login