
Article Categories
- All Categories
-
 Data Structure
-
 Networking
-
 RDBMS
RDBMS
-
 Operating System
-
 Java
Java
-
 MS Excel
-
 iOS
iOS
-
 HTML
HTML
-
 CSS
CSS
-
 Android
-
 Python
-
 C Programming
-
 C++
C++
-
 C#
C#
-
 MongoDB
-
 MySQL
MySQL
-
 Javascript
-
 PHP
PHP
-
 Economics & Finance
How to create ripple animation in my Android App?
Before getting into the code, we should know what is ripple animation in android. Ripple animation is just like wave momentum. In android it is appears on view like Textview, Button, etc using background attribute.
This example demonstrate about how to integrate ripple animation to view.
Step 1 − Create a new project in Android Studio, go to File ⇒ New Project and fill all required details to create a new project.
Step 2 − Add the following code to res/layout/activity_main.xml.
<?xml version="1.0" encoding="utf-8"?>
<android.support.constraint.ConstraintLayout
   xmlns:android="http://schemas.android.com/apk/res/android"
   xmlns:app="http://schemas.android.com/apk/res-auto"
   xmlns:tools="http://schemas.android.com/tools"
   android:layout_width="match_parent"
   android:layout_height="match_parent"
   tools:context=".MainActivity">
   <Button
      android:id="@+id/result"
      android:layout_width="wrap_content"
      android:layout_height="wrap_content"
      android:text="Result Data"
      android:background="@drawable/rippple"
      android:textSize="20sp"
      app:layout_constraintBottom_toBottomOf="parent"
      app:layout_constraintLeft_toLeftOf="parent"
      app:layout_constraintRight_toRightOf="parent"
      app:layout_constraintTop_toTopOf="parent" />
</android.support.constraint.ConstraintLayout>
In the above code, we have added a button with back ground as ripple.
Step 3 − Create a file in drawable as ripple.xml and add the following code
<?xml version="1.0" encoding="utf-8"?>
<ripple xmlns:android="http://schemas.android.com/apk/res/android"
   xmlns:tools="http://schemas.android.com/tools"
   android:color="#f816a463"
   tools:targetApi="lollipop">
   <item android:id="@android:id/mask">
      <shape android:shape="rectangle">
         <solid android:color="#f816a463" />
      </shape>
   </item>
</ripple>
Let's try to run your application. I assume you have connected your actual Android Mobile device with your computer. To run the app from android studio, open one of your project's activity files and click Run ![]() icon from the toolbar.
icon from the toolbar.
Select your mobile device as an option and then check your mobile device which will display your default screen
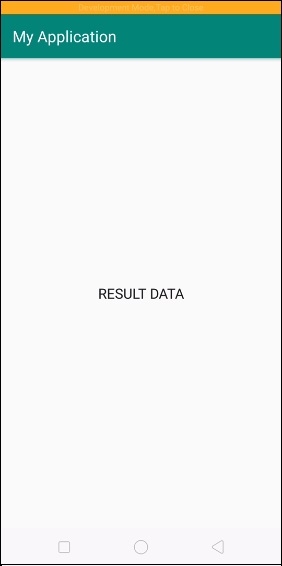
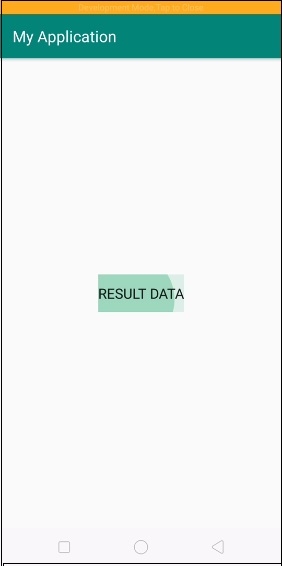
Now click on the result data, it will show result as shown below -
Click here to download the project code

745 Views
