- DocumentDB - Home
- DocumentDB - Introduction
- DocumentDB - Advantages
- DocumentDB - Environment Setup
- DocumentDB - Create Account
- DocumentDB - Connect Account
- DocumentDB - Create Database
- DocumentDB - List Databases
- DocumentDB - Drop Databases
- DocumentDB - Create Collection
- DocumentDB - Delete Collection
- DocumentDB - Insert Document
- DocumentDB - Query Document
- DocumentDB - Update Document
- DocumentDB - Delete Document
- DocumentDB - Data Modeling
- DocumentDB - Data Types
- DocumentDB - Limiting Records
- DocumentDB - Sorting Records
- DocumentDB - Indexing Records
- DocumentDB - Geospatial Data
- DocumentDB - Partitioning
- DocumentDB - Data Migration
- DocumentDB - Access Control
- DocumentDB - Visualize Data
DocumentDB - JSON Files
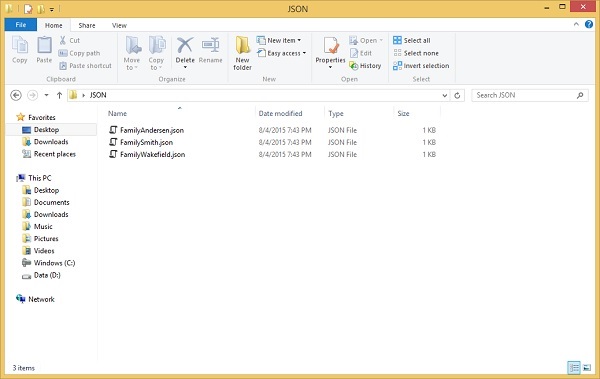
Lets take a look at a simple example in which we will see how the Migration Tool can import JSON files. We have three JSON files in JSON folders on Desktop.
Step 1 − Go the Migration tool and select Add Folders → Single.

It will display the Browse for Folder dialog.
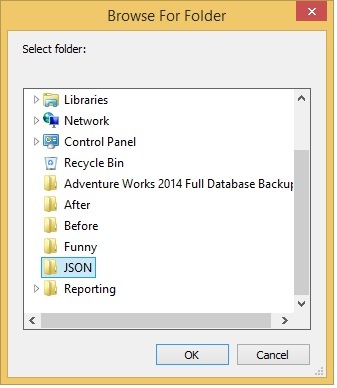
Step 2 − Select the folder which contains the JSON files and click OK.
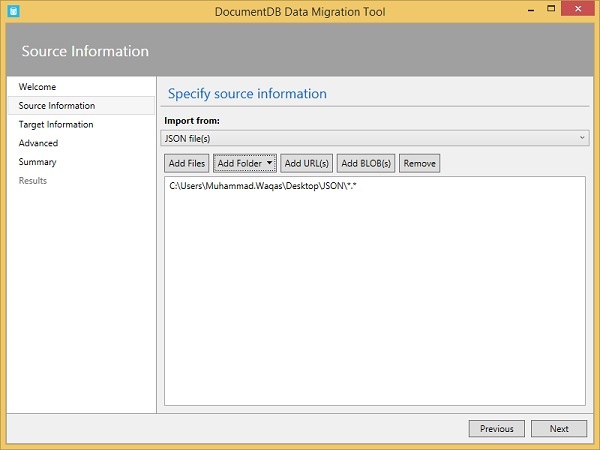
Step 3 − Click Next.
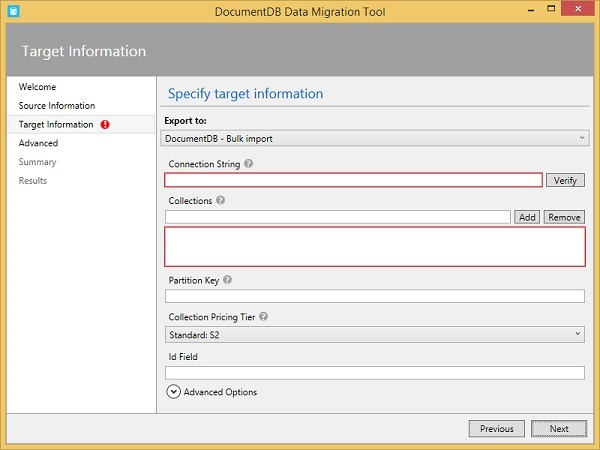
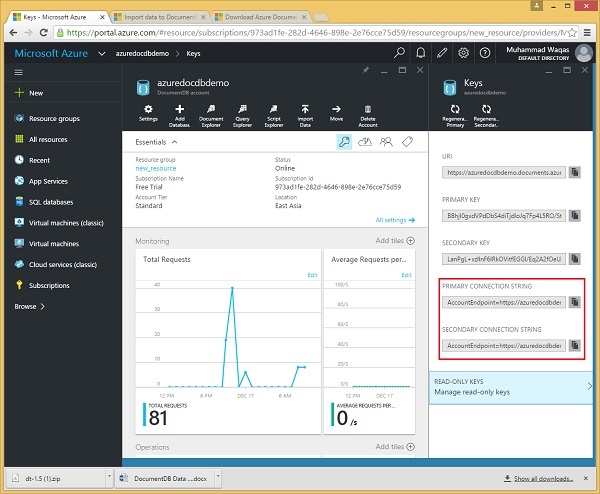
Step 4 − Specify the Connection String from your DocumentDB account which can be found from the Azure Portal.
Step 5 − Specify the Primary Connection String and dont forget to add the database name at the end of connection string.
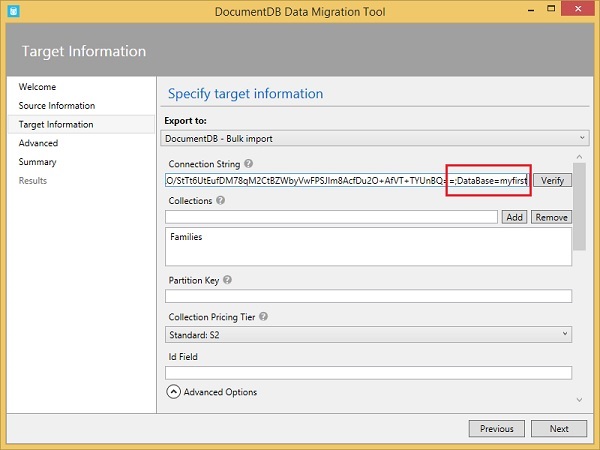
Step 6 − Specify the Collections to which you want to add the JSON files.
Step 7 − Click on the Advanced Options and scroll down the page.
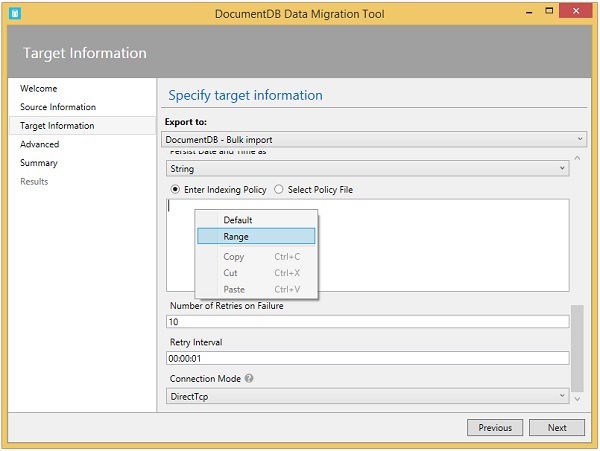
Step 8 − Specify the indexing policy, lets say Range indexing policy.
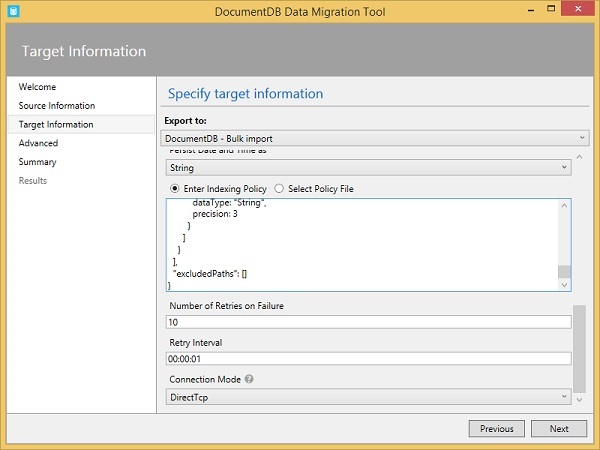
Step 9 − Click Next to continue.

Step 10 Click Next again to continue.
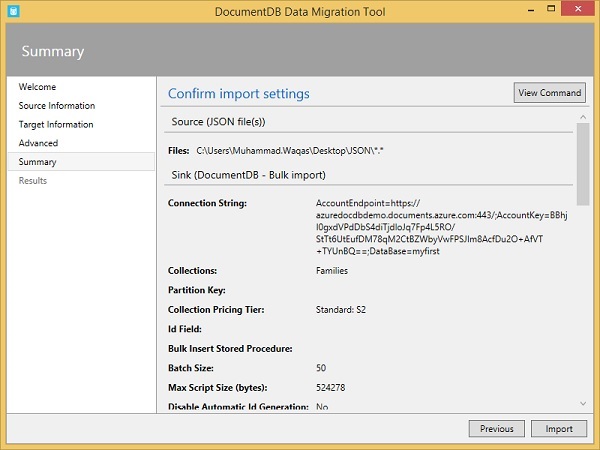
Here you can see the summary.
Step 11 − Click on the Import button.
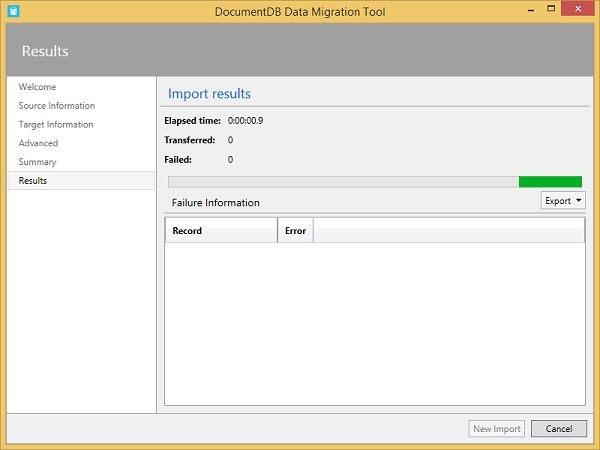
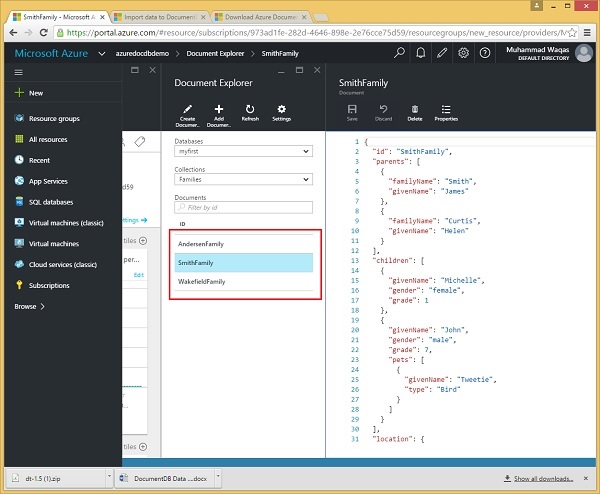
It will start importing the data once it is completed. Then you can see on Azure Portal that the three JSON files data are imported to DocumentDB account as shown in the following screenshot.