- Computer Concepts - Home
- Introduction to Computer
- Introduction to GUI based OS
- Elements of Word Processing
- Spread Sheet
- Introduction to Internet, WWW, Browsers
- Communication & Collaboration
- Application of Presentations
- Application of Digital Financial Services
- Computer Concepts Resources
- Computer Concepts - Quick Guide
- Computer Concepts - Useful Resources
- Computer Concepts - Discussion
Computer Concepts - OS Simple Setting
We will learn different settings in Operating System −
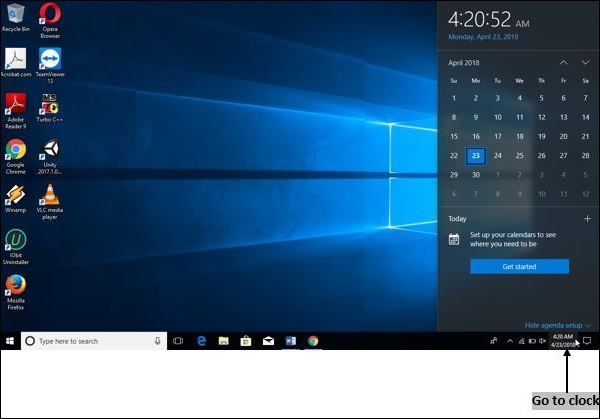
Changing System Date and Time
We can set system date and time in three ways given below −
Step 1 − One way is to just click the clock on task bar and perform Step 4 and Step 5.
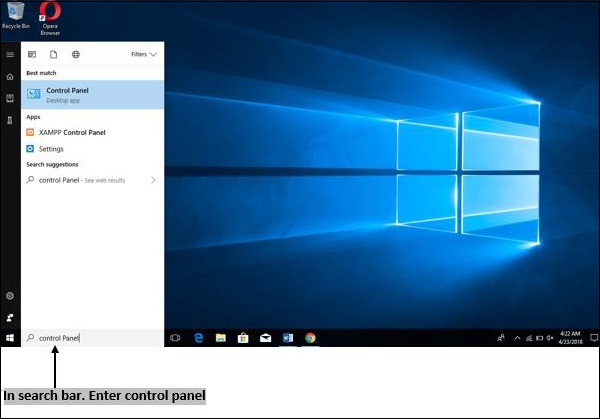
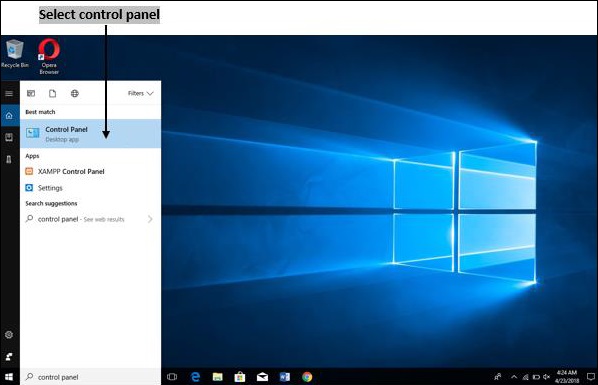
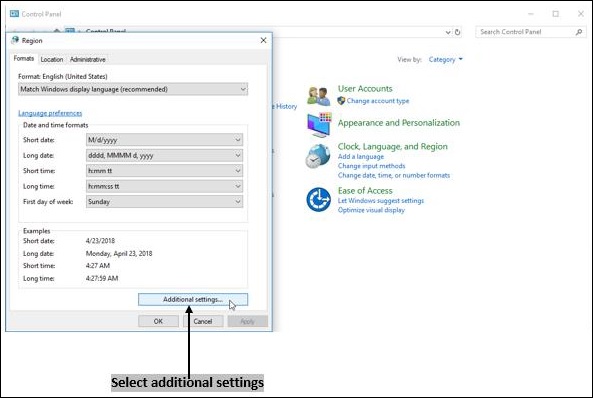
Step 2 − Another alternate way is to go to the "Control Panel" from Start menu and select "Clock, Language and Region", and select "Date and Time" and perform Step 4 and Step 5.
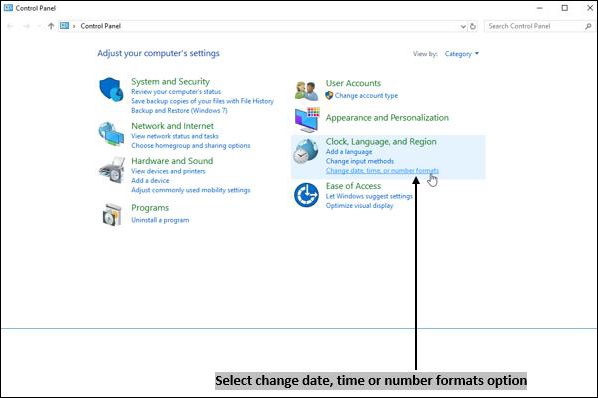
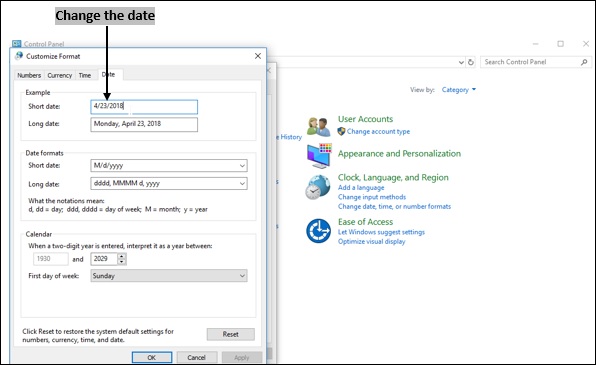
Step 3 − In the window displayed, select "Change date and time"
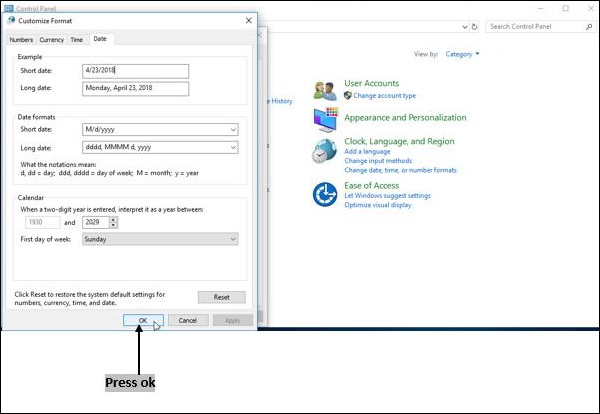
Step 4 − Set corresponding date and time, and finally press "OK" button.
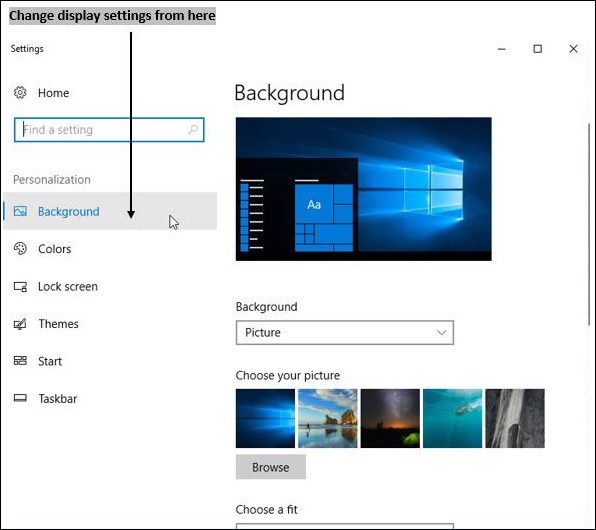
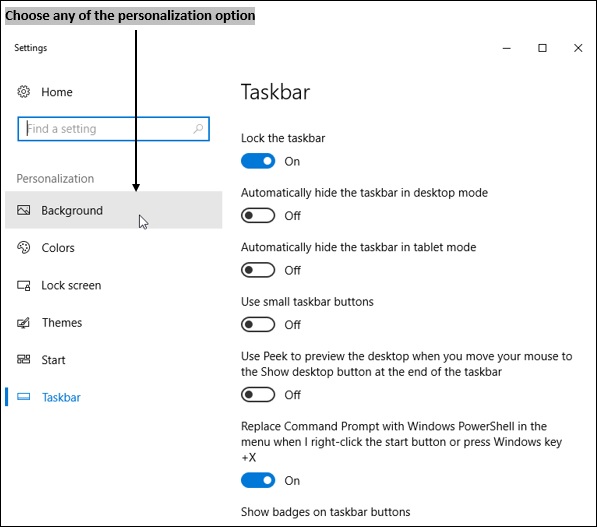
Changing Display Properties
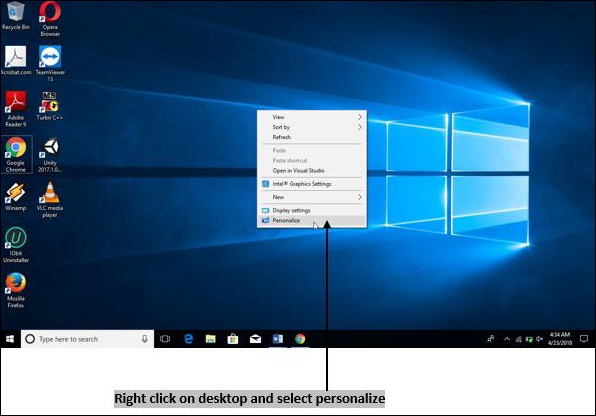
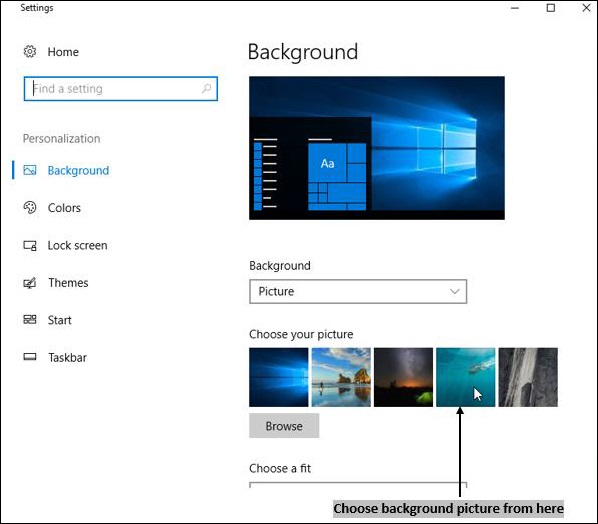
Display properties include Desktop Background, Text, Window Color, Sounds, Screensaver, etc. To change these display properties, we have to perform the following steps.
Step 1 − Right click on desktop and select "Personalize" from displaying options.
Step 2 − From the displayed window, select desired action, like changing the background/themes/resolution, and press "Save Changes" button.
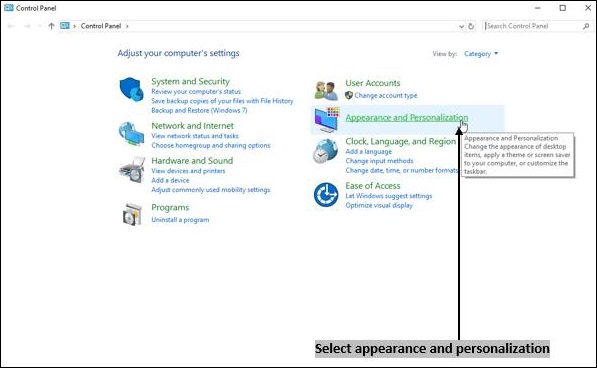
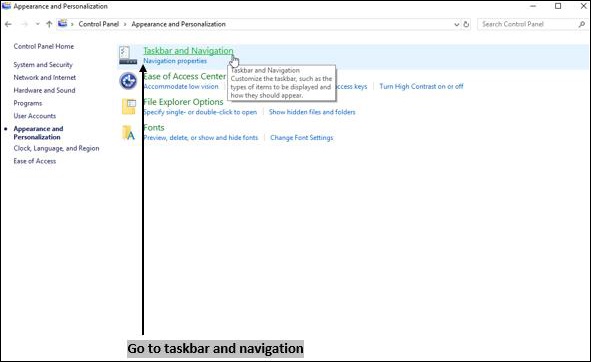
Step 3 − Alternate way is to go to the "Control Panel" from Start menu and select "Appearance and Personalization" and select display you want from the listed options and save changes.
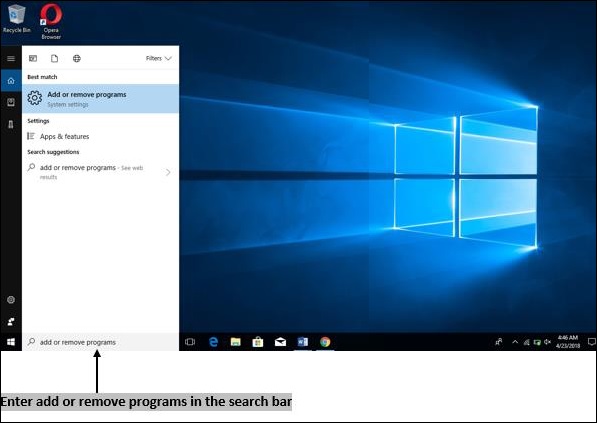
To Add or Remove a Windows Component
In order to add or remove Windows component, follow the below steps −
Step 1 − Type "add or remove programs" in the search box and select "Add or Remove Programs" under control panel and follow Step 3 and Step 4.
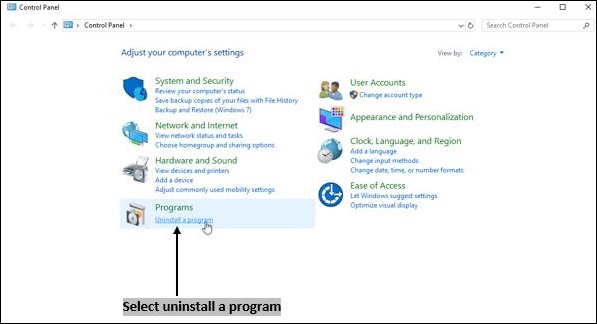
Step 2 − Alternate way is to select "Control Panel" from start menu and select "Uninstall a Program" from "Program" and follow Step 3 and Step 4.
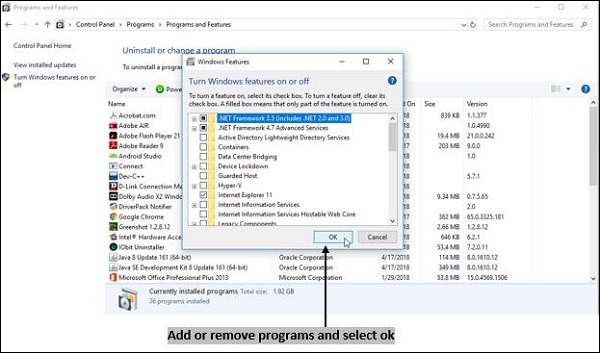
Step 3 − Click "Turn Windows features on or off" on left side of programs and features window.
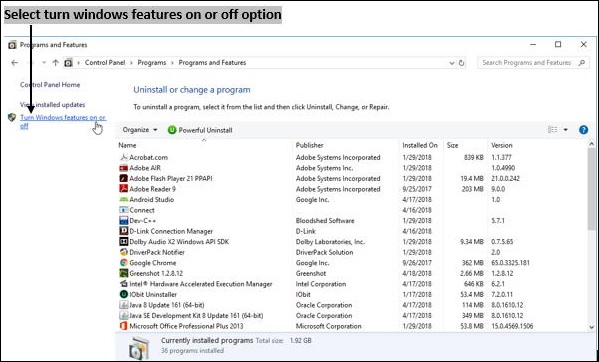
Step 4 − From window displayed, add or remove the program you want, and click "OK" button.
Changing Mouse Properties
Properties of the mouse can be changed by following steps below −
Step 1 − Go to "Control Panel" from start menu.
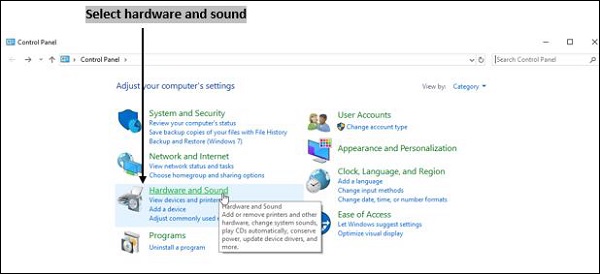
Step 2 − Select "Hardware and Sound" and select "Device and Printers" from the listed options.
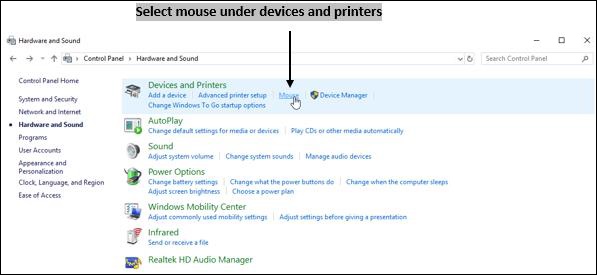
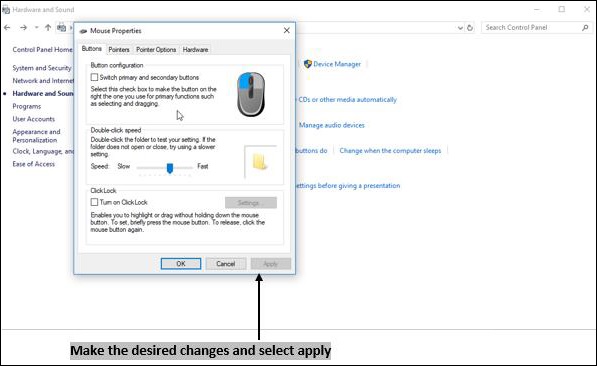
Step 3 − Click on "Mouse" under Devices and Printers, and change any of the following properties and "Apply" changes.
Button − Changes primary and secondary button and double-click speed.
Pointer − Changes image seen during specific window operation.
Pointer Options − Changes precision of pointer, speed and visibility of long or short pointer.
Wheels − Changes horizontal and vertical scrolling.
Hardware − Helps to view properties of mouse.
Device Setting − Required only if we are using the laptop.
Adding and Removing Printers
To add or remove printers we have to execute following steps −
Step 1 − Go to "Control Panel" from start menu.
Step 2 − Select "Hardware and Sound" and select "Device and Printers" from the listed options.
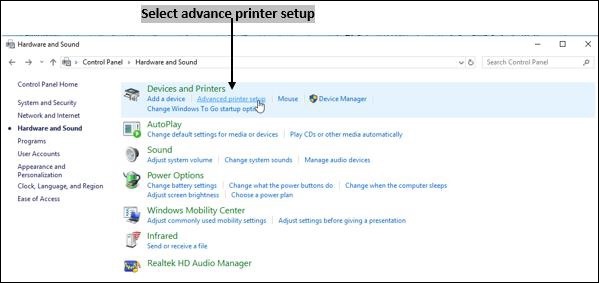
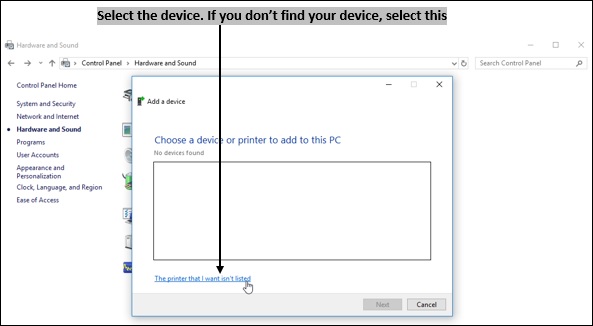
Step 3 − Now under "Devices and Printers", we can add a printer using "Add a Printer" tab at top of the window.
Step 4 − To remove a printer, "Right Click" by placing the cursor on printer you want to remove, and select "Remove Device" from popped up menu.
