
Article Categories
- All Categories
-
 Data Structure
-
 Networking
-
 RDBMS
RDBMS
-
 Operating System
-
 Java
Java
-
 MS Excel
-
 iOS
iOS
-
 HTML
HTML
-
 CSS
CSS
-
 Android
-
 Python
-
 C Programming
-
 C++
C++
-
 C#
C#
-
 MongoDB
-
 MySQL
MySQL
-
 Javascript
-
 PHP
PHP
-
 Economics & Finance
How to use RatingBar in android?
Before getting into an example, we should know what is rating bar in android. Rating bar is a subclass of absSeekbar class in android. It is used to show the rating on view Group or window manager.
This example demonstrates how to use the rating bar in android.
Step 1 − Create a new project in Android Studio, go to File ⇒ New Project and fill all required details to create a new project.
Step 2 − Add the following code to res/layout/activity_main.xml.
<?xml version="1.0" encoding="utf-8"?>
<LinearLayout xmlns:android="http://schemas.android.com/apk/res/android"
   android:layout_width="match_parent"
   android:id="@+id/layout"
   android:layout_height="match_parent"
   android:orientation="vertical">
   <RatingBar
      android:id="@+id/rating"
      android:layout_width="wrap_content"
      android:layout_height="wrap_content"
      android:saveEnabled="true"
      android:numStars="5"/>
   <Button
      android:id="@+id/getRating"
      android:layout_width="wrap_content"
      android:layout_height="wrap_content"
      android:text="Get Rating "/>
</LinearLayout>
In the above code, we have declared Rating bar and set numStars as 5 means it allows maximum number of stars 5 and button. User has to drag stars for rating and click on button when user click on button it will print stars rating on toast.
Step 3 − Add the following code to src/MainActivity.java
package com.example.andy.myapplication;
import android.annotation.TargetApi;
import android.os.Build;
import android.os.Bundle;
import android.support.v7.app.AppCompatActivity;
import android.view.View;
import android.widget.Button;
import android.widget.RatingBar;
import android.widget.Toast;
public class MainActivity extends AppCompatActivity {
   @TargetApi(Build.VERSION_CODES.O)
   @Override
   protected void onCreate(Bundle savedInstanceState) {
      super.onCreate(savedInstanceState);
      setContentView(R.layout.activity_main);
      Button getRating = findViewById(R.id.getRating);
      final RatingBar ratingBar = findViewById(R.id.rating);
      getRating.setOnClickListener(new View.OnClickListener() {
         @Override
         public void onClick(View v) {
            String rating = "Rating is :" + ratingBar.getRating();
            Toast.makeText(MainActivity.this, rating, Toast.LENGTH_LONG).show();
         }
      });
}
}
In the above code, we have declare button onclick listener, when you click button it going to get rating as show below -
String rating = "Rating is :" + ratingBar.getRating();
Step 4 − No need to change manifest.xml
Let's try to run your application. I assume you have connected your actual Android Mobile device with your computer. To run the app from an android studio, open one of your project's activity files and click Run Icon ![]() from the toolbar. Select your mobile device as an option and then check your mobile device which will display your default screen −
from the toolbar. Select your mobile device as an option and then check your mobile device which will display your default screen −
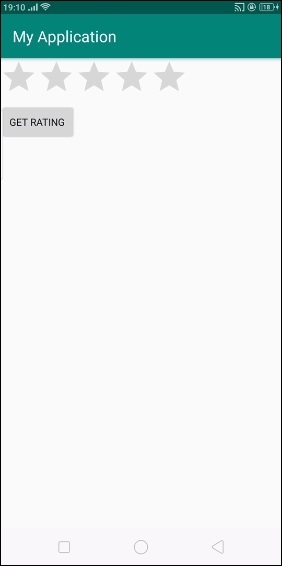
The above result indicates initial screen, User has to drag rating on rating bar and click on button as shown below-
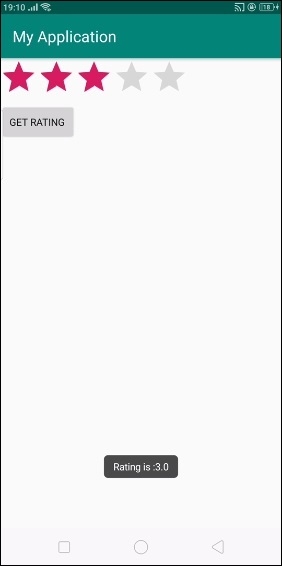
The above result we have selected rating as 3 and it is printed as 3.
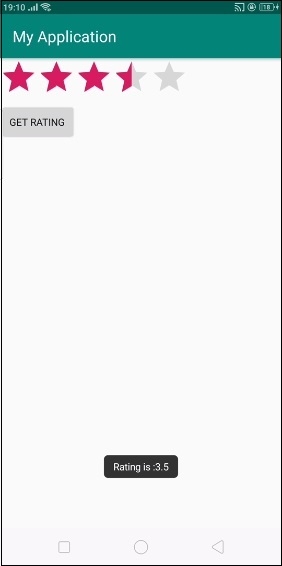
The above result we have selected rating 3.5 and printed as 3.5
Click here to download the project code

2K+ Views
