
Article Categories
- All Categories
-
 Data Structure
-
 Networking
-
 RDBMS
RDBMS
-
 Operating System
-
 Java
Java
-
 MS Excel
-
 iOS
iOS
-
 HTML
HTML
-
 CSS
CSS
-
 Android
-
 Python
-
 C Programming
-
 C++
C++
-
 C#
C#
-
 MongoDB
-
 MySQL
MySQL
-
 Javascript
-
 PHP
PHP
-
 Economics & Finance
How to install a windows service using windows command prompt in C#?
A Windows Service is a long-running application that runs in the background without a user interface. In C#, you can create a Windows Service application and install it using the command prompt with the InstallUtil.exe utility.
This tutorial demonstrates creating a simple Windows Service that logs messages to a text file and installing it through the command line.
Creating the Windows Service Application
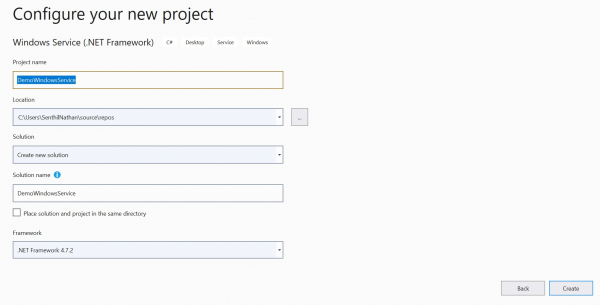
Step 1: Create New Windows Service Project
Create a new Windows Service application in Visual Studio. This provides the basic template with a Service1 class that inherits from ServiceBase.
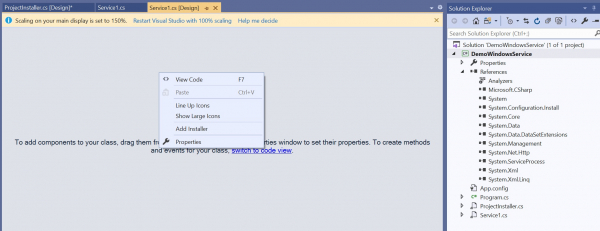
Step 2: Add Project Installer
To install a Windows Service, you need an installer that registers it with the Service Control Manager. Right-click on Service1.cs[Design] and select Add Installer.
Configuring the Service
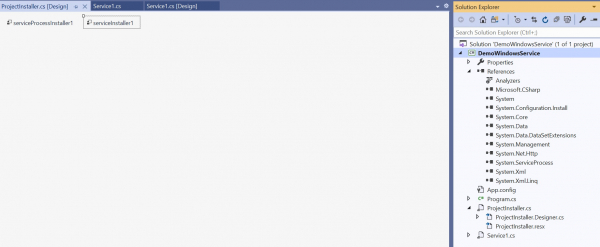
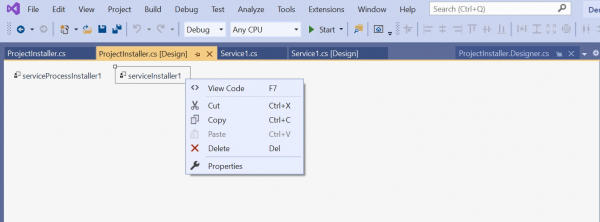
Step 3: Configure Project Installer
Right-click on ProjectInstaller.cs[Design] and select View Code to access the installer configuration −
using System;
using System.Collections;
using System.Collections.Generic;
using System.ComponentModel;
using System.Configuration.Install;
using System.Linq;
using System.Threading.Tasks;

namespace DemoWindowsService {
    [RunInstaller(true)]
    public partial class ProjectInstaller : System.Configuration.Install.Installer {
        public ProjectInstaller() {
            InitializeComponent();
        }
    }
}
Press F12 to navigate to the InitializeComponent method and configure the service name and description −
private void InitializeComponent() {
    this.serviceProcessInstaller1 = new System.ServiceProcess.ServiceProcessInstaller();
    this.serviceInstaller1 = new System.ServiceProcess.ServiceInstaller();
    //
    // serviceProcessInstaller1
    //
    this.serviceProcessInstaller1.Account = System.ServiceProcess.ServiceAccount.LocalService;
    this.serviceProcessInstaller1.Password = null;
    this.serviceProcessInstaller1.Username = null;
    //
    // serviceInstaller1
    //
    this.serviceInstaller1.Description = "My Demo Service";
    this.serviceInstaller1.ServiceName = "DemoService";
    //
    // ProjectInstaller
    //
    this.Installers.AddRange(new System.Configuration.Install.Installer[] {
        this.serviceProcessInstaller1,
        this.serviceInstaller1
    });
}
Step 4: Implement Service Logic
Add the service functionality to the Service1.cs class. This example creates a service that writes log entries to a text file every 5 seconds −
using System;
using System.IO;
using System.ServiceProcess;
using System.Timers;

namespace DemoWindowsService {
    public partial class Service1 : ServiceBase {
        Timer timer = new Timer();

        public Service1() {
            InitializeComponent();
        }

        protected override void OnStart(string[] args) {
            WriteToFile("Service started at " + DateTime.Now);
            timer.Elapsed += new ElapsedEventHandler(OnElapsedTime);
            timer.Interval = 5000;
            timer.Enabled = true;
        }

        protected override void OnStop() {
            WriteToFile("Service stopped at " + DateTime.Now);
        }

        private void OnElapsedTime(object source, ElapsedEventArgs e) {
            WriteToFile("Service recall at " + DateTime.Now);
        }

        public void WriteToFile(string Message) {
            string path = @"D:\Demo";
            if (!Directory.Exists(path)) {
                Directory.CreateDirectory(path);
            }
            string filepath = @"D:\Demo\Log.txt";
            if (!File.Exists(filepath)) {
                using (StreamWriter sw = File.CreateText(filepath)) {
                    sw.WriteLine(Message);
                }
            } else {
                using (StreamWriter sw = File.AppendText(filepath)) {
                    sw.WriteLine(Message);
                }
            }
        }
    }
}
Installing the Windows Service
Step 5: Build and Install Using Command Prompt
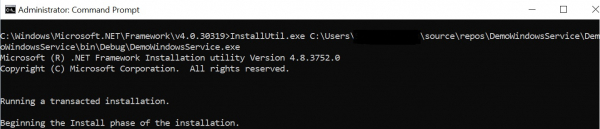
Build your project to generate the executable file. Open Command Prompt as Administrator and navigate to the .NET Framework directory −
cd C:\Windows\Microsoft.NET\Framework\v4.0.30319

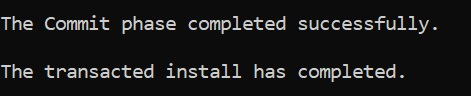
Use the InstallUtil.exe utility to install the service by providing the path to your service executable −
InstallUtil.exe C:\Users\[UserName]\source\repos\DemoWindowsService\DemoWindowsService\bin\Debug\DemoWindowsService.exe
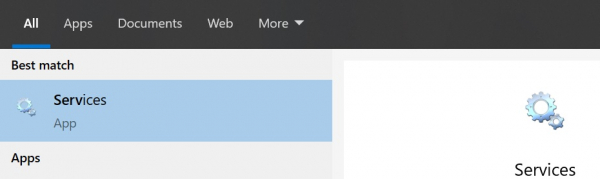
Verifying the Installation
Open Services from the Windows Start Menu to verify that your service has been installed successfully −

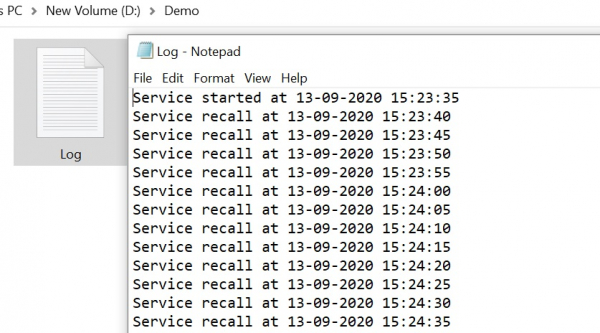
The service will appear in the Services list and can be started, stopped, or configured as needed. The log file will be created at the specified location showing the service activity −
Uninstalling the Service
To uninstall the service, use the same InstallUtil.exe command with the /u flag −
InstallUtil.exe /u C:\Users\[UserName]\source\repos\DemoWindowsService\DemoWindowsService\bin\Debug\DemoWindowsService.exe
Conclusion
Creating and installing a Windows Service in C# involves building a service application, configuring the project installer, and using InstallUtil.exe from the command prompt. Once installed, the service runs in the background and can be managed through the Windows Services console.

3K+ Views
