3D Epoxy Design and Installation
Epoxy, installation,3d epoxy,wall and floor design,resin installation

Lectures -17
Resources -1
Quizzes -2
Duration -1 hours

30-days Money-Back Guarantee
Get your team access to 10000+ top Tutorials Point courses anytime, anywhere.
Course Description
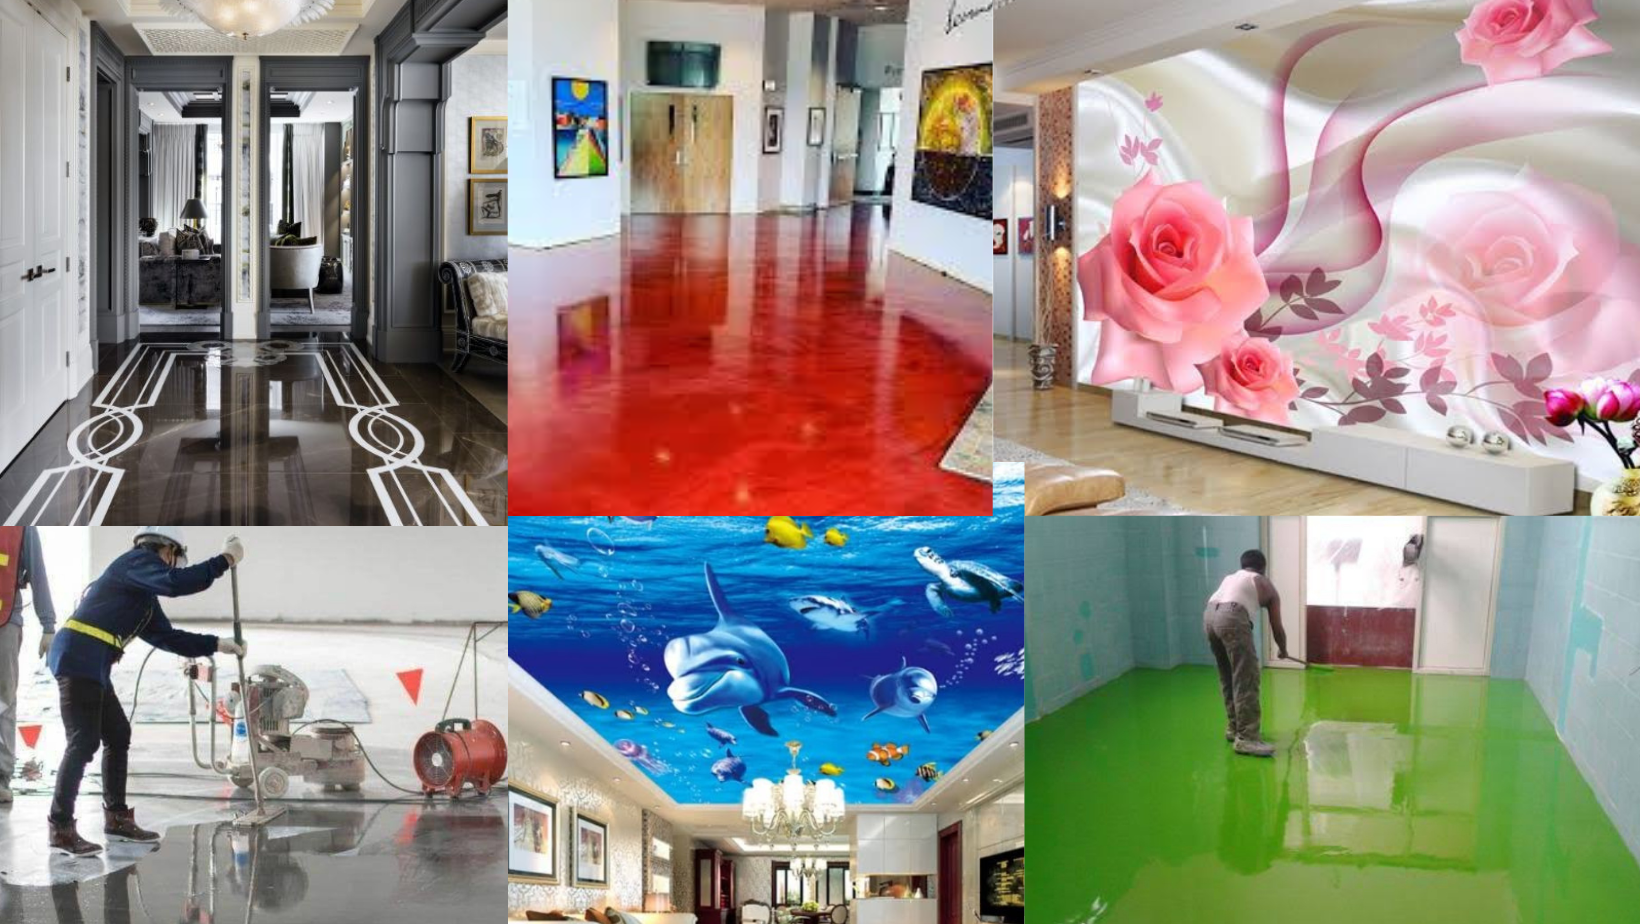
This course is 4 days course that discusses how epoxy designs and installations are done step by step, using the latest Installation methods. Easy to understand even if you don't have any knowledge about Installation before.
We will practice together how to install the following:
- Epoxy floor Installation
- Graphic wall Installation
- Flakes Or reflective installation
- Metallic ceiling or floor Installation
- Five different stages necessary for epoxy installation
- How to measure like a pro
- How to calculate the amount of chemical use for a project
- Profitable way to charge your clients
You will learn how to mix, how to add colors, pigments, gilters, and pebbles to the components, and what to do to give your work a sparkling and beautiful effect.
Get to know exactly the tools and materials needed for installation without wasting too much money on materials that are not necessary.
You will also learn in detail not only how to measure but how you can convert from square meters to square feet, and how you can calculate your project or space even if you have so many irregular shapes in the location.
We will also spend an entire section focused solely on practicals. You will see how the epoxy installation of different designs is done step by step. Where you will also have the privilege to show me your own work.
Finally, you will have an opportunity to take different Installation quizzes to help you determine if you remember what you have learned.
Let's Dive- in, Are You Ready!!!
Goals
What will you learn in this course:
- This course will discuss in detail the following: Epoxy floor Installation Graphic wall Installation Flakes Or reflective installation
- You will be able to Installation Five different stages necessary for epoxy installation How to measure like a pro, and How to calculate the number of chemicals used for a project.
- You will learn how to mix, how add colors, pigments, gilters, and pebbles, and give your work a glassy effect.
- We will also spend an entire section focused solely on practicals. You will see how the epoxy installation of different designs is done step by step.
- Where you will also have the privilege to show me your own work. Finally, you will have an opportunity to take different Installation quizzes to help you determine if you remember what you have learned.
Prerequisites
What are the prerequisites for this course?
- Large canvas, wood panel, epoxy resin, glitter, acrylic paints, or color pigments
- Your favorite printed image(SAV Vinyl), small brushes.
- Paint roller, stick mixer(wooden or plastic, or silicon)
- Measuring scale, disposable transparent cups
- Sandpaper and measuring tape.

Curriculum
Check out the detailed breakdown of what’s inside the course
Introduction to 3D Epoxy Design And Installation
7 Lectures
-
Course Introduction 01:37 01:37
-
Tools Needed For Installation 07:34 07:34
-
Get To Know Your Chemicals 05:05 05:05
-
Preparation Of Base 05:15 05:15
-
Priming Stage 02:26 02:26
-
Colour Top Coat And SAV Vinyl 08:27 08:27
-
Transparent Top Coat 04:09 04:09
Practical Section
6 Lectures

How To Measure, Calculate Amount Of Chemical And Charge, Before Installation.
4 Lectures

Instructor Details

Bidex Owel
Bidex Owel is the CEO of JBD Sparkle Homes of Decor, who has been in business for over six years. She has worked with companies like: Fidson Pharmacetical Company, Folben Limited, Rhino Linings Limited, Farmers Market Limited to mention the least.
She has alot of experience and passion to help people in the area of interior and exterior design, especially in epoxy resin designs and installations.
She served as instructor to many professionals from various field of works at her monthly trainings. These students are not just trained and abandoned but are given all the needed support in carring out their first contract until they become proficient.
With her exposure and vast knowledge in epoxy installation, her aim is to train and empower both male and female who are determine to learn interior and exterior design with the best and latest concept in 3D Epoxy Designs and Installations.
Course Certificate
Use your certificate to make a career change or to advance in your current career.

Our students work
with the Best


Related Video Courses
View MoreAnnual Membership
Become a valued member of Tutorials Point and enjoy unlimited access to our vast library of top-rated Video Courses
Subscribe now
Online Certifications
Master prominent technologies at full length and become a valued certified professional.
Explore Now


 Updated on Apr, 2024
 Language - English