- XAML Tutorial
- XAML - Home
- XAML - Overview
- XAML - Environment Setup
- Writing XAML Aplication On MAC OS
- XAML Vs C# Code
- XAML Vs.VB.NET
- XAML - Building Blocks
- XAML - Controls
- XAML - Layouts
- XAML - Event Handling
- XAML - Data Binding
- XAML - Markup Extensions
- XAML - Dependency Properties
- XAML - Resources
- XAML - Templates
- XAML - Styles
- XAML - Triggers
- XAML - Debugging
- XAML - Custom Controls
- XAML Useful Resources
- XAML - Quick Guide
- XAML - Useful Resources
- XAML - Discussion
XAML Vs C# Code
You can use XAML to create, initialize, and set the properties of objects. The same activities can also be performed using programming code.
XAML is just another simple and easy way to design UI elements. With XAML, it is up to you to decide whether you want to declare objects in XAML or declare them using code.
Let’s take a simple example to demonstrate how to write in XAML −
<Window x:Class = "XAMLVsCode.MainWindow"
   xmlns = "http://schemas.microsoft.com/winfx/2006/xaml/presentation"
   xmlns:x = "http://schemas.microsoft.com/winfx/2006/xaml" Title = "MainWindow" Height = "350" Width = "525">

   <StackPanel>
      <TextBlock Text = "Welcome to XAML Tutorial" Height = "20" Width = "200" Margin = "5"/>
      <Button Content = "Ok" Height = "20" Width = "60" Margin = "5"/>
   </StackPanel>

</Window>
In this example, we have created a stack panel with a Button and a Text block and defined some of the properties of button and text block such as Height, Width, and Margin. When the above code is compiled and executed, it will produce the following output −

Now look at the same code which is written in C#.
using System;
using System.Text;
using System.Windows;
using System.Windows.Controls;

namespace XAMLVsCode {
   /// <summary>
      /// Interaction logic for MainWindow.xaml
   /// </summary>

   public partial class MainWindow : Window {
      public MainWindow() {
         InitializeComponent();

         // Create the StackPanel
         StackPanel stackPanel = new StackPanel();
         this.Content = stackPanel;

         // Create the TextBlock
         TextBlock textBlock = new TextBlock();
         textBlock.Text = "Welcome to XAML Tutorial";
         textBlock.Height = 20;
         textBlock.Width = 200;
         textBlock.Margin = new Thickness(5);
         stackPanel.Children.Add(textBlock);

         // Create the Button
         Button button = new Button();
         button.Content = "OK";
         button.Height = 20;
         button.Width = 50;
         button.Margin = new Thickness(20);
         stackPanel.Children.Add(button);
      }
   }
}
When the above code is compiled and executed, it will produce the following output. Note that it is exactly the same as the output of XAML code.
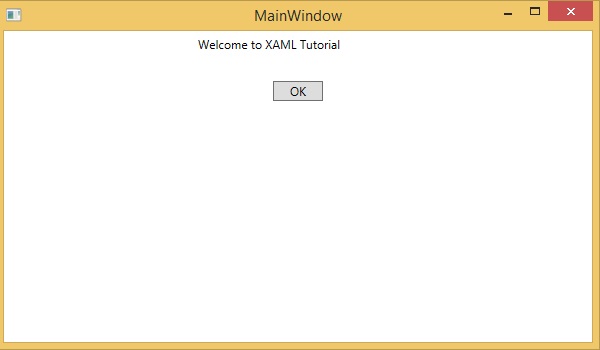
Now you can see that how simple it is to use and understand XAML.