- Watir Tutorial
- Watir - Home
- Watir - Overview
- Watir - Introduction
- Watir - Environment Setup
- Watir - Installing Drivers for Browsers
- Watir - Working with Browsers
- Watir - Web Elements
- Watir - Locating Web Elements
- Watir - Working with Iframes
- Watir - Automatic Waits
- Watir - Headless Testing
- Watir - Mobile Testing
- Watir - Capturing Screenshots
- Watir - Page Objects
- Watir - Page Performance
- Watir - Cookies
- Watir - Proxies
- Watir - Alerts
- Watir - Downloads
- Watir - Browser Windows
- Watir Useful Resources
- Watir - Quick Guide
- Watir - Useful Resources
- Watir - Discussion
Watir - Web Elements
In this chapter, we will discuss how to work with following in Watir −
- Working with Textboxes
- Working with Combos
- Working with Radio Buttons
- Working with Checkboxes
- Working with Buttons
- Working with Links
- Working with Div’s
Working with Textboxes
Syntax
browser.text_field id: 'firstname' // will get the reference of the textbox
Here will try to understand how to work with textboxes on the UI.
Consider the page Textbox.html as shown below −
<html>
   <head>
      <title>Testing UI using Watir</title>
   </head>

   <body>
      <script type = "text/javascript">
         function wsentered() {
            console.log("inside wsentered");
            var firstname = document.getElementById("firstname");
            if (firstname.value != "") {
               document.getElementById("displayfirstname").innerHTML =
                  "The name entered is : " + firstname.value;

               document.getElementById("displayfirstname").style.display = "";
            }
         }
      </script>

      <div id = "divfirstname">
         Enter First Name :
         <input type = "text" id = "firstname" name = "firstname" onchange = "wsentered()" />
      </div>
      <br/>
      <br/>
      <div style = "display:none;" id = "displayfirstname"></div>
   </body>
</html>
The corresponding output is as shown below −
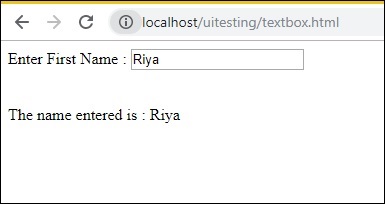
We are having a textbox, when you enter the name onchange event is fired and the name is displayed below.
Now let us write the code, wherein we will locate the textbox and enter the name and fire the onchange event.
Watir Code
require 'watir'
b = Watir::Browser.new :chrome
b.goto('http://localhost/uitesting/textbox.html')
t = b.text_field id: 'firstname'
t.exists?
t.set 'Riya Kapoor'
t.value
t.fire_event('onchange')
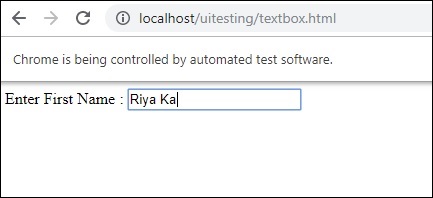
We are using chrome browser and given the pageurl as http://localhost/uitesting/textbox.html.
Using goto api browser will open the pageurl and we are going to find text_field having id: firstname. If that exists, we will set value as Riya Kapoor and will use fire_event api to fire the onchange event.
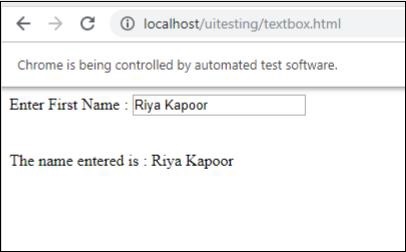
Now, let us run the code to display the output as shown below −
Working with Combos
Syntax
browser.select_list id: 'months' // will get the reference of the dropdown
The test page that we are going to test now is shown here −
<html>
   <head>
      <title>Dropdown</title>
   </head>

   <body>
      <script type = "text/javascript">
         function wsselected() {
            var months = document.getElementById("months");

            if (months.value != "") {
               document.getElementById("displayselectedmonth").innerHTML =
                  "The month selected is : " + months.value;

               document.getElementById("displayselectedmonth").style.display = "";
            }
         }
      </script>
      <form name = "myform" method = "POST">
         <div>
            Month is :
            <select name = "months" id = "months" onchange = "wsselected()">
               <option value = "">Select Month</option>
               <option value = "Jan">January</option>
               <option value = "Feb">February</option>
               <option value = "Mar">March</option>
               <option value = "Apr">April</option>
               <option value = "May">May</option>
               <option value = "Jun">June</option>
               <option value = "Jul">July</option>
               <option value = "Aug">August</option>
               <option value = "Sept">September</option>
               <option value = "Oct">October</option>
               <option value = "Nov">November</option>
               <option value = "Dec">December</option>
            </select>
         </div>
         <br/>
         <br/>

         <div style = "display:none;" id = "displayselectedmonth">
         </div>
   </body>
</html>
Output
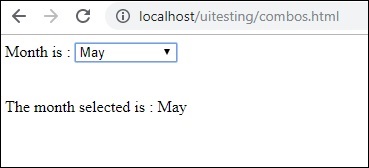
When you select month from the dropdown the same is displayed below.
Let us now test the same using Watir.
Watir Code for combo selection
require 'watir'
b = Watir::Browser.new :chrome
b.goto('http://localhost/uitesting/combos.html')
t = b.select_list id: 'months'
t.exists?
t.select 'September'
t.selected_options
t.fire_event('onchange')
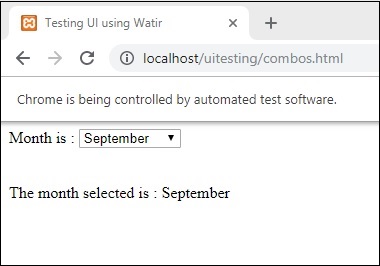
To work with combos, you need to locate the select element using b.select_list api followed by the id of the dropdown. To select the value from the dropdown, you need to use t.select and the value you want.
The output on execution is as follows −
Working with Radio Buttons
Syntax
browser.radio value: 'female'
// will get the reference of the radio button with value “female”
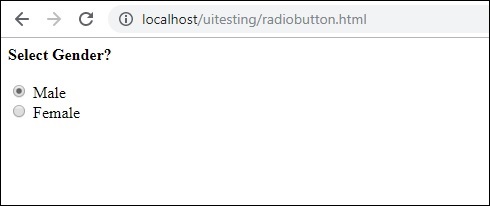
Here is a test page that we will use to work with radio buttons −
<html>
   <head>
      <title>Testing UI using Watir</title>
   </head>

   <body>
      <form name = "myform" method = "POST">
         <b>Select Gender?</b>
         <div>
            <br/>
            <input type = "radio" name = "gender" value = "male" checked> Male
            <br/>
            <input type = "radio" name = "gender" value = "female"> Female
            <br/>
         </div>
      </form>
   </body>

</html>
We will select radio button with value Female as shown in the Watir code −
require 'watir'
b = Watir::Browser.new
b.goto('http://localhost/uitesting/radiobutton.html')
t = b.radio value: 'female'
t.exists?
t.set
b.screenshot.save 'radiobutton.png'
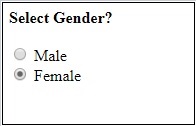
To work with radio button, we need to tell the browser about the value we are selecting i.e. b.radio value:”female”
We are also taking the screenshot and saved that as radiobutton.png and the same is displayed below −
Working with Checkboxes
Syntax
browser. checkbox value: 'Train'
// will get the reference of the checkbox with value “Train”
Here is the test page for checkboxes −
<html>
   <head>
      <title>Testing UI using Watir</title>
   </head>

   <body>
      <form name = "myform" method = "POST">
         <b>How would you like to travel?</b>
         <div>
            <br>
            <input type = "checkbox" name = "option1" value = "Car"> Car<br>
            <input type = "checkbox" name = "option2" value = "Bus"> Bus<br>
            <input type = "checkbox" name = "option3" value = "Train"> Train<br>
            <input type = "checkbox" name = "option4" value = "Air"> Airways<br>
            <br>
         </div>
      </form>
   </body>

</html>
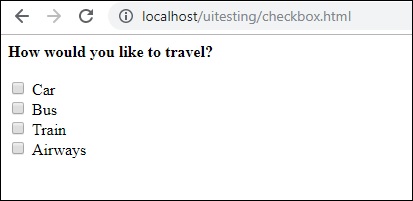
Now, let us use Watir to locate the checkbox in browser as shown below −
require 'watir'
b = Watir::Browser.new
b.goto('http://localhost/uitesting/checkbox.html')
t = b.checkbox value: 'Train'
t.exists?
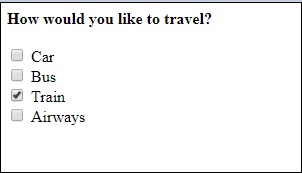
t.set
b.screenshot.save 'checkbox.png'
To locate checkbox in the browser, use b.checkbox with value you want to select.
Working with Buttons
Syntax
browser.button(:name => "btnsubmit").click
// will get the reference to the button element with has name “btnsubmit”
Here is the test page for button −
<html>
   <head>
      <title>Testing UI using Watir</title>
   </head>

   <body>
      <script type = "text/javascript">
         function wsclick() {
            document.getElementById("buttondisplay").innerHTML = "Button is clicked";
            document.getElementById("buttondisplay").style.display = "";
         }
      </script>

      <form name = "myform" method = "POST">
         <div>
            <br>
            <input type = "button" id = "btnsubmit" name = "btnsubmit"
               value = "submit" onclick = "wsclick()"/>
            <br>
         </div>
      </form>
      <br/>

      <div style = "display:none;" id = "buttondisplay"></div>
   </body>

</html>
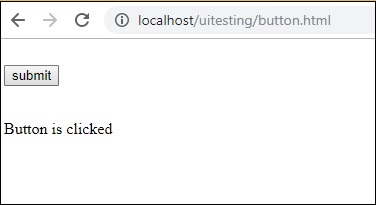
Here is watir code to locate the button on the given page −
require 'watir'
b = Watir::Browser.new
b.goto('http://localhost/uitesting/button.html')
b.button(:name => "btnsubmit").click
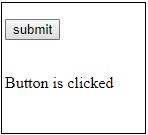
b.screenshot.save 'button.png'
Here is the screenshot button.png
Working with Links
Syntax
browser.link text: 'Click Here'
// will get the reference to the a tag with text ‘Click Here’
We are going to use the following test page to test links −
<html>
   <head>
      <title>Testing UI using Watir</title>
   </head>
   <body>
      <br/>
      <br/>
      <a href = "https://www.google.com">Click Here</a>
      <br/>
   </body>
</html>
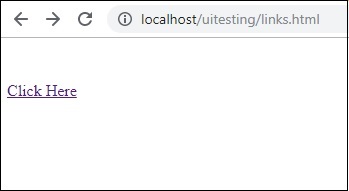
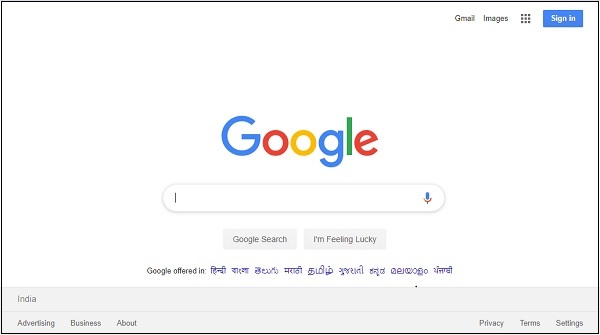
The Watir details required to test links are as given below −
require 'watir'
b = Watir::Browser.new
b.goto('http://localhost/uitesting/links.html')
l = b.link text: 'Click Here'
l.click
b.screenshot.save 'links.png'
Output

Working with Div’s
Syntax
browser.div class: 'divtag'
// will get the reference to div with class “divtag”
Test page where we can test for div.
<html>
   <head>
      <title>Testing UI using Watir</title>
      <style>
         .divtag {
            color: blue;
            font-size: 25px;
         }
      </style>
   </head>

   <body>
      <br/>
      <br/>
      <div class = "divtag"> UI Testing using Watir </div>
      <br/>
   </body>
</html>
Output

The Watir code to test the div is shown here −
require 'watir'
b = Watir::Browser.new
b.goto('http://localhost/uitesting/div.html')
l = b.div class: 'divtag'
l.exists?
l.text
b.screenshot.save 'divtag.png'
Output