- Virtualization 2.0 Tutorial
- Virtualization 2.0 - Home
- Virtualization 2.0 - Overview
- Virtualization 2.0 - Pros and Cons
- Virtualization 2.0 - Common Uses
- Virtualization 2.0 - Hardware
- Virtualization 2.0 - Microsoft HyperV
- VMware Workstation Player
- Virtualization 2.0 - VirtualBox
- Virtualization 2.0 - Openstack
- Preparing the Infrastructure
- Virtualization 2.0 - Troubleshooting
- Backing Up, Restoring & Migrating VM
- Virtualization 2.0 Useful Resources
- Virtualization 2.0 - Quick Guide
- Virtualization 2.0 - Useful Resources
- Virtualization 2.0 - Discussion
Virtualization 2.0 - Openstack
In this chapter, we will discuss regarding Openstack and its role in Virtualization.
Understanding Openstack
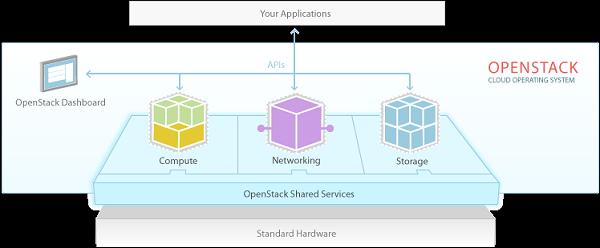
OpenStack is a software for building and managing cloud-computing platforms for public and private clouds. Openstack has one of the biggest communities. It is managed by the OpenStack Foundation, a non-profit organization that oversees both development and community building. Its official webpage is – https://www.openstack.org/.
OpenStack is used to deploy virtual machines and other instances that handle different tasks for managing a cloud environment. OpenStack is considered as – Infrastructure as a Service (IaaS). Based on Openstack, please see the following schematic illustration, which describes how it is managed.
Source − https://www.openstack.org/
Openstack platform is managed by a web UI dashboard. It comprises of nine Core key components.
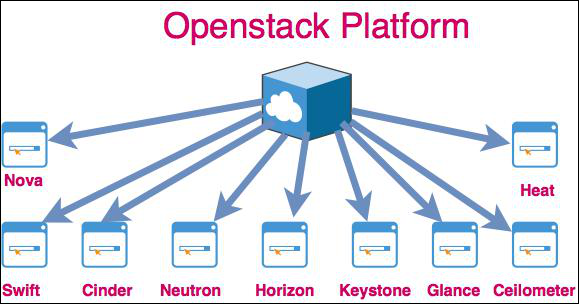
These key concepts are described in detail as follows −
Nova is a computing engine. It is used for deploying and managing large numbers of virtual machines.
Swift is a storage system for objects and files.
Cinder is a block storage component. It accesses specific locations on a disk drive.
Neutron provides the networking capability.
Horizon is the dashboard of Openstack. It is the only graphical interface (WEB UI).
Keystone provides identity services. It is essentially a central list of all the users.
Glance provides image services to OpenStack. In this case, "images" refers to images (or virtual copies) of hard disks.
Ceilometer provides telemetry services, which allow the cloud to provide billing services to individual users of the cloud.
Heat allows developers to store the requirements of a cloud application in a file that defines what resources are necessary for that application.
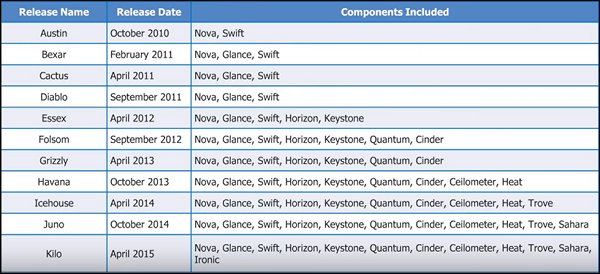
The release versions of Openstack are explained in the following illustration.
Installing Openstack
As Openstack is an open source platform, there are many ways to install and deploy it through different software distributions. Each one of them adds their own value to the cloud operating system.
For a new system administrator, who wants to play with Openstack will get pre-installed ISO images of the Openstack platform. They can be downloaded from the following link https://docs.openstack.org/image-guide/obtain-images.html
To install them manually, the main distributors are −
Red Hat − https://www.rdoproject.org/
We must understand that Openstack is for enterprise environment and to install it we should have the following hardware requirements.
Installation Requirements
The installation requirements for Openstack are as follows −
A minimum of 5 machines with the following roles −
1 machine for the MAAS server.
1 machine for the Autopilot.
3 or more machines for the cloud −
At least one must have 2 NICs.
At least 3 must have 2 disks.
A dedicated switch to create a private cloud LAN.
Internet access through a router on that LAN.
For this laboratory, we have a virtual machine and we will install Devstack. It is designed for installation on a single laptop, PC or VM. It includes the raw upstream code for development evaluation. It is supported on −
- Ubuntu 14.04/16.04
- Fedora 23/24
- CentOS/RHEL 7
- Debian and
- OpenSUSE
The link for this version is – https://docs.openstack.org/devstack/latest/#install-linux
Installing Openstack on Ubuntu 14.04
For installing Openstack on Ubuntu 14.04, we should follow the steps given below.
Step 1 − Download the installation script from the following link - https://git.openstack.org/cgit/openstack-dev/devstack
Use this command – git clone https://git.openstack.org/openstack-dev/devstack


Step 2 − Browse the folder Devstack by keying in the following command – $ cddevstack.

Step 3 − Execute the file stack.sh with the following command ./stack.sh and installation process will continue as shown below −
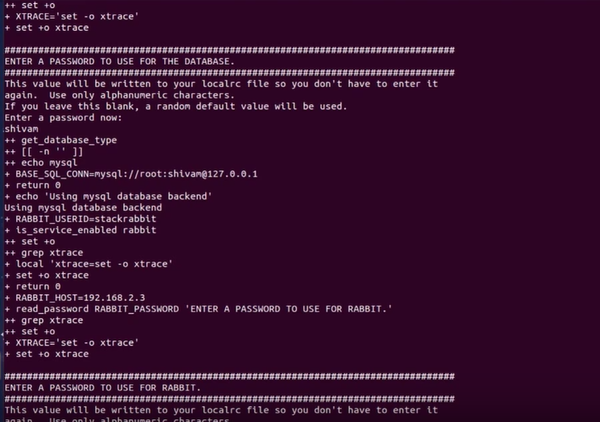
Step 4 − Enter your password.

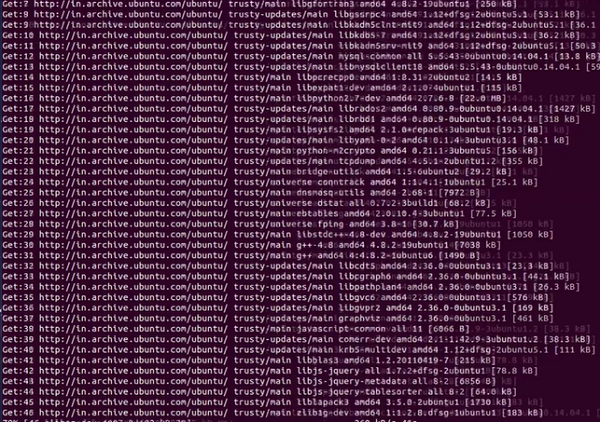
Step 5 − Now it will take about 15-20 minutes to finish the installation process, while it downloads and installs all the libraries.
Step 6 − At the end of the installation, we will see the IP of the host, URL for managing it, username and password to administrate it.
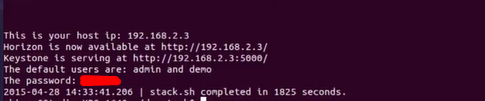
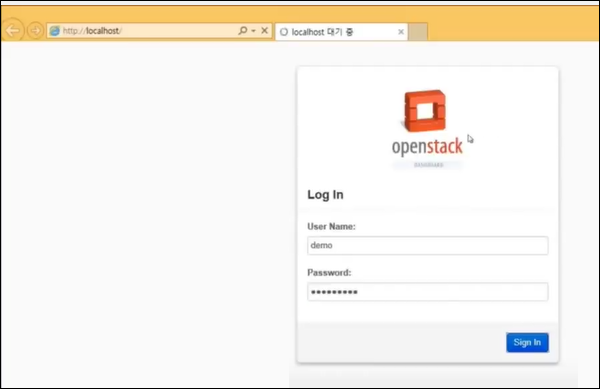
Step 7 − To sign in, you have to type in the browser: Host IP, username and password that we entered during the installation.
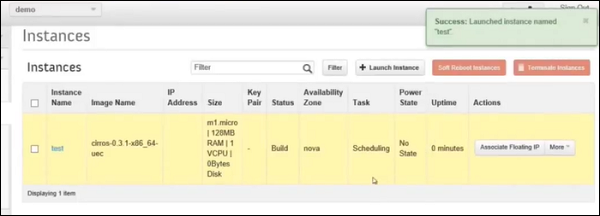
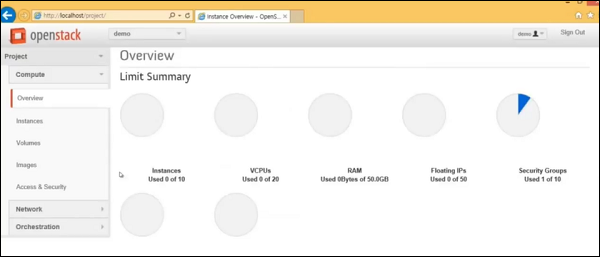
Step 8 − In the main dashboard, you will see “Instances” overview.
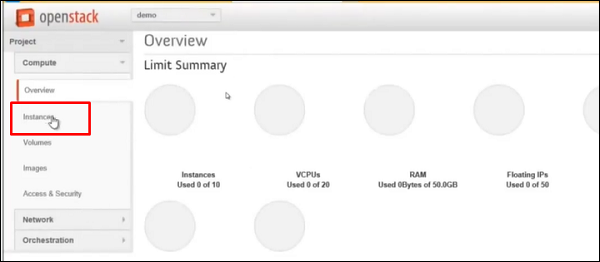
Step 9 − To create new instances or in simple words to create Virtual machines click on “Instances”.
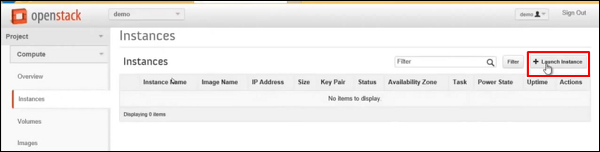
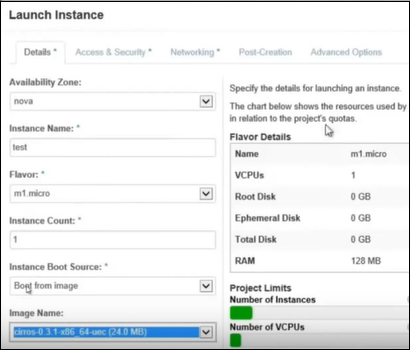
Step 10 − Click on “Launch Instances”.
Step 11 − Fill in all the fields as shown below.
Step 12 − We will see the instance created as shown in the following screenshot.