- Unity Tutorial
- Unity - Home
- Unity - Introduction
- Unity - Installation and Setting Up
- Unity - Creating Sprites
- Unity - Modifying Sprites
- Transforms and Object Parenting
- Unity - Internal Assets
- Unity - Saving and Loading Scenes
- Unity - Basic Movement Scripting
- Unity - Understanding Collisions
- Unity - Rigidbodies and Physics
- Unity - Custom Collision Boundaries
- Understanding Prefabs and Instantiation
- Unity - GameObject Destruction
- Unity - Coroutines
- Unity - The Console
- Unity - Introduction to Audio
- Unity - Starting with UI
- Unity - The Button
- Unity - Text Element
- Unity - The Slider
- Unity - Materials and Shaders
- Unity - The Particle System
- Unity - Using the Asset Store
- Unity Useful Resources
- Unity - Quick Guide
- Unity - Useful Resources
- Unity - Discussion
Unity - Creating Sprites
Sprites are simple 2D objects that have graphical images (called textures) on them. Unity uses sprites by default when the engine is in 2D mode. When viewed in 3D space, sprites will appear to be paper-thin, because they have no Z-width.
Sprites always face the camera at a perpendicular angle unless rotated in 3D space.
Whenever Unity makes a new sprite, it uses a texture. This texture is then applied on a fresh GameObject, and a Sprite Renderer component is attached to it. This makes our gameObject visible with our texture, as well as gives it properties related to how it looks on-screen.
To create a sprite in Unity, we must supply the engine with a texture.
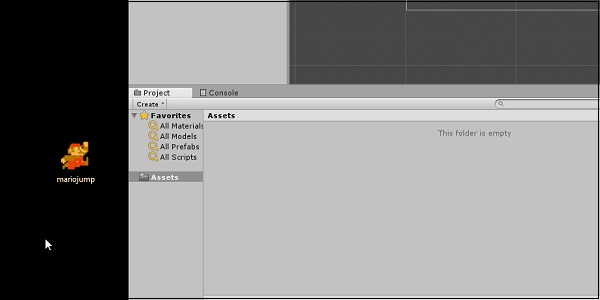
Let us create our texture first. Get a standard image file such as a PNG or JPG that you want to use, save it, and then drag the image into the Assets region of Unity.
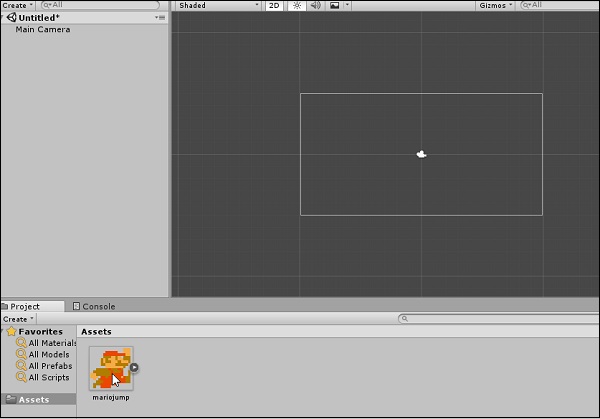
Next, drag the image from the Assets into the Scene Hierarchy. You will notice that as soon as you let go of the mouse button, a new GameObject with your texture’s name shows up in the list. You will also see the image now in the middle of the screen in the Scene View.
Let us consider the following points while creating a sprite −
By dragging from an external source into Unity, we are adding an Asset.
This Asset is an image, so it becomes a texture.
By dragging this texture into the scene hierarchy, we are creating a new GameObject with the same name as our texture, with a Sprite Renderer attached.
This sprite renderer uses that texture to draw the image in the game.
We have now created a sprite in our scene.
In the next lesson, we will look at some modifiers for the sprites we have.