- Talend Tutorial
- Talend - Home
- Talend - Introduction
- Talend - System Requirements
- Talend - Installation
- Talend Open Studio
- Talend - Data Integration
- Talend - Model Basics
- Components for Data Integration
- Talend - Job Design
- Talend - Metadata
- Talend - Context Variables
- Talend - Managing Jobs
- Talend - Handling Job Execution
- Talend - Big Data
- Hadoop Distributed File System
- Talend - Map Reduce
- Talend - Working with Pig
- Talend - Hive
- Talend Useful Resources
- Talend - Quick Guide
- Talend - Useful Resources
- Talend - Discussion
Talend - Job Design
This is the technical implementation/graphical representation of the business model. In this design, one or more components are connected with each other to run a data integration process. Thus, when you drag and drop components in the design pane and connect then with connectors, a job design converts everything to code and creates a complete runnable program which forms the data flow.
Creating a Job
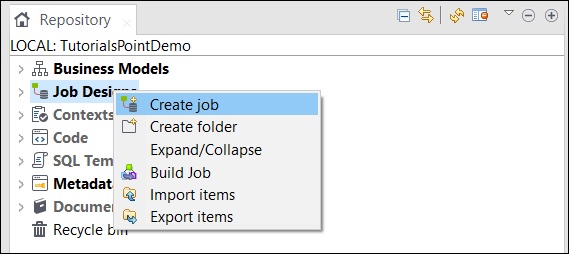
In the repository window, right click the Job Design and click Create Job.
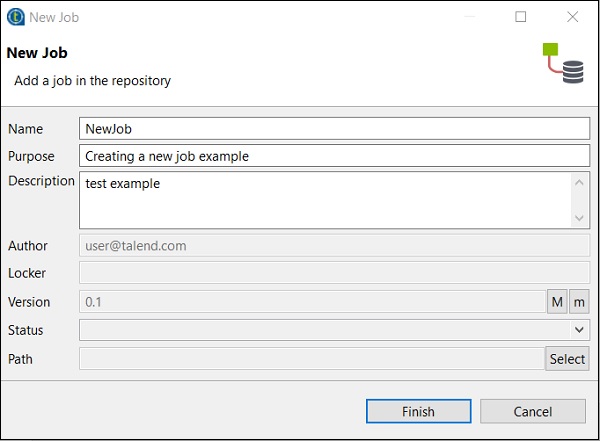
Provide the name, purpose and description of the job and click Finish.
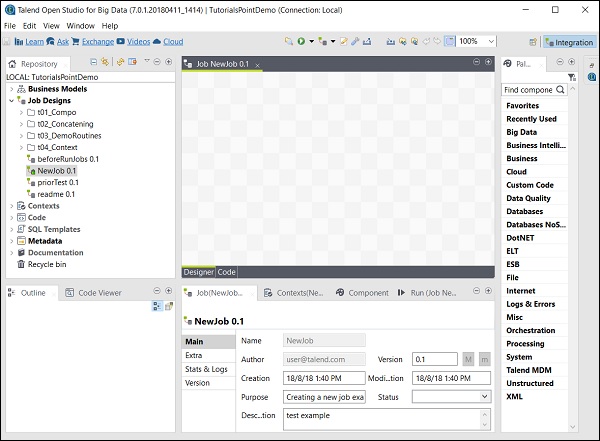
You can see your job has been created under Job Design.
Now, let us use this job to add components, connect and configure them. Here, we will take an excel file as an input and produce an excel file as an output with same data.
Adding Components to a Job
There are several components in the palette to choose. There is a search option also, in which you can enter the name of the component to select it.
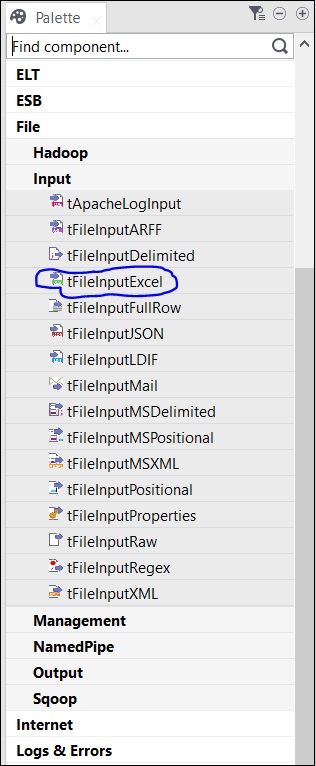
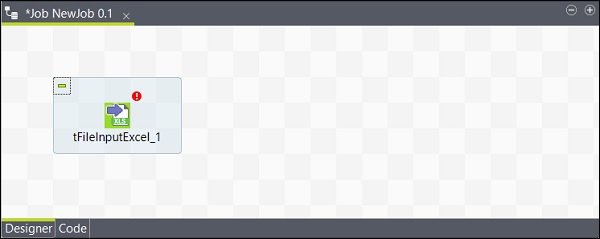
Since, here we are taking an excel file as an input, we will drag and drop tFileInputExcel component from the palette to the Designer window.
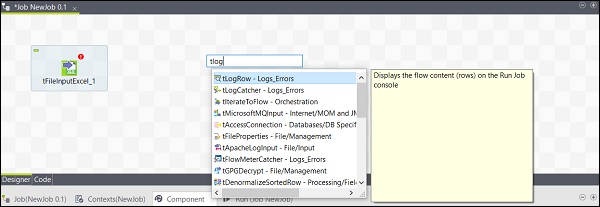
Now if you click anywhere on the designer window, a search box will appear. Find tLogRow and select it to bring it in the designer window.
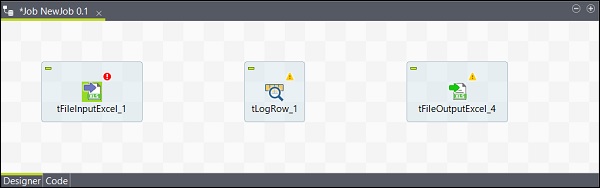
Finally, select tFileOutputExcel component from the palette and drag drop it in designer window.

Now, the adding of the components is done.
Connecting the Components
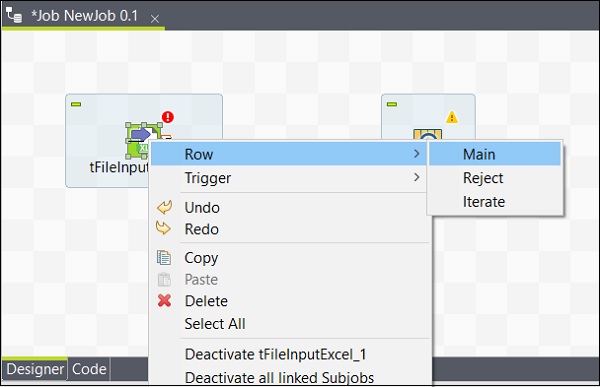
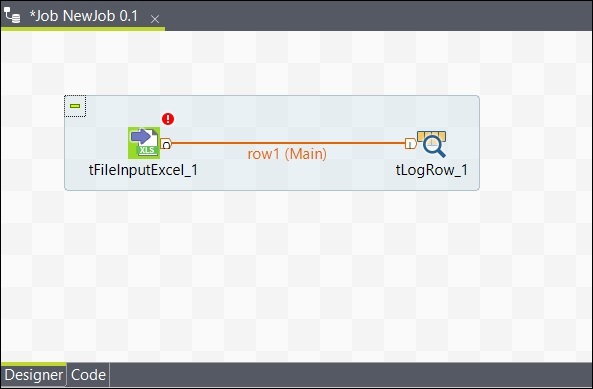
After adding components, you must connect them. Right click the first component tFileInputExcel and draw a Main line to tLogRow as shown below.
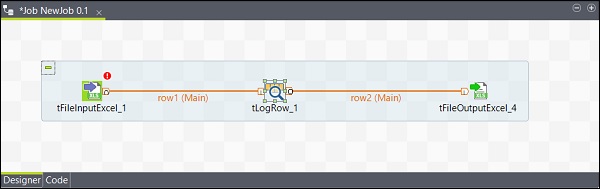
Similarly, right click tLogRow and draw a Main line on tFileOutputExcel. Now, your components are connected.
Configuring the components
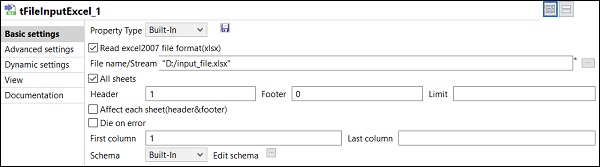
After adding and connecting the components in the job, you need to configure them. For this, double click the first component tFileInputExcel to configure it. Give the path of your input file in File name/stream as shown below.
If your 1st row in the excel is having the column names, put 1 in the Header option.
Click Edit schema and add the columns and its type according to your input excel file. Click Ok after adding the schema.
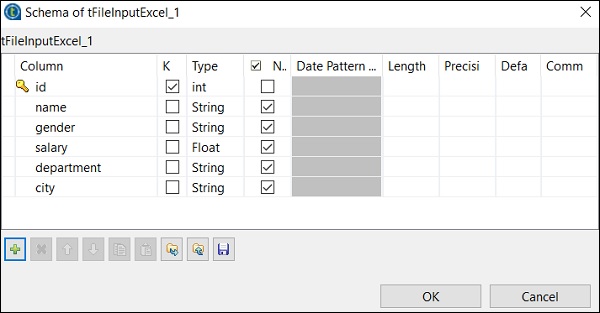
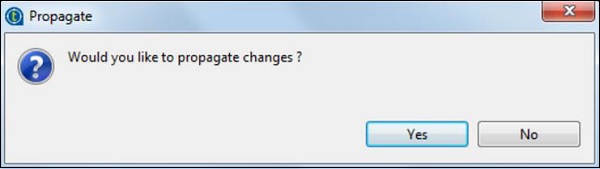
Click Yes.
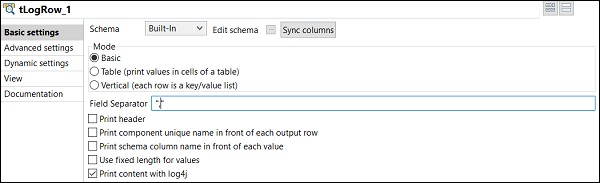
In tLogRow component, click on sync columns and select the mode in which you want to generate the rows from your input. Here we have selected Basic mode with “,” as field separator.
Finally, in tFileOutputExcel component, give the path of file name where you want to store
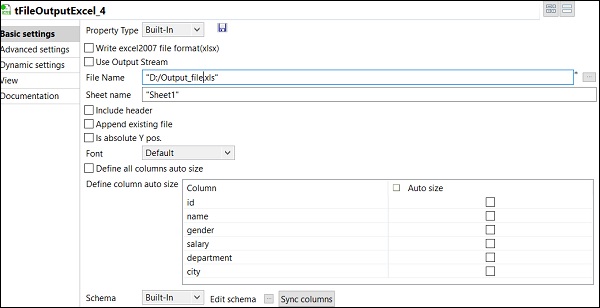
your output excel file with the sheet name. Click on sync columns.
Executing the Job
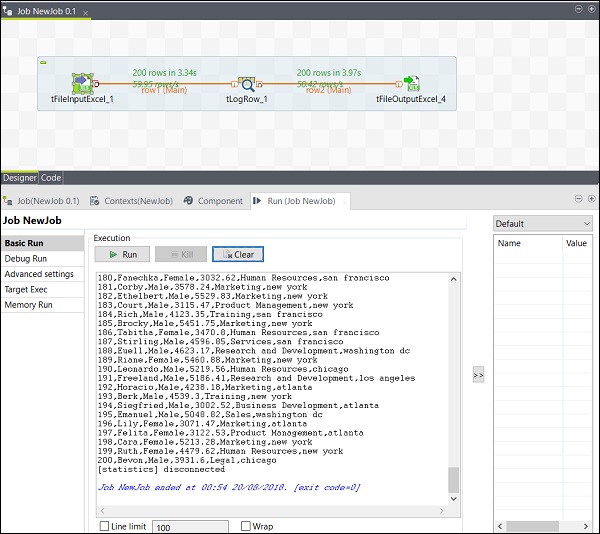
Once you are done with adding, connecting and configuring your components, you are ready to execute your Talend job. Click Run button to begin the execution.

You will see the output in the basic mode with “,” separator.
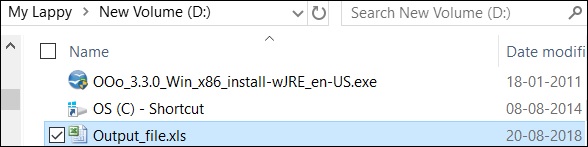
You can also see that your output is saved as an excel at the output path you mentioned.