- Symfony Tutorial
- Symfony - Home
- Symfony - Introduction
- Symfony - Installation
- Symfony - Architecture
- Symfony - Components
- Symfony - Service Container
- Symfony - Events & EventListener
- Symfony - Expression
- Symfony - Bundles
- Creating a Simple Web Application
- Symfony - Controllers
- Symfony - Routing
- Symfony - View Engine
- Symfony - Doctrine ORM
- Symfony - Forms
- Symfony - Validation
- Symfony - File Uploading
- Symfony - Ajax Control
- Cookies & Session Management
- Symfony - Internationalization
- Symfony - Logging
- Symfony - Email Management
- Symfony - Unit Testing
- Symfony - Advanced Concepts
- Symfony - REST Edition
- Symfony - CMF Edition
- Complete Working Example
- Symfony Useful Resources
- Symfony - Quick Guide
- Symfony - Useful Resources
- Symfony - Discussion
Symfony - File Uploading
Symfony Form component provides FileType class to handle file input element. It enables easy uploading of images, documents, etc. Let us learn how to create a simple application using FileType feature.
Step 1 − Create a new application, fileuploadsample using the following command.
symfony new fileuploadsample
Step 2 − Create an entity, Student, having name, age and photo as shown in the following code.
src/AppBundle/Entity/Student.php
<?php
namespace AppBundle\Entity;
use Symfony\Component\Validator\Constraints as Assert;  class Student {
   /**
      * @Assert\NotBlank()
   */
   private $name;

   /**
      * @Assert\NotBlank()
   */
   private $age;

   /**
      * @Assert\NotBlank(message="Please, upload the photo.")
      * @Assert\File(mimeTypes={ "image/png", "image/jpeg" })
   */
   private $photo;

   public function getName() {
      return $this->name;
   }
   public function setName($name) {
      $this->name = $name;
      return $this;
   }
   public function getAge() {
      return $this->age;
   }
   public function setAge($age) {
      $this->age = $age;
      return $this;
   }
   public function getPhoto() {
      return $this->photo;
   }
   public function setPhoto($photo) {
      $this->photo = $photo;
      return $this;
   }
}
Here, we have specified File for photo property.
Step 3 − Create student controller, StudentController and a new method, addAction as shown in the following code.
<?php
namespace AppBundle\Controller;

use AppBundle\Entity\Student;
use AppBundle\Form\FormValidationType;
use Symfony\Bundle\FrameworkBundle\Controller\Controller;
use Sensio\Bundle\FrameworkExtraBundle\Configuration\Route;

use Symfony\Component\HttpFoundation\Request;
use Symfony\Component\HttpFoundation\Response;
use Symfony\Component\Form\Extension\Core\Type\TextType;
use Symfony\Component\Form\Extension\Core\Type\FileType;
use Symfony\Component\Form\Extension\Core\Type\SubmitType;

class StudentController extends Controller {
   /**
      * @Route("/student/new")
   */
   public function newAction(Request $request) {
      $student = new Student();
      $form = $this->createFormBuilder($student)
         ->add('name', TextType::class)
         ->add('age', TextType::class)
         ->add('photo', FileType::class, array('label' => 'Photo (png, jpeg)'))
         ->add('save', SubmitType::class, array('label' => 'Submit'))
         ->getForm();

      $form->handleRequest($request);
      if ($form->isSubmitted() && $form->isValid()) {
         $file = $student->getPhoto();
         $fileName = md5(uniqid()).'.'.$file->guessExtension();
         $file->move($this->getParameter('photos_directory'), $fileName);
         $student->setPhoto($fileName);
         return new Response("User photo is successfully uploaded.");
      } else {
         return $this->render('student/new.html.twig', array(
            'form' => $form->createView(),
         ));
      }
   }
}
Here, we have created the form for student entity and handled the request. When the form is submitted by the user and it is valid, then we have moved the uploaded file to our upload directory using parameter, photos_directory.
Step 4 − Create the view, new.html.twig, using the following form tags.
{% extends 'base.html.twig' %}
{% block javascripts %}
   <script language = "javascript" src = "https://code.jquery.com/jquery-2.2.4.min.js"></script>
{% endblock %}
{% block stylesheets %}
   <style>
      #simpleform {
         width:600px;
         border:2px solid grey;
         padding:14px;
      }
      #simpleform label {
         font-size:12px;
         float:left;
         width:300px;
         text-align:right;
         display:block;
      }
      #simpleform span {
         font-size:11px;
         color:grey;
         width:100px;
         text-align:right;
         display:block;
      }
      #simpleform input {
         border:1px solid grey;
         font-family:verdana;
         font-size:14px;
         color:grey;
         height:24px;
         width:250px;
         margin: 0 0 20px 10px;
      }
      #simpleform button {
         clear:both;
         margin-left:250px;
         background:grey;
         color:#FFFFFF;
         border:solid 1px #666666;
         font-size:16px;
      }
   </style>
{% endblock %}
{% block body %}
   <h3>Student form</h3>
   <div id="simpleform">
      {{ form_start(form) }}
      {{ form_widget(form) }}
      {{ form_end(form) }}
   </div>
{% endblock %}
Step 5 − Set the parameter, photos_directory in the parameter config file as follows.
app/config/config.xml
parameters: photos_directory: '%kernel.root_dir%/../web/uploads/photos'
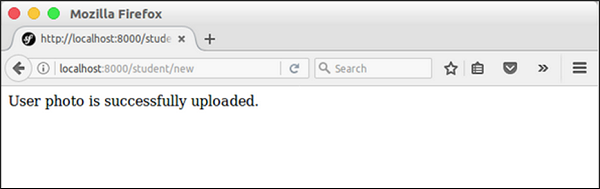
Step 6 − Now, run the application and open http://localhost:8000/student/new and upload a photo. The uploaded photo will be uploaded to the photos_directory and a successful message will be shown.
Result: Initial Page
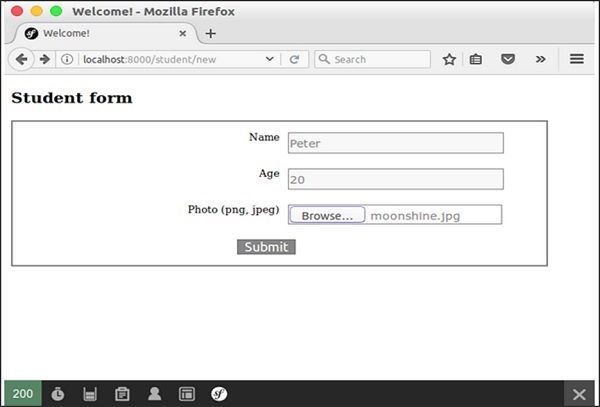
Result: File Upload Page