- Silverlight Tutorial
- Silverlight - Home
- Silverlight - Overview
- Silverlight - Environment Setup
- Silverlight - Getting Started
- Silverlight - XAML Overview
- Silverlight - Project Types
- Silverlight - Fixed Layouts
- Silverlight - Dynamic Layout
- Constrained vs. Unconstrained
- Silverlight - CSS
- Silverlight - Controls
- Silverlight - Buttons
- Silverlight - Content Model
- Silverlight - ListBox
- Silverlight - Templates
- Silverlight - Visual State
- Silverlight - Data Binding
- Silverlight - Browser Integration
- Silverlight - Out-of-Browser
- Silverlight - Applications, Resources
- Silverlight - File Access
- Silverlight - View Model
- Silverlight - Input Handling
- Silverlight - Isolated Storage
- Silverlight - Text
- Silverlight - Animation
- Silverlight - Video and Audio
- Silverlight - Printing
- Silverlight Useful Resources
- Silverlight - Quick Guide
- Silverlight - Useful Resources
- Silverlight - Discussion
Silverlight - Getting Started
In this chapter, we will look at a working example of Silverlight. We need two things −
First, we require a web page. Silverlight is intended for rich internet applications, It is designed to run inside of a web browser as part of a web page. The page needs to incorporate a suitable tag to load the Silverlight plug-in. It can also include the logic to detect whether Silverlight is installed, and can provide some fallback user interface, when it is absent.
The second thing we need is the Silverlight content itself. This tutorial will focus on the .NET programming model for Silverlight. We will create a compiled Silverlight application containing a mixture of XAML, the mockup language we use to define Silverlight user interfaces, and .NET code written in C#.
Create a Web-page
The easiest way to start using Silverlight is to create an ordinary website with HTML pages and no server side code. Let us look at a very simple example.
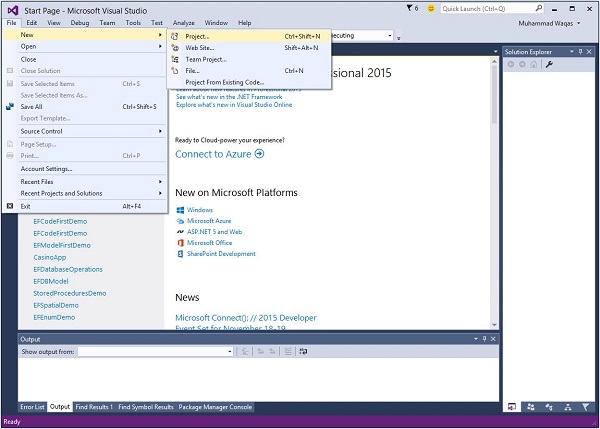
Step 1 − Open Visual Studio. Click the File menu, point to New and then click Project.
Step 2 − A New Project dialog box will open. Under Templates, select Visual C# and then click Silverlight. In the right pane, choose Silverlight Application.
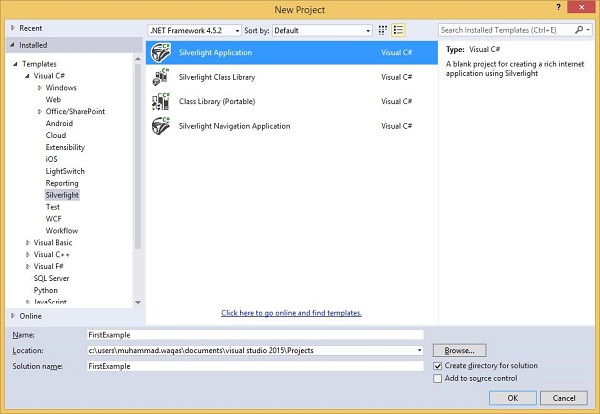
Enter a project name and a location on your hard drive to save your project and then click OK to create the project.
The Silverlight project itself is just going to build the Silverlight content, and that content is just one asset amongst many that are going to make up the whole web application.
Click OK.
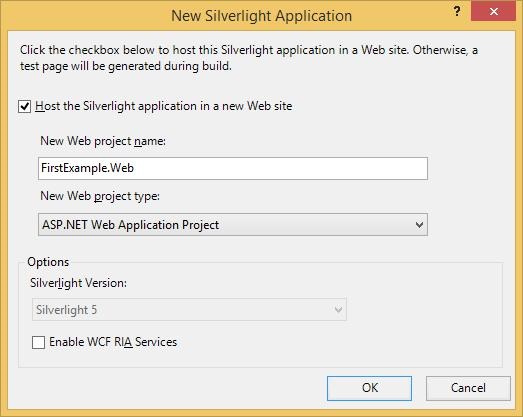
Step 3 − Check the Host the Silverlight application checkbox. The default is an ASP.NET Web Application Project.
Step 4 − MS-Visual Studio has created two projects, the Silverlight project and an ASP.NET web application. Now, we do need an ASP.NET web application. You can see this in the Solution Explorer window as shown below.
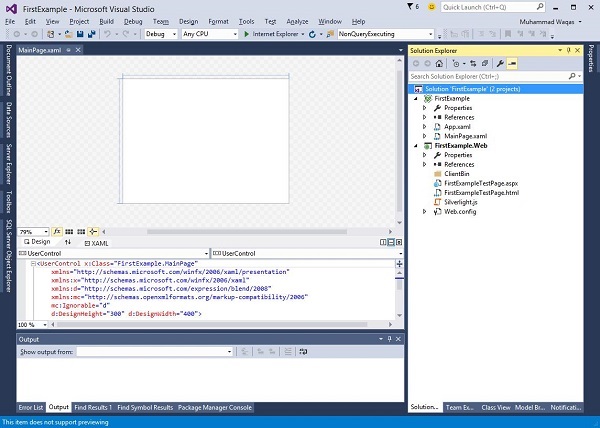
Anything that can serve up the content via HTTP will do but this is Visual Studio, and it understands the ASP.NET web technology, so that is what it gives us.
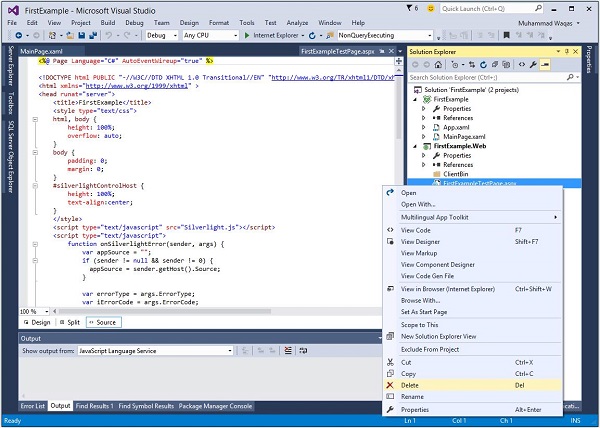
To demonstrate that Silverlight does not depend on any particular server-side technology, let us delete this .aspx file, leaving just the plain static HTML file.
Step 5 − Right-click FirstExampleTestpage.aspx. From the list of options, click Delete.
Step 6 − Set FirstExampleTestPage.html as the Start page.

The MainPage.xaml file defines the user interface for Silverlight content. Either you can write XAML code directly or you can also use Toolbox to drag and drop different UI elements.
Step 7 − Given below is a simple code in MainPage.xaml in which a Button and a TextBlock are defined inside the StackPanel.
<UserControl x:Class = "FirstExample.MainPage"
   xmlns = "http://schemas.microsoft.com/winfx/2006/xaml/presentation"
   xmlns:x = "http://schemas.microsoft.com/winfx/2006/xaml"
   xmlns:d = "http://schemas.microsoft.com/expression/blend/2008"
   xmlns:mc = "http://schemas.openxmlformats.org/markup-compatibility/2006"
   mc:Ignorable = "d"
   d:DesignHeight = "300" d:DesignWidth = "400">

   <Grid x:Name = "LayoutRoot" Background = "White">
      <StackPanel>

         <TextBlock x:Name = "TextMessage"
            Text = "Hello World!"
            Margin = "5">
         </TextBlock>

         <Button x:Name = "ClickMe"
            Click = "ClickMe_Click"
            Content = "Click Me!"
            Margin = "5">
         </Button>

      </StackPanel>
   </Grid>

</UserControl>
Step 8 − This example assumes that you have created an event-handling method named ClickMe_Click. Here is what it looks like in the MainPage.xaml.cs file.
using System.Windows;
using System.Windows.Controls;

namespace FirstExample {

   public partial class MainPage : UserControl {

      public MainPage() {
         InitializeComponent();
      }

      private void ClickMe_Click(object sender, RoutedEventArgs e) {
         TextMessage.Text = "Congratulations! you have created your first Silverlight Applicatoin";
      }
   }
}
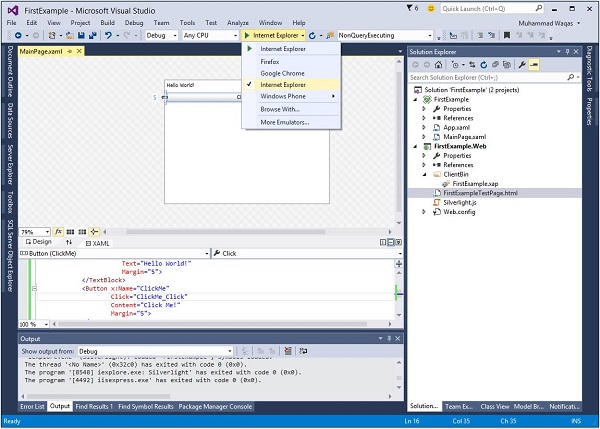
Step 9 − A Silverlight application can be run on any installed browsers.
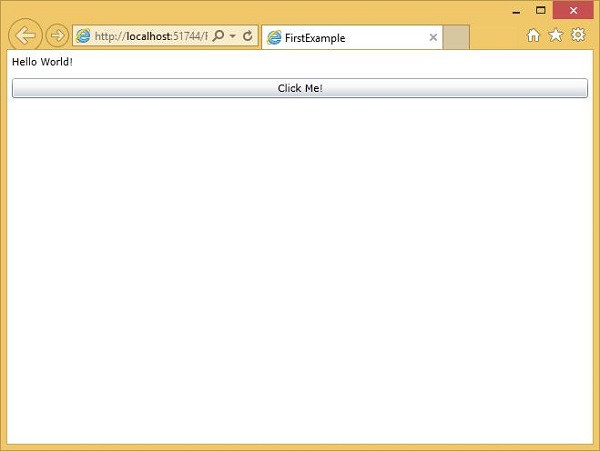
Step 10 − When the above code is compiled and executed, you will see the following webpage.
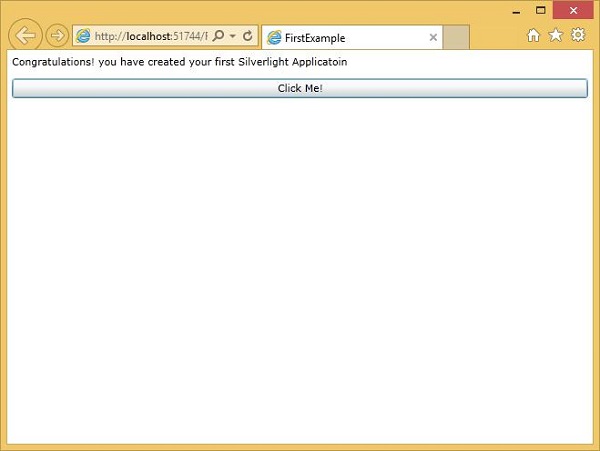
Step 11 − Now, when you click the Click Me button, it will update the text in the TextBlock as shown below.
We recommend you to execute the above example by adding some more UI elements.