- SAP Web Dynpro Tutorial
- SAP Web Dynpro - Home
- SAP Web Dynpro - Overview
- Configuration & Integration
- Architecture
- Navigation
- Component
- Mapping & Data Binding
- Event & Actions
- Application
- URL of an Application
- Creating an Application
- Component Interfaces
- Faceless Components
- Assistance Class
- Service Call In an Application
- Using a Service Call
- Debugging an Application
- Version Management
- Messages
- Integration Messages
- Personalization & Configuration
- Portal Integration
- Integrate WDA in Portal
- Interactive Forms
- SAP List Viewer(ALV)
- Administration
- Monitoring an Application
- SAP Web Dynpro Useful Resources
- Web Dynpro - Questions Answers
- SAP Web Dynpro - Quick Guide
- SAP Web Dynpro - Useful Resources
- SAP Web Dynpro - Discussion
SAP Web Dynpro - Integrate WDA in Portal
Following are the steps to integrate Web Dynpro ABAP (WDA) in the portal.
Step 1 − Go to ABAP workbench using T-code − SE80 and create Web Dynpro component.
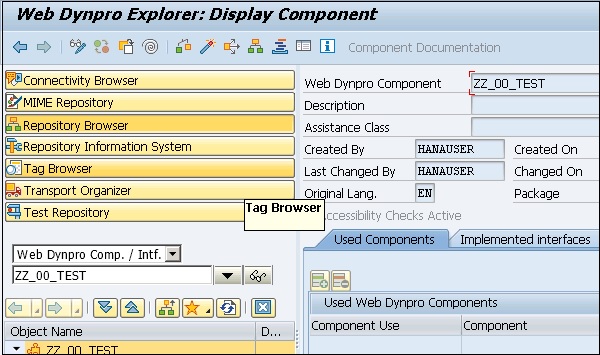
Step 2 − Save the component and activate it.
Step 3 − Define data binding and context mapping. Create a Web Dynpro application and save it.
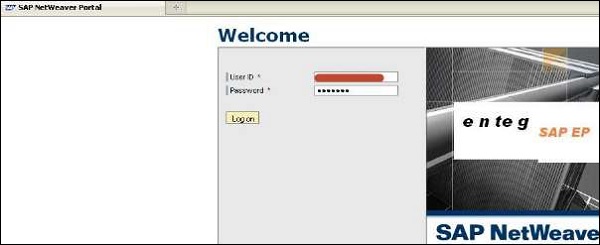
Step 4 − Login to SAP NetWeaver portal.
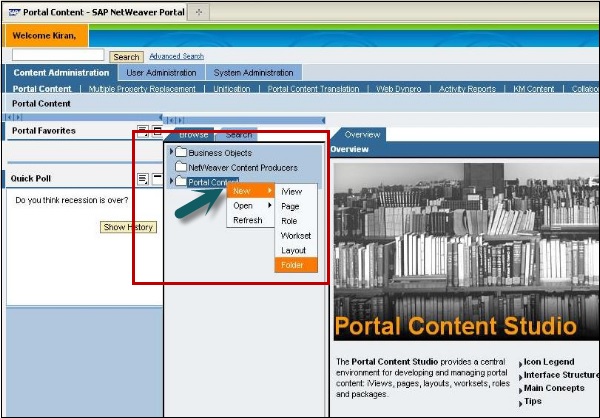
Step 5 − Go to Portal Content → Content Administration tab.
Step 6 − Right-click on the portal content and create a new folder.
Step 7 − Enter the folder name and click Finish.
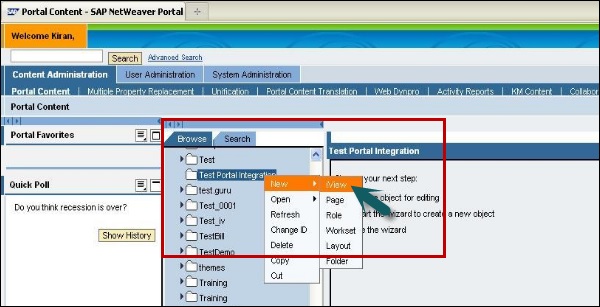
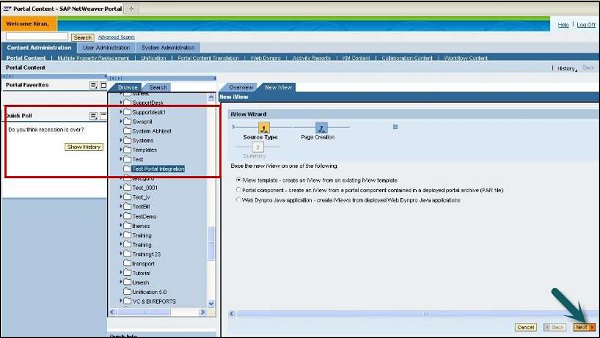
Step 8 − Right-click on the created folder and create a new iView.
Step 9 − Select iView template. Create an iView from an existing iView template and click Next.
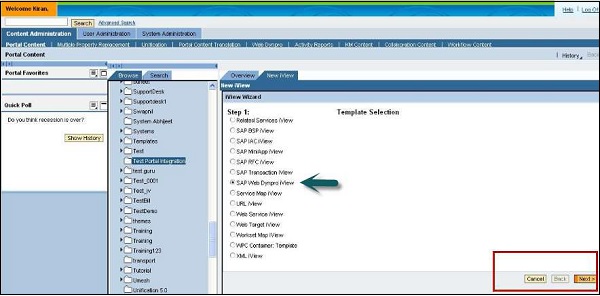
Step 10 − Select SAP Web Dynpro iView as template and click Next.
Step 11 − Enter iView name, iView ID, iView prefix ID and click Next. Enter definition type as ABAP and click Next.
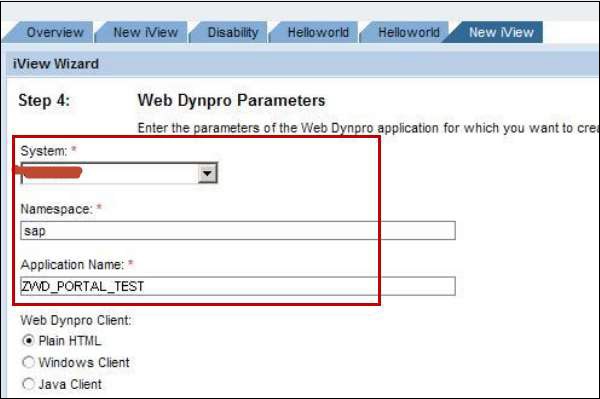
Step 12 − Enter Web Dynpro details and ECC system is created.
Step 13 − Enter application parameter in the same screen and click Next. You will be prompted to see the summary screen. Click Finish.
