- SAP NetWeaver Tutorial
- SAP NetWeaver - Home
- SAP NetWeaver - Introduction
- SAP NetWeaver - Architecture
- SAP NetWeaver - Components
- SAP NetWeaver - Release Details
- SAP NW - NW Version in ECC System
- SAP NetWeaver - Setting Up NW
- SAP NW - Installation Options
- Passing Parameters for Installation
- SAP NW - Transport Management
- Managing Background Jobs
- SAP NW - NW Business Client
- SAP NW - Service Configuration
- Business Client Installation
- NWBC Transaction & Navigation
- SAP Application based on NW
- SAP NetWeaver - Portal
- SAP NetWeaver - Create a System
- Enterprise Portal Roles & Group
- SAP NW - Knowledge Management
- SAP NW - KM Administration
- SAP NetWeaver - Developer Studio
- SAP NetWeaver - Web Content
- Process Integration Options
- SAP NetWeaver - Gateway
- SAP NetWeaver - Security
- SAP NetWeaver - PFCG Roles
- SAP NW - Authentication Methods
- SAP NW - Communication Security
- SAP NetWeaver Useful Resources
- SAP NW - Questions and Answers
- SAP NetWeaver - Quick Guide
- SAP NetWeaver - Useful Resources
- SAP NetWeaver - Discussion
SAP NetWeaver - Security
In a distributed environment, you use Internet for managing business data and security is one of the critical requirements in any system. There should not be any unauthorized access and user errors, also configuration access should not result in any loss of information.
SAP NetWeaver security includes the following points −
- Technical System Landscape/Architecture (previously covered)
- User Administration and Authenticatio
- Network and Transport Layer Security
User Administration
There are various user management tools that you can use in SAP NetWeaver. These tools are inbuilt to SAP system and can be called from transactions.
Using these tools, you can manage the application platform for Java and ABAP.
Managing Users in ABAP Engine
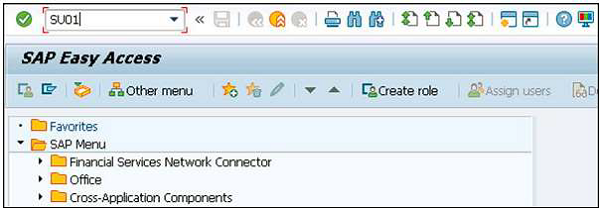
Step 1 − Manage users in the SAP system using T-Code: SU01. You can use this to manage users in the ABAP system.
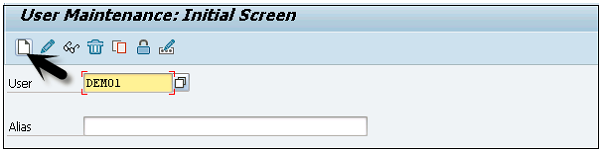
Step 2 − Enter the username you want to create and click the create icon as shown in the following screenshot.
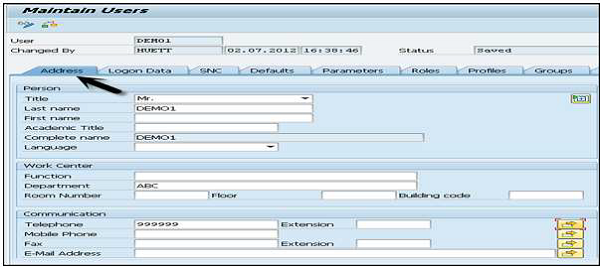
Step 3 − You will be directed to the next tab - the Address tab. Here, you need to enter the details like the first name, the last name, phone number, email id, etc.
You will further be directed to the next tab − Logon Data as shown in the following screenshot.
Step 4 − Enter the user type under Logon data tab. We have five different user types.
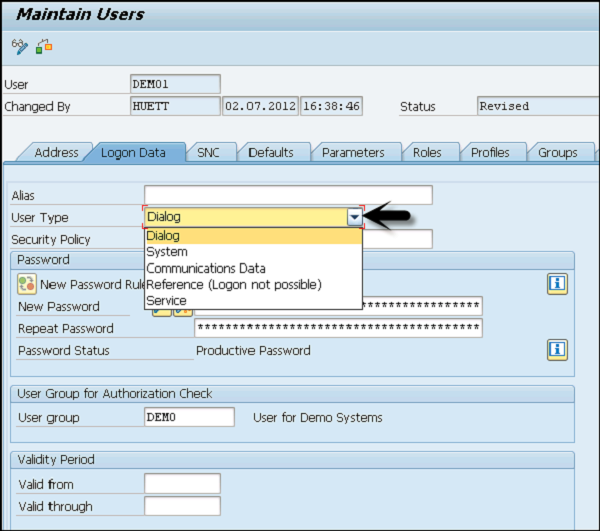
Following are the different user types −
Dialog user − This user is used for interactive system access from GUI.
System user − This user is used for background processing, communication within a system.
Communication user − This user is used for external RFC calls
Service user − This user is created for a larger and anonymous group of users.
Reference user − It is not possible to log on to the system with this user type. User type for general, non-person related users that allows the assignment of additional authorizations.
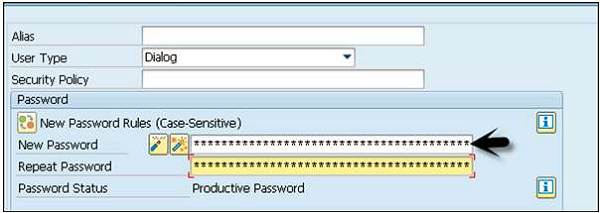
Step 5 − Type the first Login Password → New Password → Repeat Password.
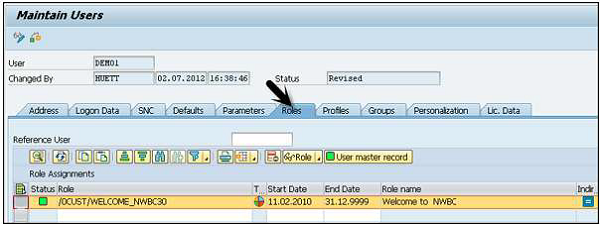
You will be directed to the next tab − Roles.
Step 6 − Assign the roles to the user.
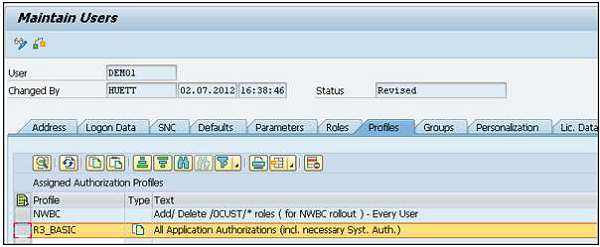
You will further be directed to the next tab − Profiles.
Step 7 − Assign the Profiles to the users.
Step 8 − Click the Save icon to receive confirmation.
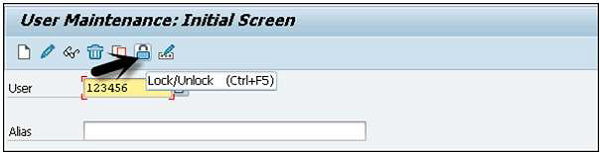
Lock/Unlock a User
In SAP system, an administrator can also lock or unlock a user as per the requirement. This can be performed for a specific time period or permanently. A user can be locked/unlocked in the following two ways −
- Manually/Forcefully
- Automatically (After number of failed login attempts)
Manually or Forcefully
You can lock a user forcefully/automatically using these transaction codes −
Transaction code − SU01 for single user
Transaction code − SU10 for multiple users
Step 1 − Execute transaction code − SU01
Step 2 − Select the user you want to lock/unlock and click the icon as shown in the following screenshot.