
- SAP C4C Tutorial
- SAP C4C - Home
- SAP C4C - Introduction
- SAP C4C - Architecture
- SAP C4C - Public vs Private
- SAP C4C - User Interface
- SAP C4C - Work Centers
- Project Implementation & Scoping
- SAP C4C - Fine-Tuning
- Organizational Management
- SAP C4C - Personalization
- SAP C4C - Adaptation
- SAP C4C - Reporting
- SAP C4C - Creating a Custom Report
- SAP C4C - Data Sources
- SAP C4C - Service Level
- SAP C4C - Service Category
- SAP C4C - User Management
- SAP C4C - Business Roles
- SAP C4C - Work Distribution
- SAP C4C - Social
- Data Migration & Workflow
- SAP C4C - Pricing
- SAP C4C - Sales Cycle
- SAP C4C - Retail
- Integration with CRM & ERP
- SAP C4C - Integration with Outlook
- SAP C4C - Mobile
- SAP C4C - Mashups
- SAP C4C Useful Resources
- SAP C4C - Questions and Answers
- SAP C4C - Quick Guide
- SAP C4C - Useful Resources
- SAP C4C - Discussion
SAP C4C - Business Roles
You can create business roles and assign them to work centers to perform their job functions. To help standardize system access, business roles can be created. This enables you to predefine access rights in the form of a template, so that you can assign them to multiple business users, who perform similar business tasks.
Create Business Roles
Follow the steps to create business roles.
Step 1
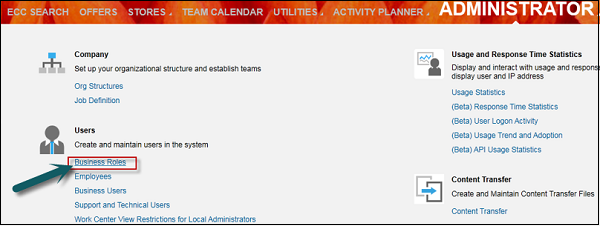
To create Business roles in C4C system, go to Administration → General Settings.

Step 2
Click Business Roles.
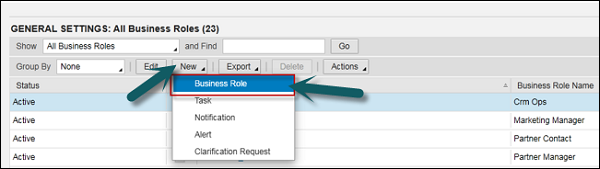
Step 3
Click New. Select Business Roles.
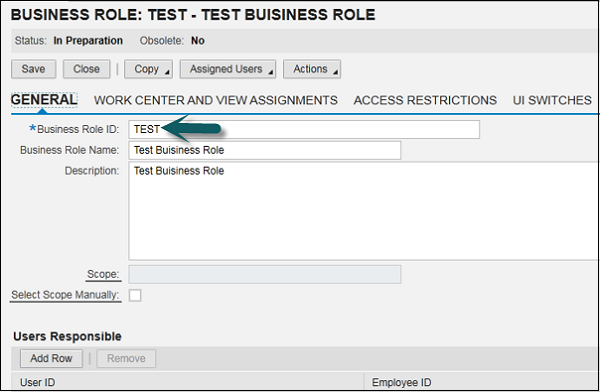
Step 4
Enter all the required fields like Business Role ID, Business Role Name, and Description etc.
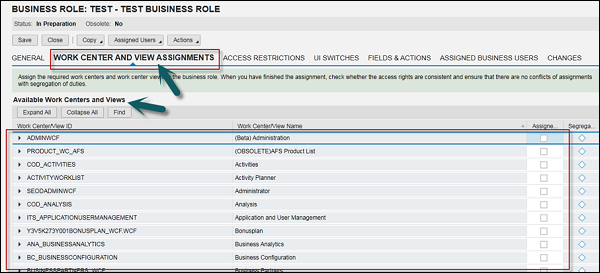
Step 5
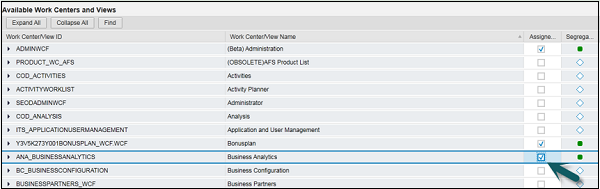
Click Work center and View assignments, select work centers as per the requirement.
Assign the required work centers and work center views to the business role. When you have finished the assignment, check whether the access rights are consistent and ensure that there are no conflicts of assignments with segregation of duties.
Step 6
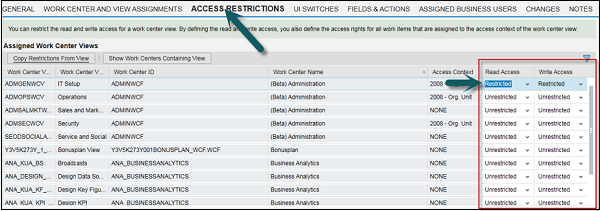
Navigate to access restrictions, enter values for read access and write access. You can restrict the read and write access for a work center view. By defining the read and write access, you also define the access rights for all work items that are assigned to the access context of the work center view.
Step 7
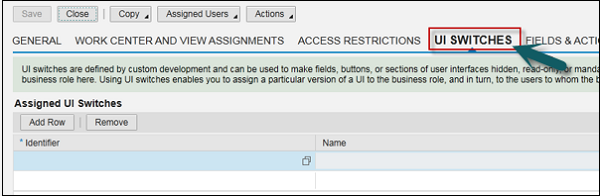
Navigate to UI Switches. UI switches are defined by custom development and can be used to make fields, buttons, or sections of user interfaces hidden, read-only, or mandatory. You can assign any UI switches that have been developed to the business role here. Using UI switches enables you to assign a particular version of a UI to the business role, and in turn, to the users to whom the business role is assigned.
Step 8
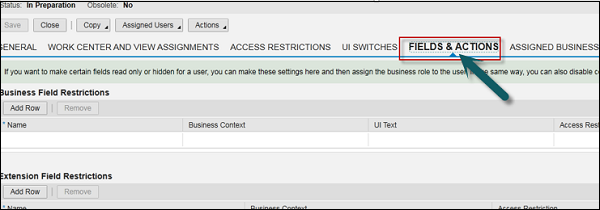
Navigate to Fields & Actions. If you want to make certain fields read only or hidden for a user, you can make these settings here and then assign a business role to the user. In the same way, you can also disable certain actions for a user.
Step 9
Click Action and select Activate. Click Save.
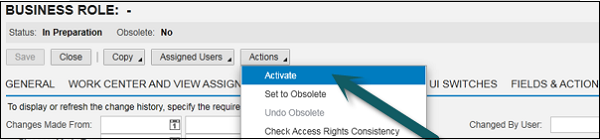
After creating the template, you can directly assign it to the user or copy the access rights directly from an already existing user. The specified Work Center and views will be automatically populated.
This is a time-saving and an easy way to cope with a large number of users.