- Python XlsxWriter Tutorial
- Python XlsxWriter - Home
- Python XlsxWriter - Overview
- Python XlsxWriter - Environment Setup
- Python XlsxWriter - Hello World
- Python XlsxWriter - Important classes
- Python XlsxWriter - Cell Notation & Ranges
- Python XlsxWriter - Defined Names
- Python XlsxWriter - Formula & Function
- Python XlsxWriter - Date and Time
- Python XlsxWriter - Tables
- Python XlsxWriter - Applying Filter
- Python XlsxWriter - Fonts & Colors
- Python XlsxWriter - Number Formats
- Python XlsxWriter - Border
- Python XlsxWriter - Hyperlinks
- Python XlsxWriter - Conditional Formatting
- Python XlsxWriter - Adding Charts
- Python XlsxWriter - Chart Formatting
- Python XlsxWriter - Chart Legends
- Python XlsxWriter - Bar Chart
- Python XlsxWriter - Line Chart
- Python XlsxWriter - Pie Chart
- Python XlsxWriter - Sparklines
- Python XlsxWriter - Data Validation
- Python XlsxWriter - Outlines & Grouping
- Python XlsxWriter - Freeze & Split Panes
- Python XlsxWriter - Hide/Protect Worksheet
- Python XlsxWriter - Textbox
- Python XlsxWriter - Insert Image
- Python XlsxWriter - Page Setup
- Python XlsxWriter - Header & Footer
- Python XlsxWriter - Cell Comments
- Python XlsxWriter - Working with Pandas
- Python XlsxWriter - VBA Macro
- Python XlsxWriter Useful Resources
- Python XlsxWriter - Quick Guide
- Python XlsxWriter - Useful Resources
- Python XlsxWriter - Discussion
Python XlsxWriter - Header & Footer
When the worksheet is printed using the above methods, the header and footer are generated on the paper. The print preview also displays the header and footer. Both are configured with set_header() and set_footer() methods. Header and footer string is configured by following control characters −
| Control | Category | Description |
|---|---|---|
| &L | Justification | Left |
| &C | Center | |
| &R | Right | |
| &P | Information | Page number |
| &N | Total number of pages | |
| &D | Date | |
| &T | Time | |
| &F | File name | |
| &A | Worksheet name | |
| &Z | Workbook path | |
| &fontsize | Font | Font size |
| &"font,style" | Font name and style | |
| &U | Single underline | |
| &E | Double underline | |
| &S | Strikethrough | |
| &X | Superscript | |
| &Y | Subscript | |
| &[Picture] | Images | Image placeholder |
| &G | Same as &[Picture] | |
| && | Misc. | Literal ampersand "&" |
Example
The following code uses set_header() and set_footer() methods −
import xlsxwriter
wb = xlsxwriter.Workbook('hello.xlsx')
ws = wb.add_worksheet()
data = [
['Anil', 45, 55, 50], ['Ravi', 60, 70, 80],
['Kiran', 65, 75, 85],['Karishma', 55, 65, 45]
]
for row in range(len(data)):
ws.write_row(row,0, data[row])
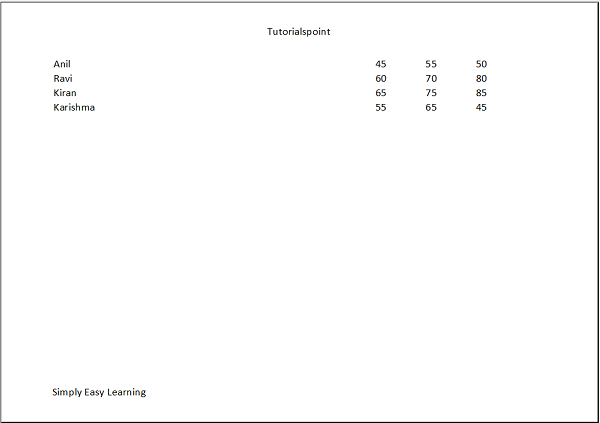
header1 = '&CTutorialspoint'
footer1 = '&LSimply Easy Learning'
ws.set_landscape()
ws.set_paper(9) #A4 paper
ws.set_header(header1)
ws.set_footer(footer1)
ws.set_column('A:A', 50)
wb.close()
Output
Run the above Python code and open the worksheet. From File menu, choose Print option. On the right pane, the preview is shown. You should be able to see the header and footer.
Advertisements